
This tutorial will guide you though on how to setup a virtual machine (VM) on Type 2 hypervisor, VMware Workstation Pro 16. A custom setup allows you to configure hardware and software components of your VM before installing the OS using an ISO image. You can modify these settings even after you complete the configuration and installation process from the settings menu of your VMware Workstation Pro. For Typical Recommended setup, please read the VMware Workstation Setup.
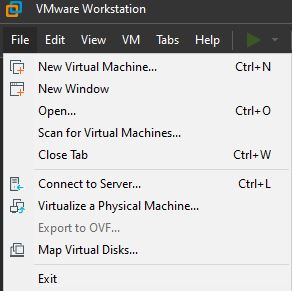
1) Open VMware, under main menu at the top, select File (drop-down) -> New Virtual Machine…
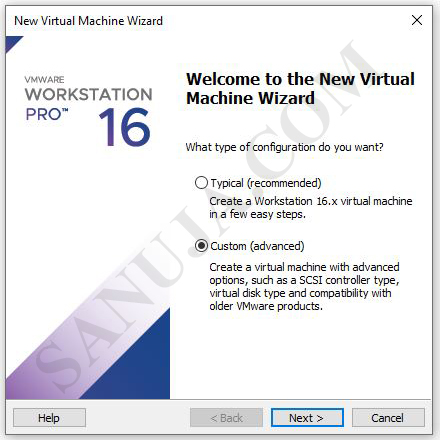
2) Select Custom (advanced) [Next >]
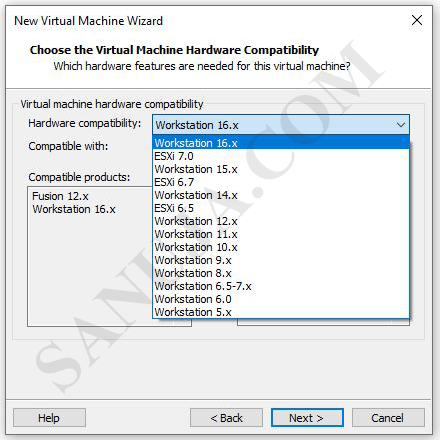
3) You have the option to create backwards hardware compatibility VM. Unless, this is a requirement, select the default latest version of VMware Workstation. In this example, it is Workstation 16.x. [Next >]
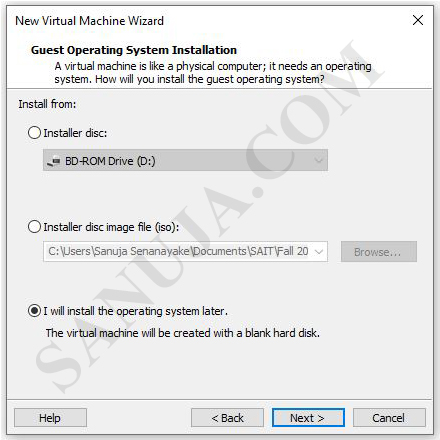
4) Select I will install the operating system later. [Next >]
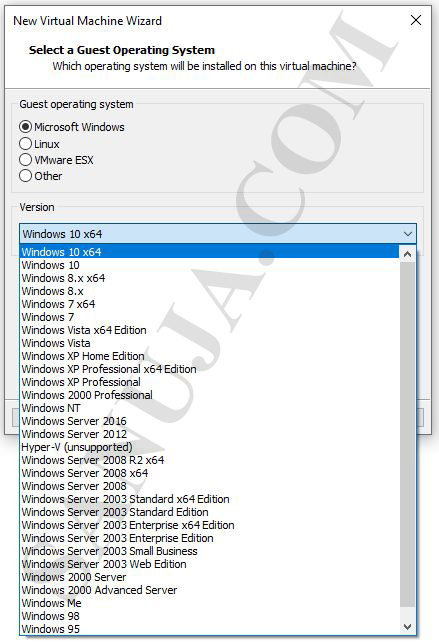
5) Select the type of guest operating system. You will also have the option to select different OS versions. By choosing the specific OS version, the VMWare Workstation will setup hardware and firmware configurations best suited for the guest OS. [Next >]
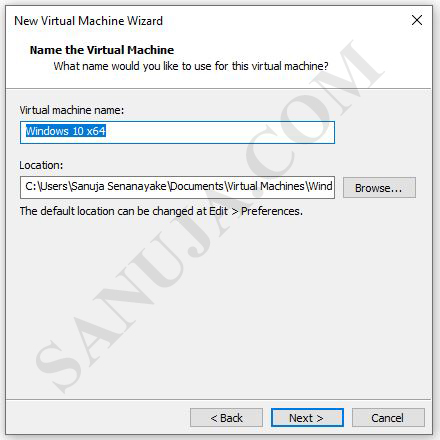
6) Name the VM (arbitrary). Select the location in which the VM files will be located. I would recommend that you use a specific folder location on your host machine for all your VMs for ease of management. [Next >]
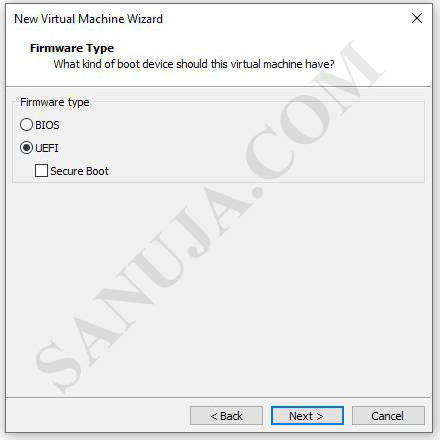
7) Select the firmware type; BIOS or UEFI with or without Secure Boot. [Next >]
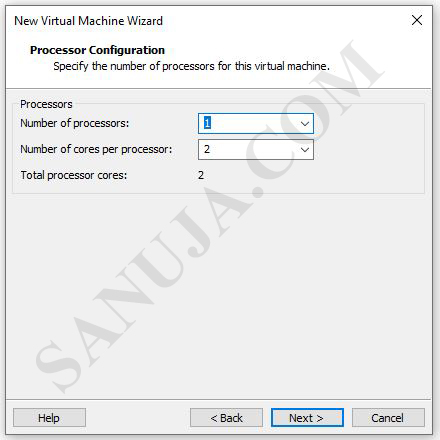
8) Choose the number of processors and cores per processor. I would not recommend choosing the maximum possible combination. Providing your VM with all your host machine hardware resources will result in the host machine to crash or perform poorly. This is to be expected with Type 2 hypervisors. [Next >]
9) Choose the memory to be allocated to the VM. Just like CPU selection, I would not recommend allowing a VM to access all available RAM on your host machine. [Next >]

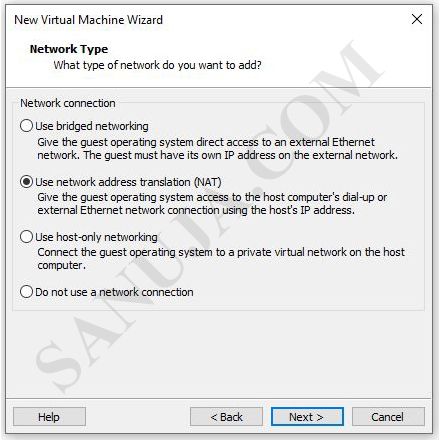
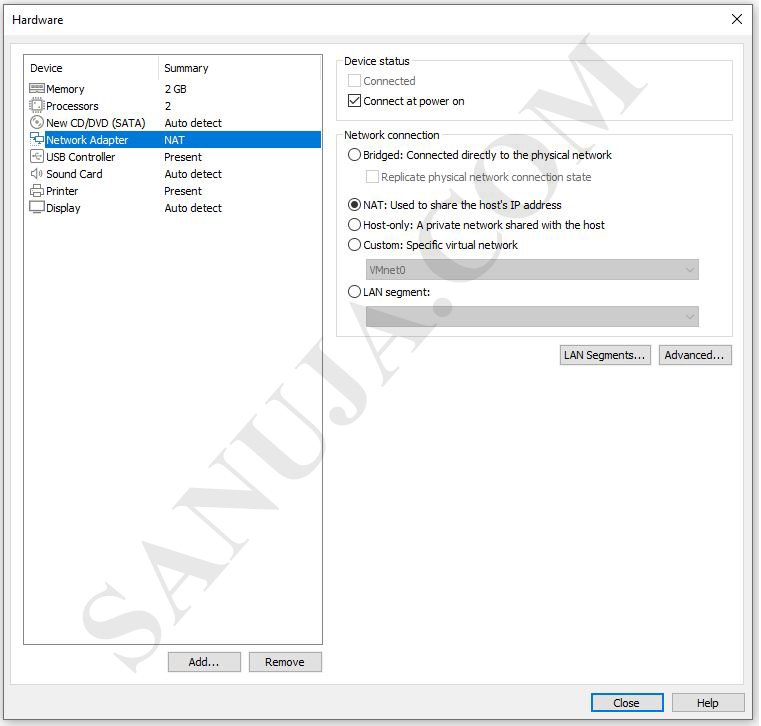
10) Select the Network Type. Further, you may change the network type and add/remove network cards based on your VM requirement in the settings once the VM is created. Read more about what each network type means for you here (VMware Docs).
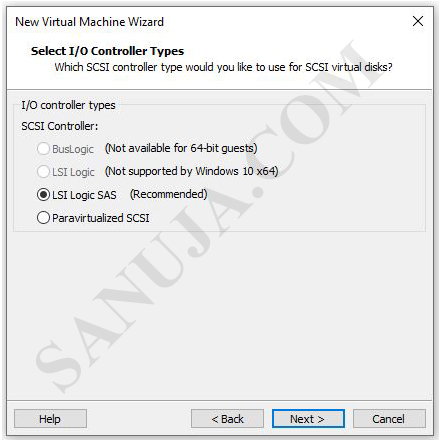
11) Select I/O controller type [Next >]
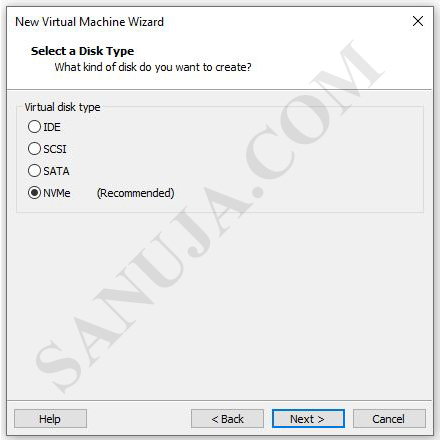
12) Select a Disk Type. I would recommend using NVMe unless otherwise there is a specific hardware requirement for your program or OS. [Next >].
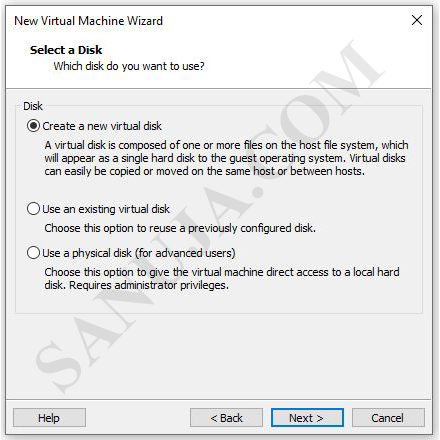
13) Select the virtual disk configuration. [Next >]
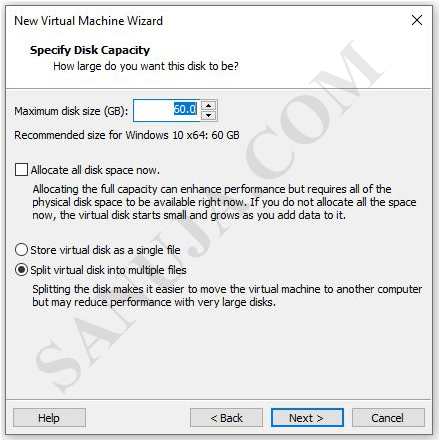
14) Select the Disk Capacity and how it will be stored. For Windows 10 Desktops, it 60 GB default should be more than enough. Unless you are running critical applications that requires optimum performance, you do not need to allocate all disk space now. I would recommend using split virtual disk into multiple files option because it keeps your migration options open (splitting files make it easier to migrate across a network). [Next >]
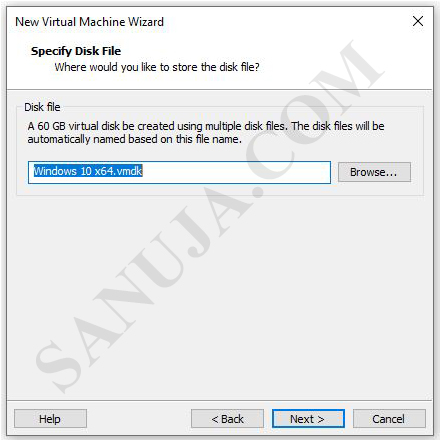
15) Name the VM file name (arbitrary). It is for you to identify the VM on your host machine. [Next >]
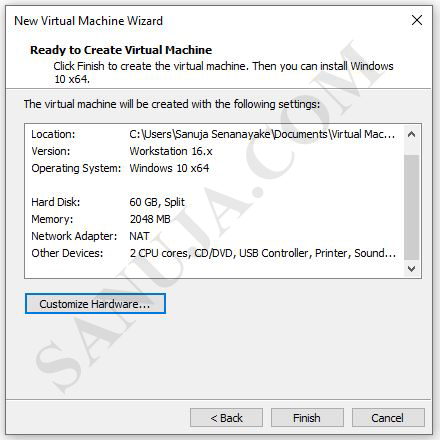
16) Here you can see a summary of options you have selected. You can click [Customized Hardware] button and it will open the VM hardware configuration options. You may modify any item if you wish to do so before installing the VM.
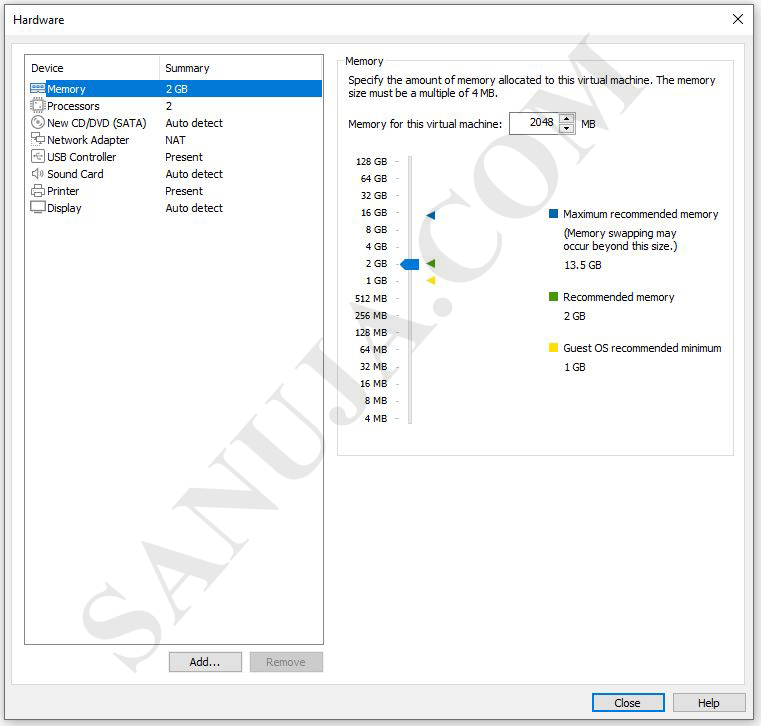
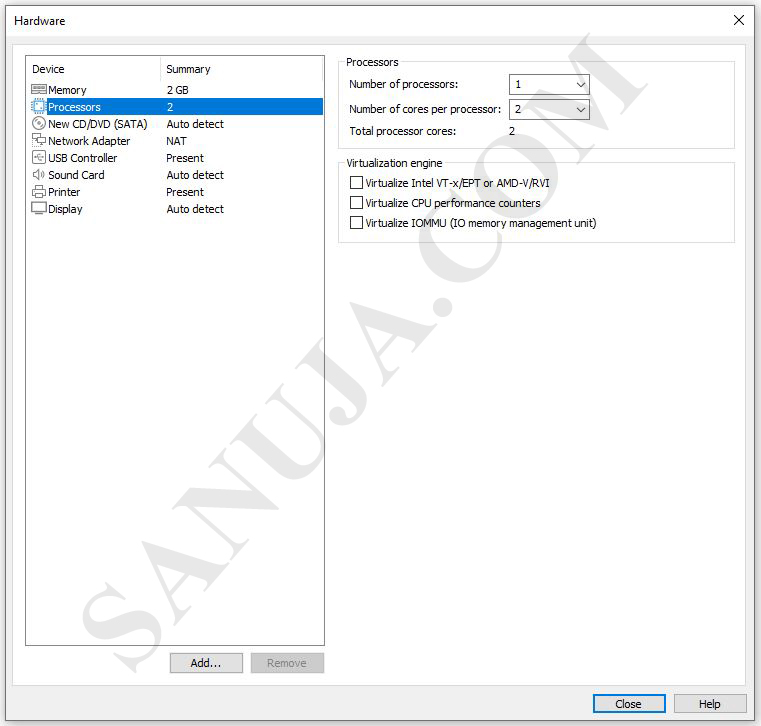
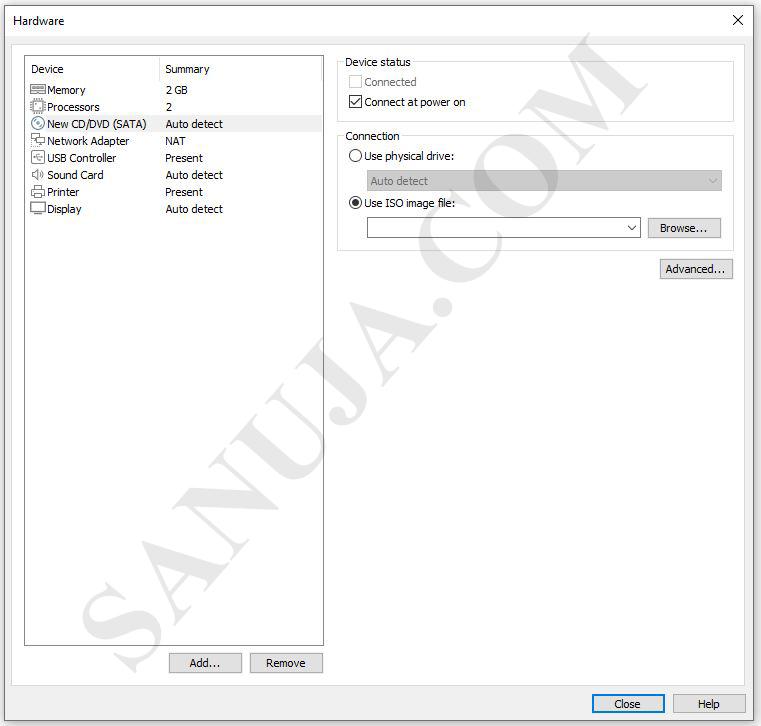
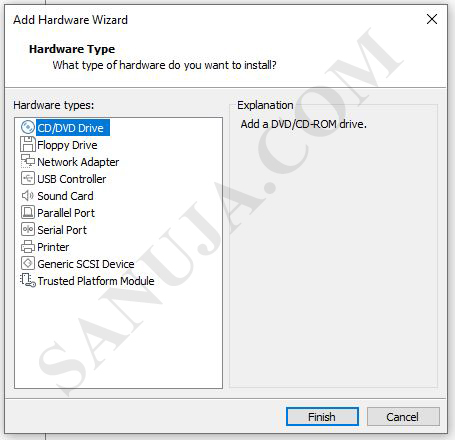
17) You may add additional hardware if needed by selecting [Add…] button or delete hardware with [Remove] button.
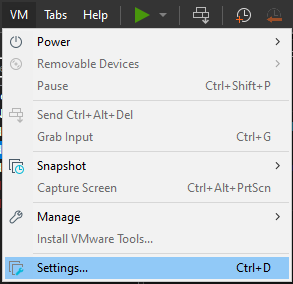
18) You can access this same hardware configuration options once the VM is setup from the main top menu Settings… option under VM drop-down.
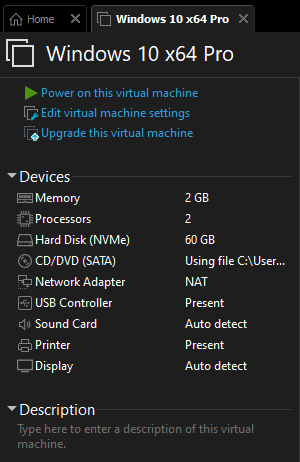
19) You can also update the hardware under Edit virtual machine settings option on the left-hand pane of the VM (before powering up the VM).
Next step is selecting the ISO and installing an OS. We will discuss this with Windows 10 and Ubuntu in the next article.
One thought on “VMware Workstation Custom Advanced Setup”
Comments are closed.