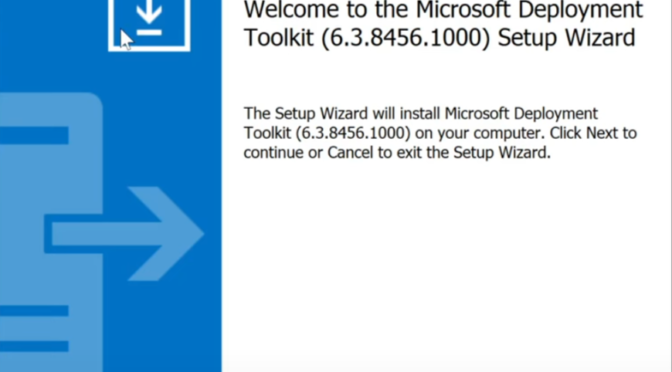
Microsoft Deployment Toolkit or simply MDT is used in enterprise and business environments to install Windows Operating System (OS) on large number of clients. It standardize and streamlines the installation process, making it easier for the IT departments to deploy devices to their clients. In this article, I will summarize what I have been already discussed in the video tutorial posted on NetITGeeks.
Components of MDT
For MDT to work, we need four components installed and configured on your Windows Server; Windows Assessment and Deployment Kit (Windows ADK), Windows Preinstallation Environment (Windows PE or WinPE), Microsoft Deployment Toolkit (MDT) and Microsoft Deployment Services (WDS) server role. The installation files for all of these can be found on the Microsoft website. If for some reason above links no longer work, Google search should have pliantly of sites listed with the files. The WDS is part of Windows Server roles. If you are a student, you can obtain an evaluation copy of Windows Server on the Microsoft website.
Installing ADK and WinPE
On the Microsoft website, download the Windows ADK and the Windows PE add-on for the Windows ADK and install them on your server. Notice, these downloaded files are basically installation trigger files that will fetch, download and install the necessary items from Microsoft servers once you launch them.
Installing ADK
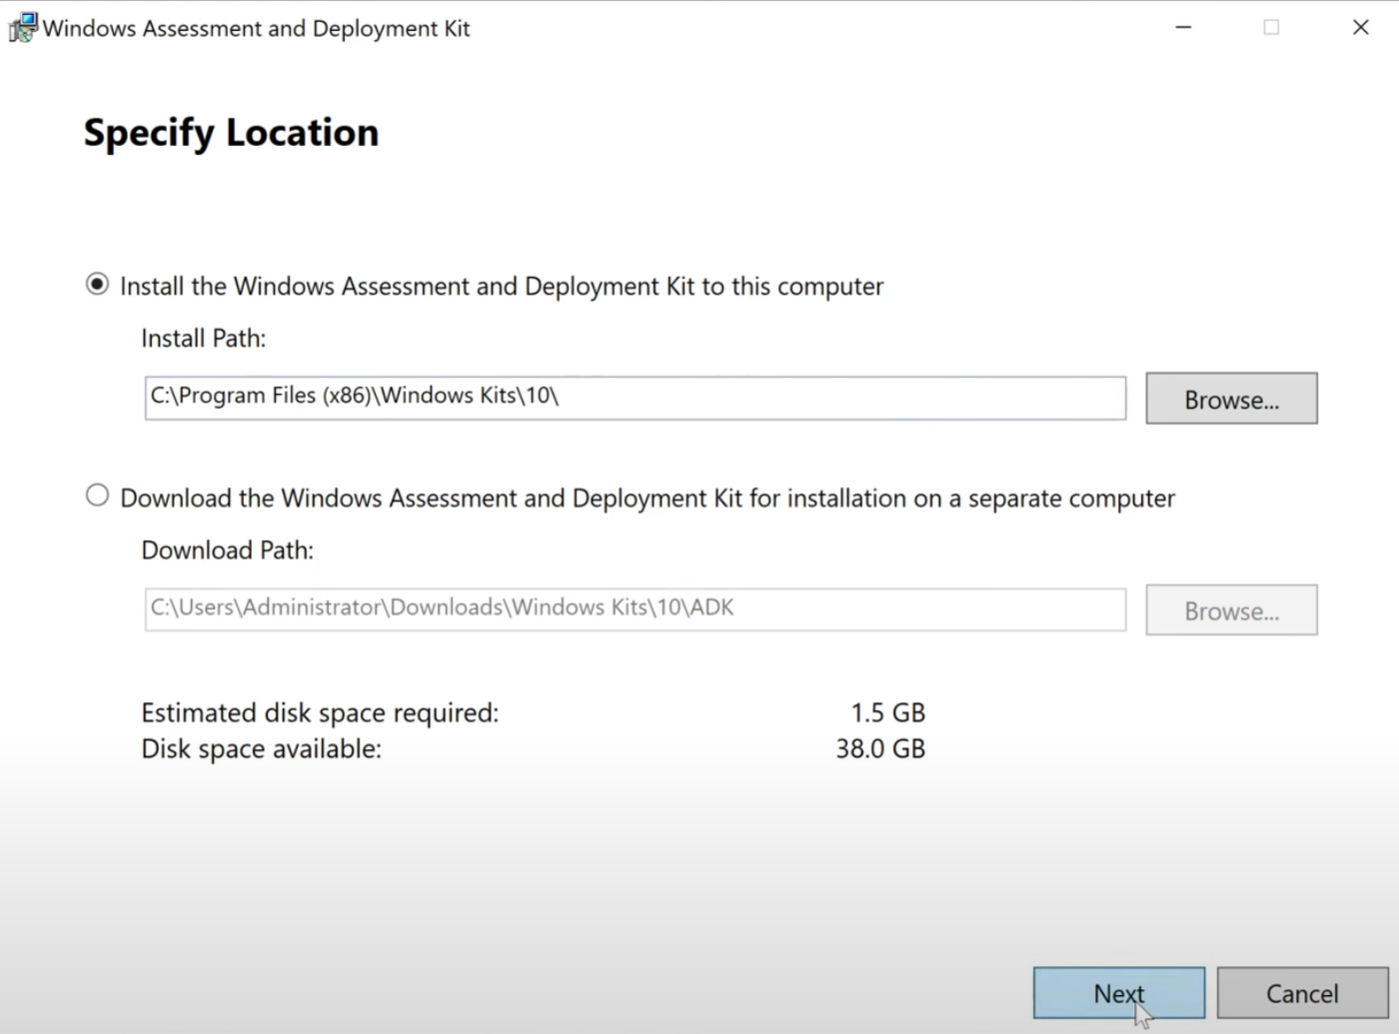
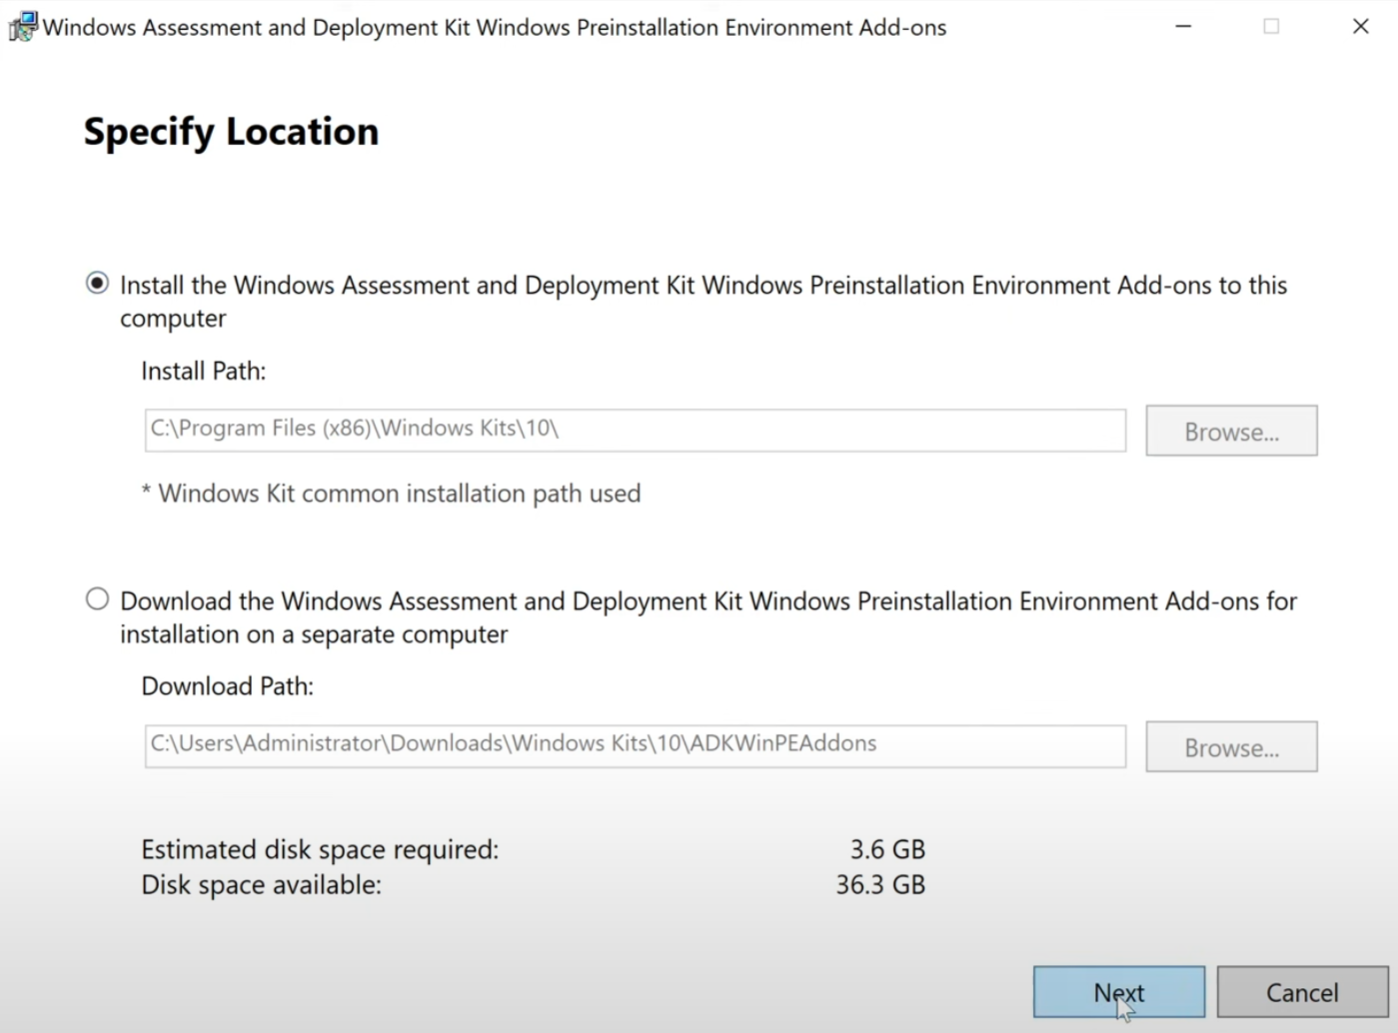
First you should install the ADK. It must be installed in Administrator privileges. You will be presented with two options to install; “…to this computer” and “…on a separate computer”. Unless you would like to install it on a different computer or install it while the server is offline, select the “Install the Windows Assessment and Deployment Kit to this computer“.
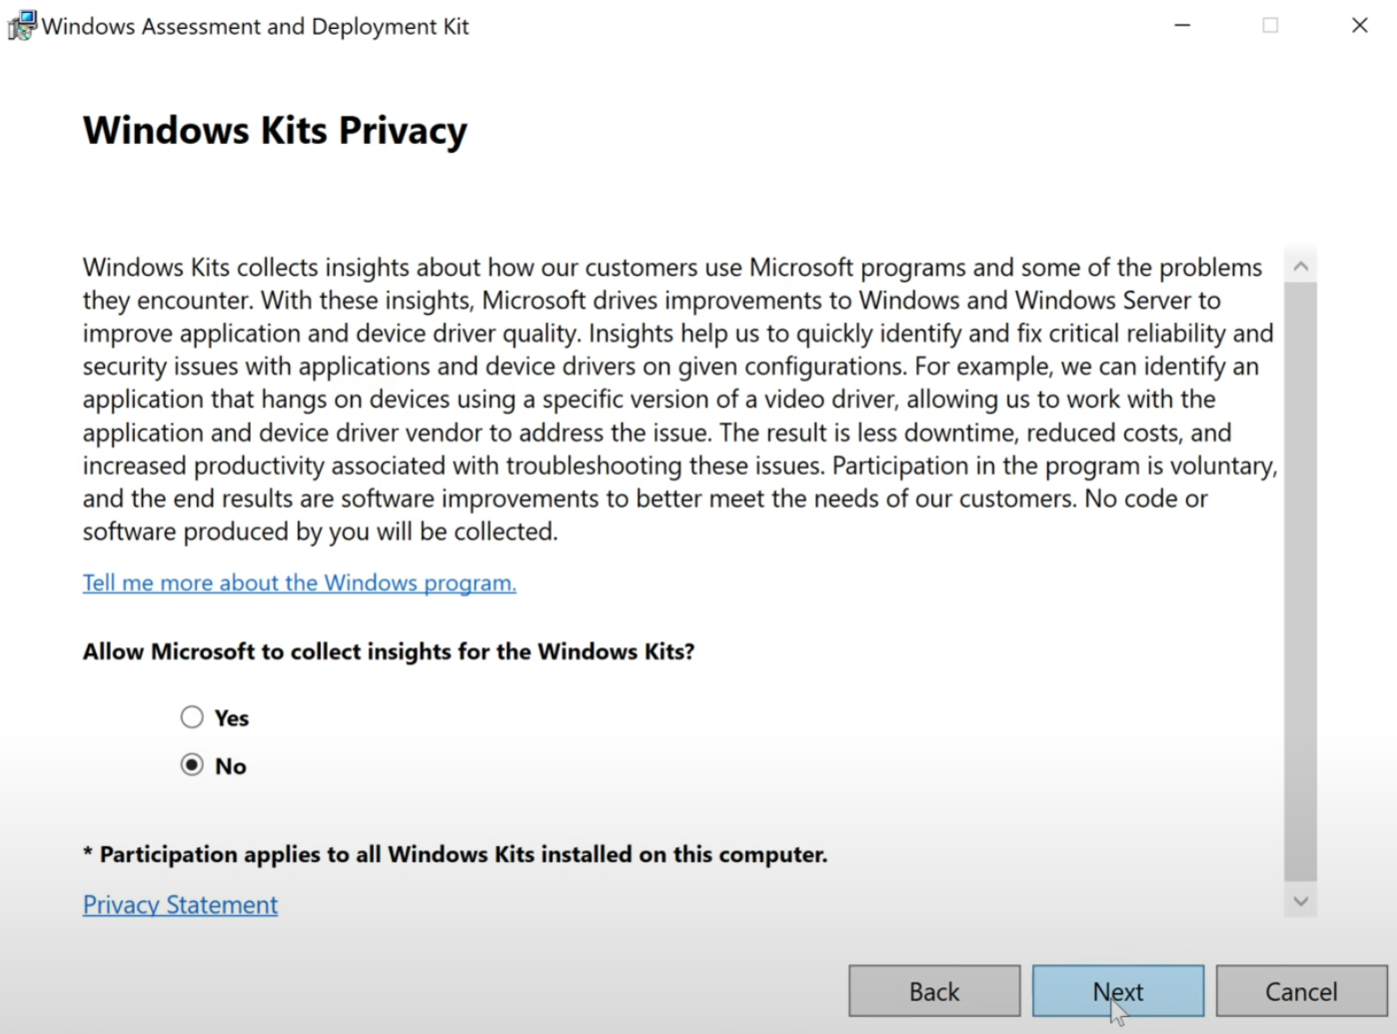
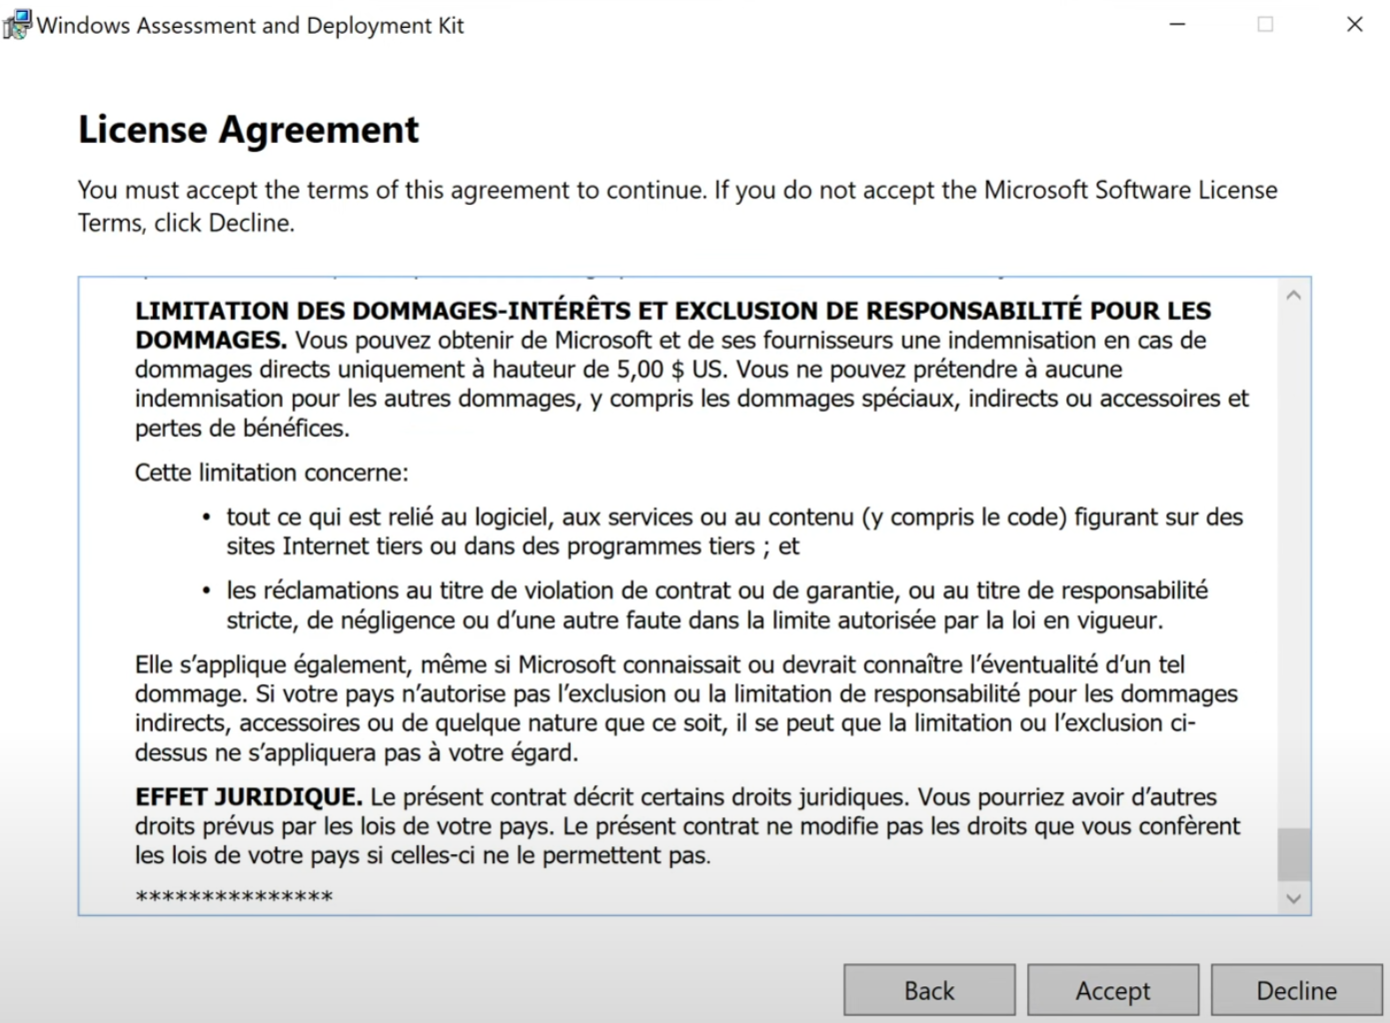
Follow the on-screen prompts for data sharing and EULA and select options according to your preferences.
You will be given the option to select which features within the Deployment Kit should be installed. The default selected items are good for any novice learners but depending on your hard drive space, the important items are the Deployment Tools and maybe USMT. If you have enough space, I would recommend that you install all default items selected here (for defaults, please refer to the image below).
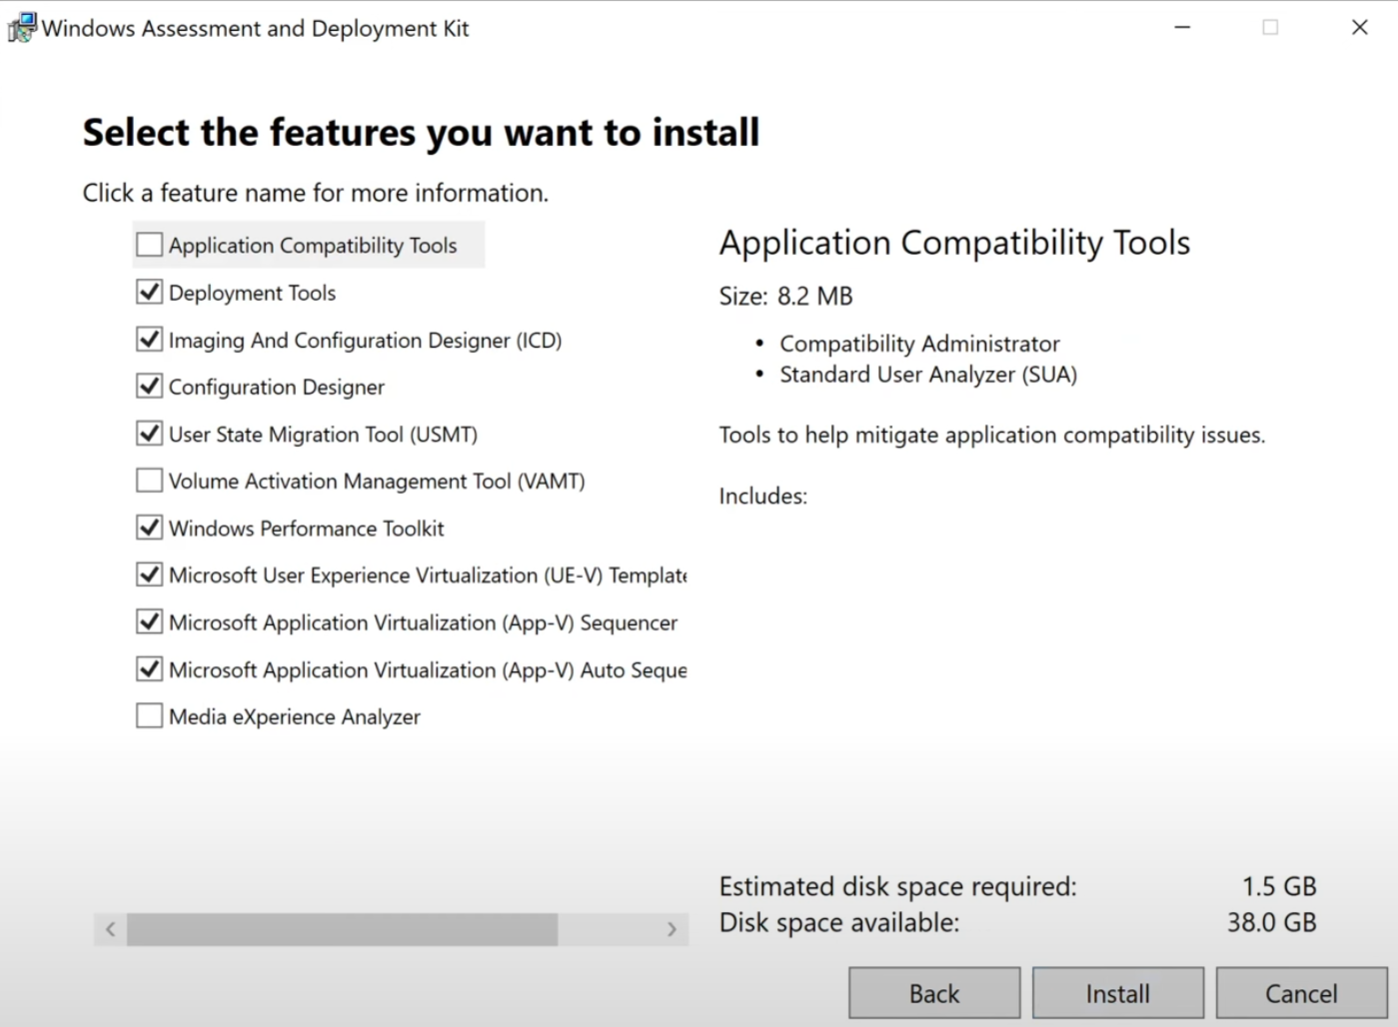
Once the selection is made, click Install. Please note, the installation time may depend on your system performance and Internet speeds. After the installation has been completed, close the install window.
Installing WinPE
Next we will install the Windows Preinstallation Environment (WinPE). Launch the install file in It must be installed in Administrator privileges. Just like with installing the ADK, I recommend that you install this on the local server by selecting “Install the Windows Assessment and Deployment Kit to this computer“.
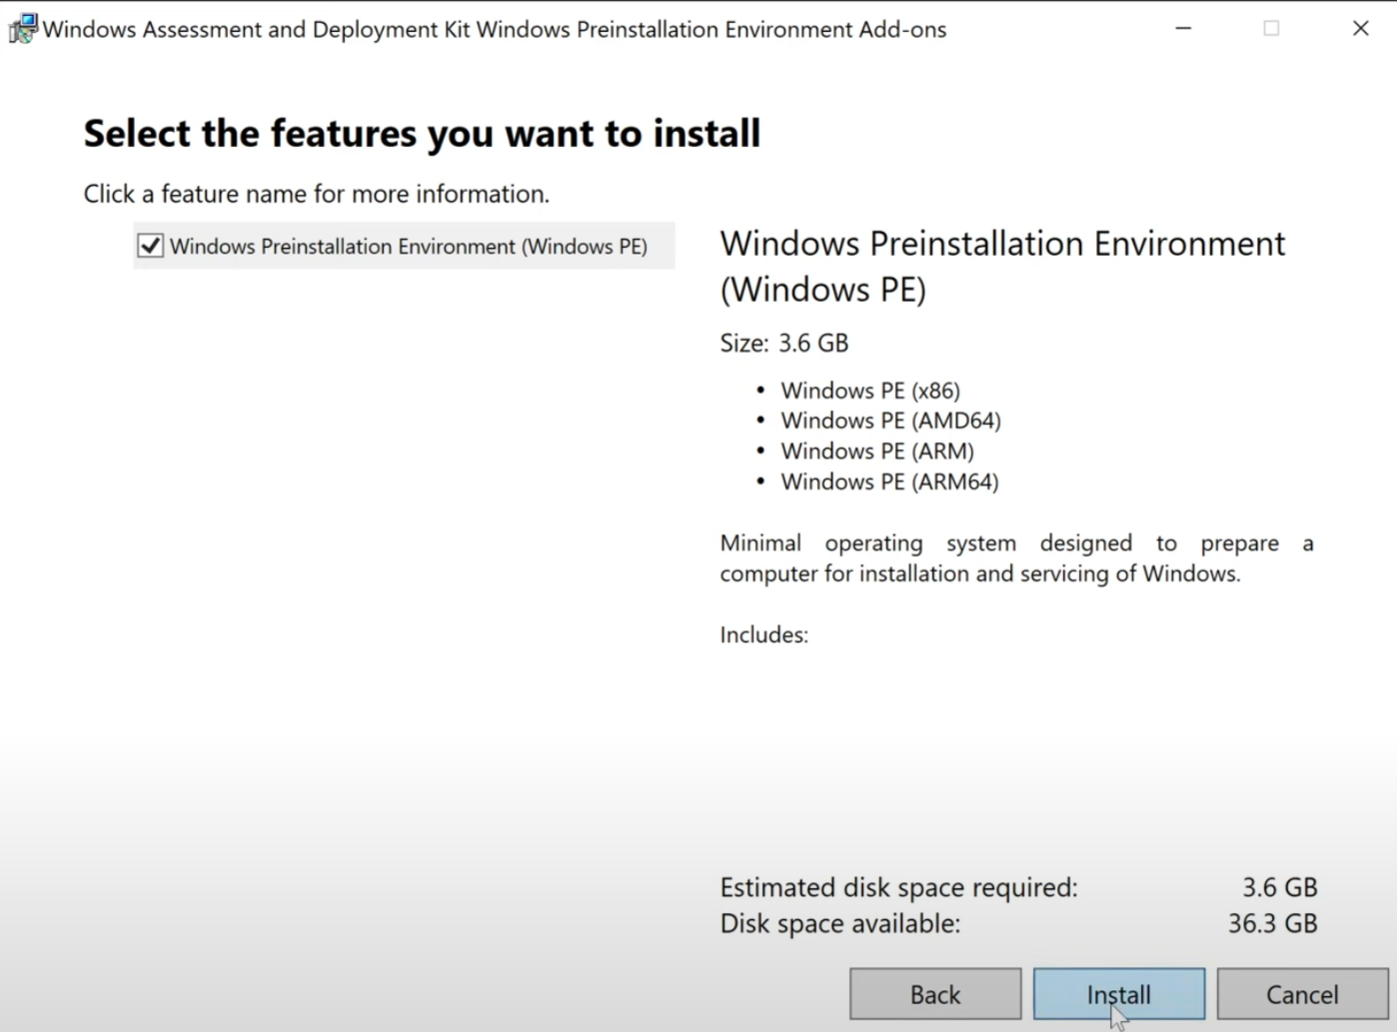
In this installation process, you will be presented with just one feature. Make sure the, “Windows Preinstallation Environment (Windows PE)” is selected and then click Install.
Please note, the installation time may depend on your system performance and Internet speeds. After the installation has been completed, close the install window.
Installing MDT Toolkit
Next step is to install the MDT application using the downloaded files from the Microsoft website. Please note, both the x64 (64 bit) and x86 (32 bit) versions of the MDT Toolkit. In 2024, it is recommended to download and install the x64 version. Once downloaded, launch the application to install. As long as you are logged into your Windows Server with an Administrator account, the installation file will run.
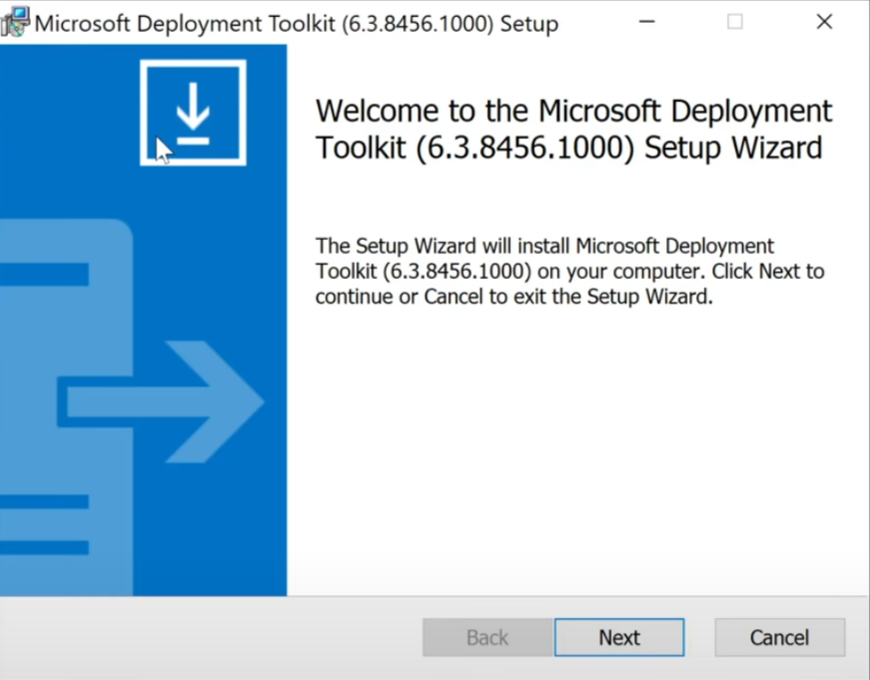
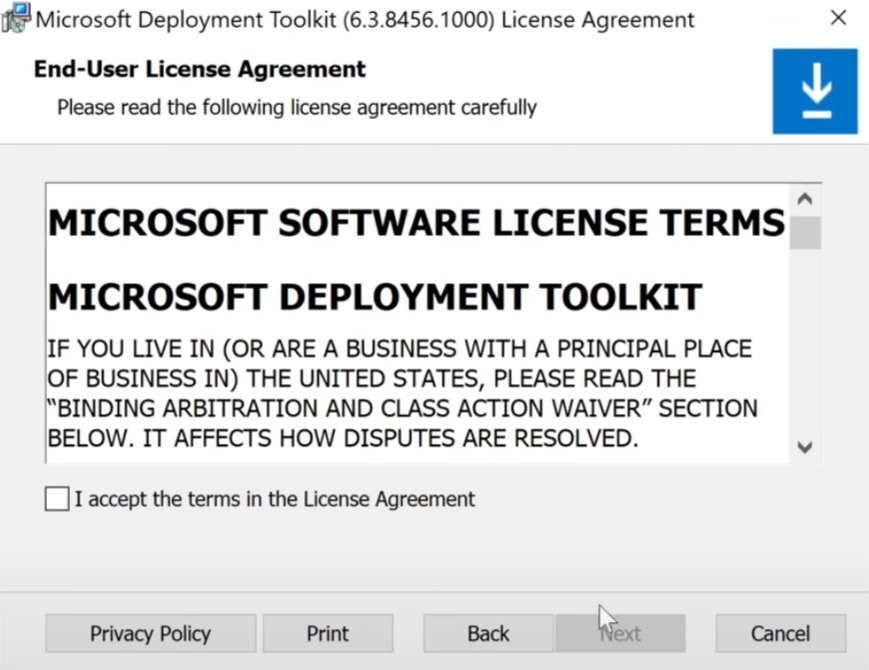
Click next and accept the License Agreement.
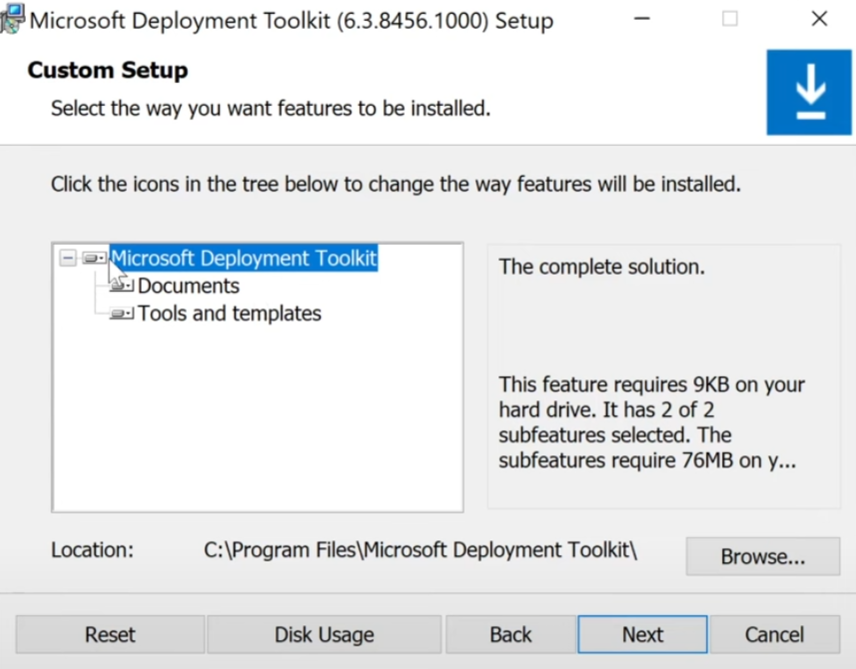
On the Custom Setup screen, you can leave it as default and click next.
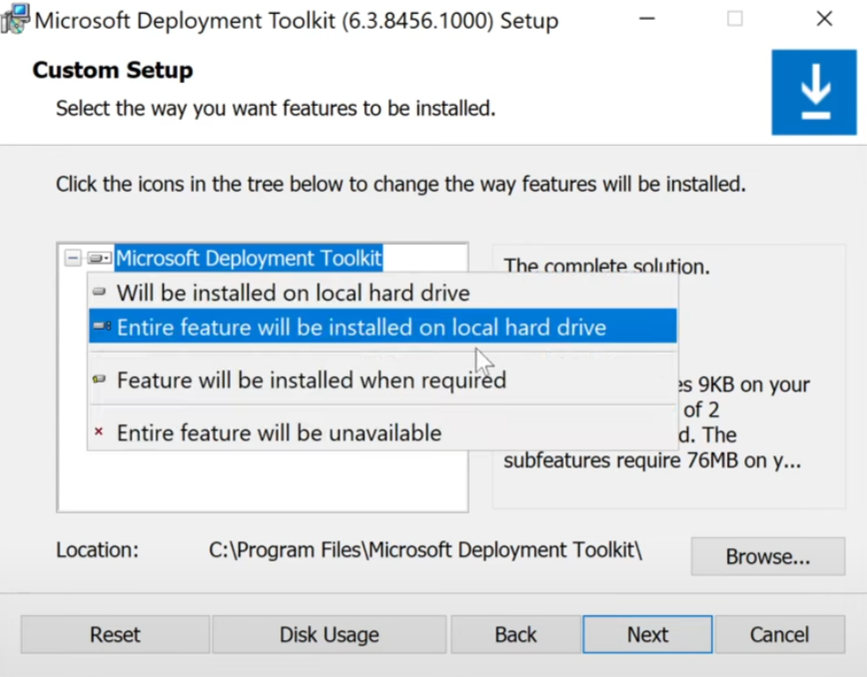
You may also click on the icon next to the highest level, Microsoft Deployment Toolkit, and choose “Entire feature will be installed on local hard drive”. This will take up bit more space on your server hard drive.
Click next and select your preference for sharing information with Microsoft for the improvement program and then click Install on the next screen.
Installing WDS server role
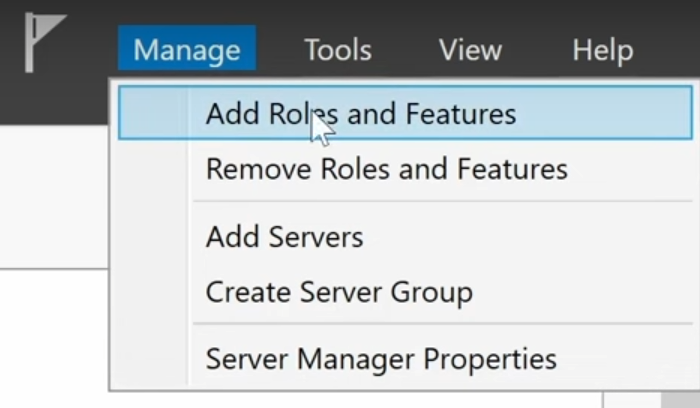
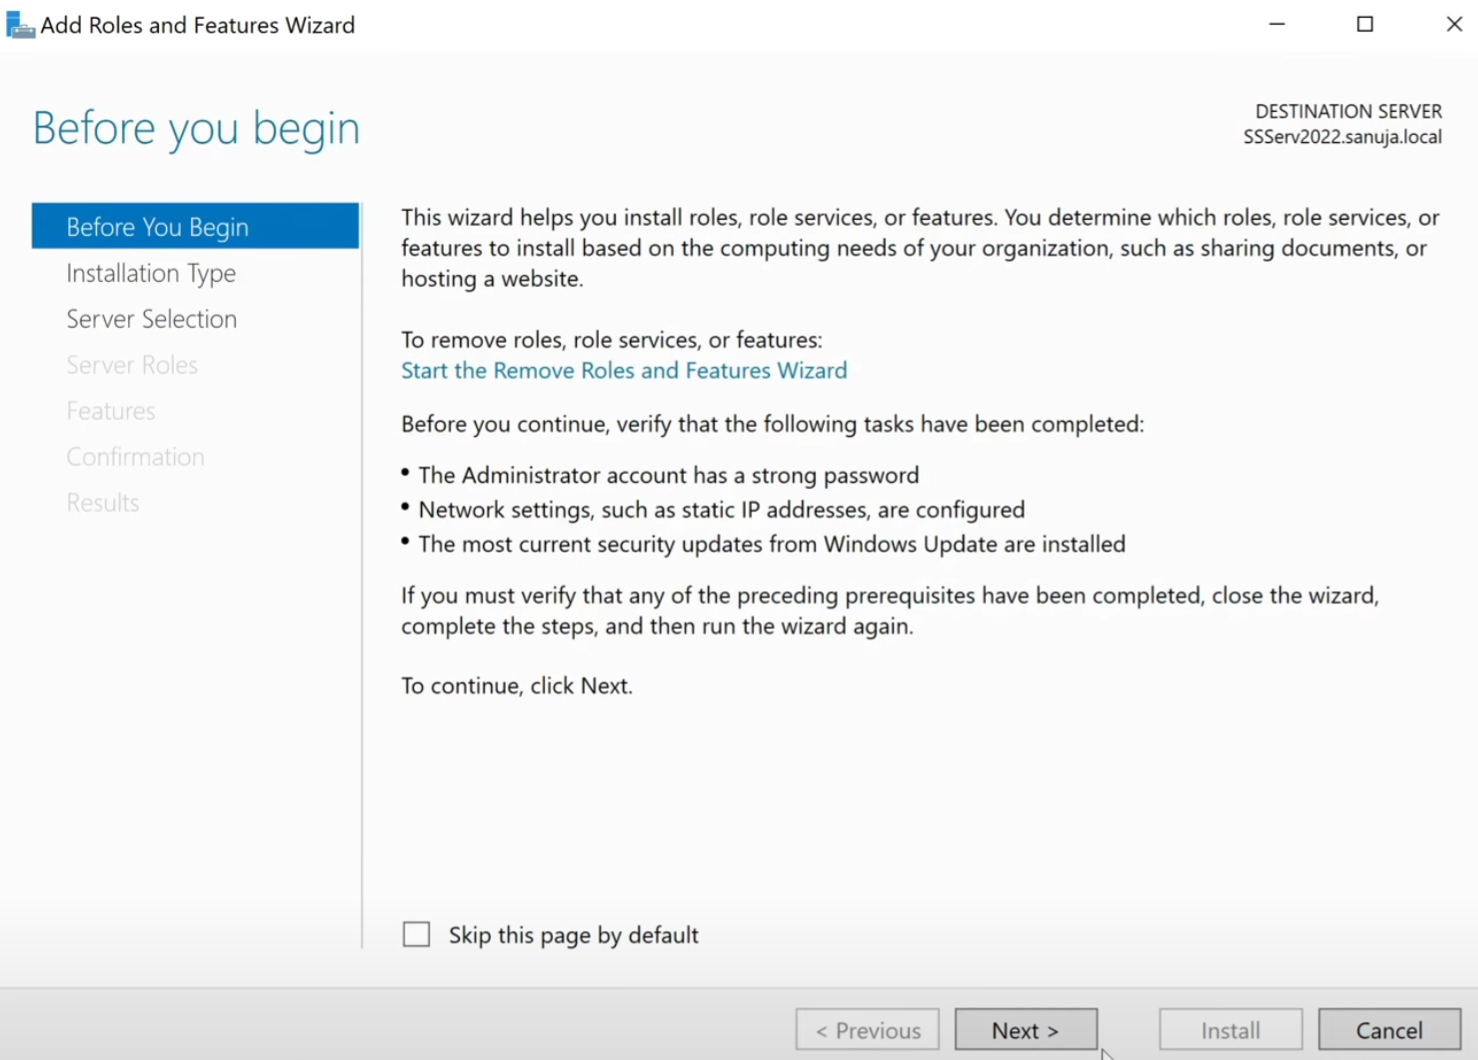
The Microsoft Deployment Services (WDS) is a server role that can be added to a Windows Server using the Server Manager application. Open your Server Manager > Manage > open Add Roles and Features.
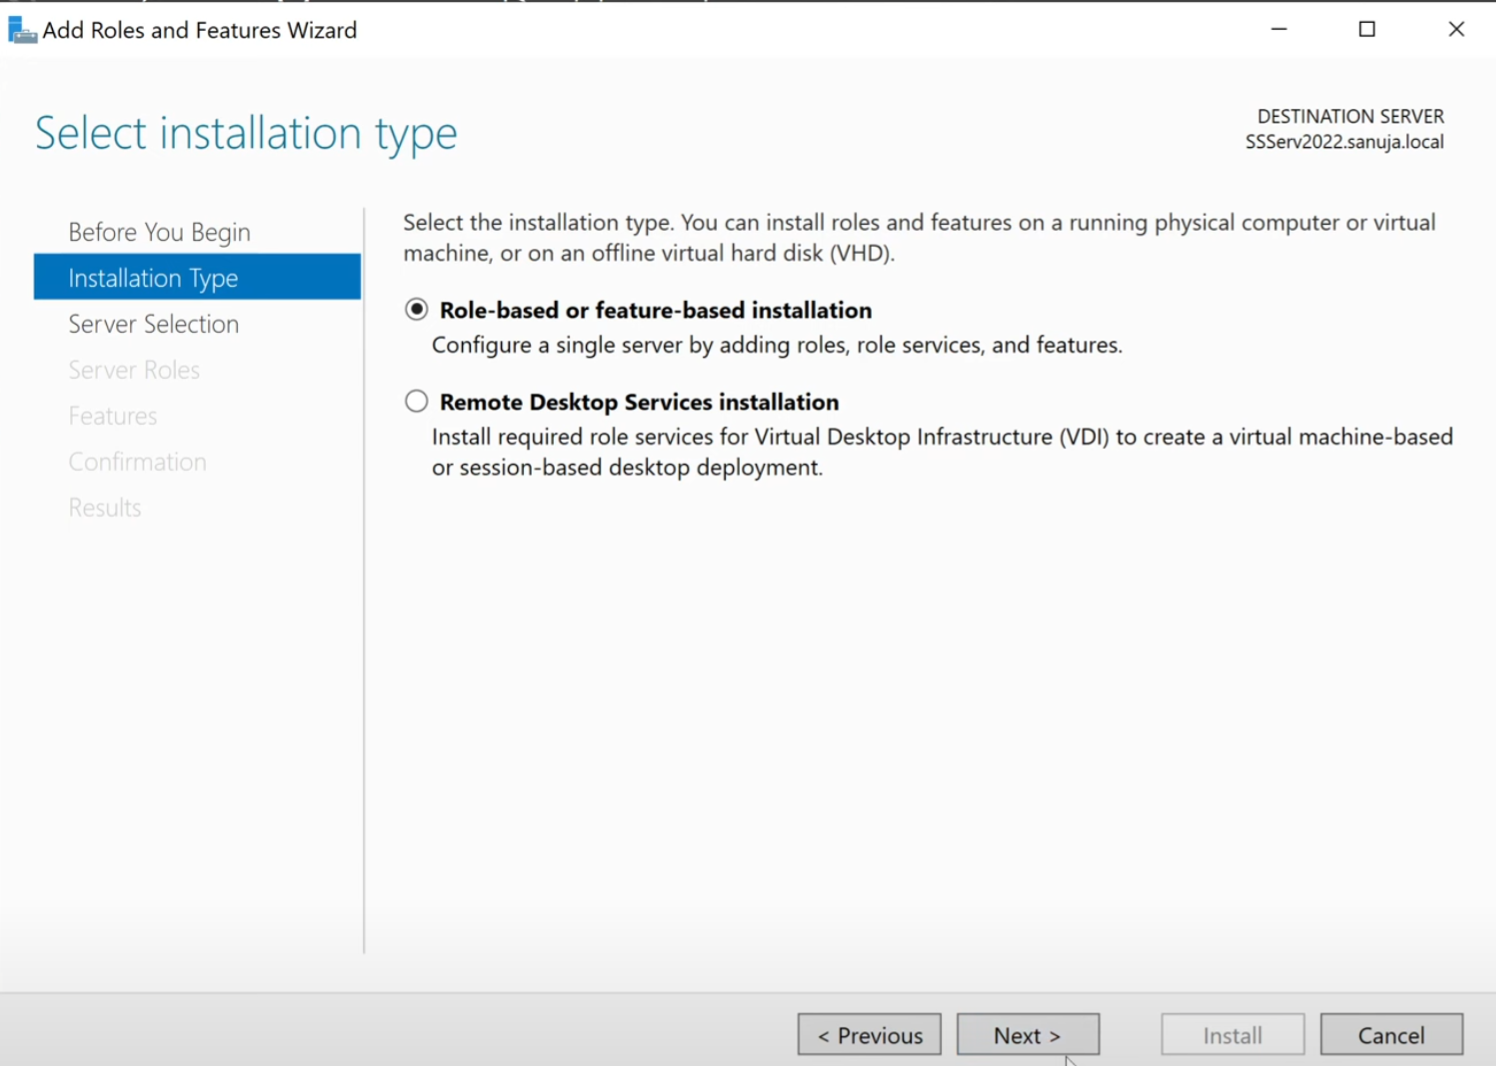
Click Next on the Wizard window and select Role-based or feature-based installation option.
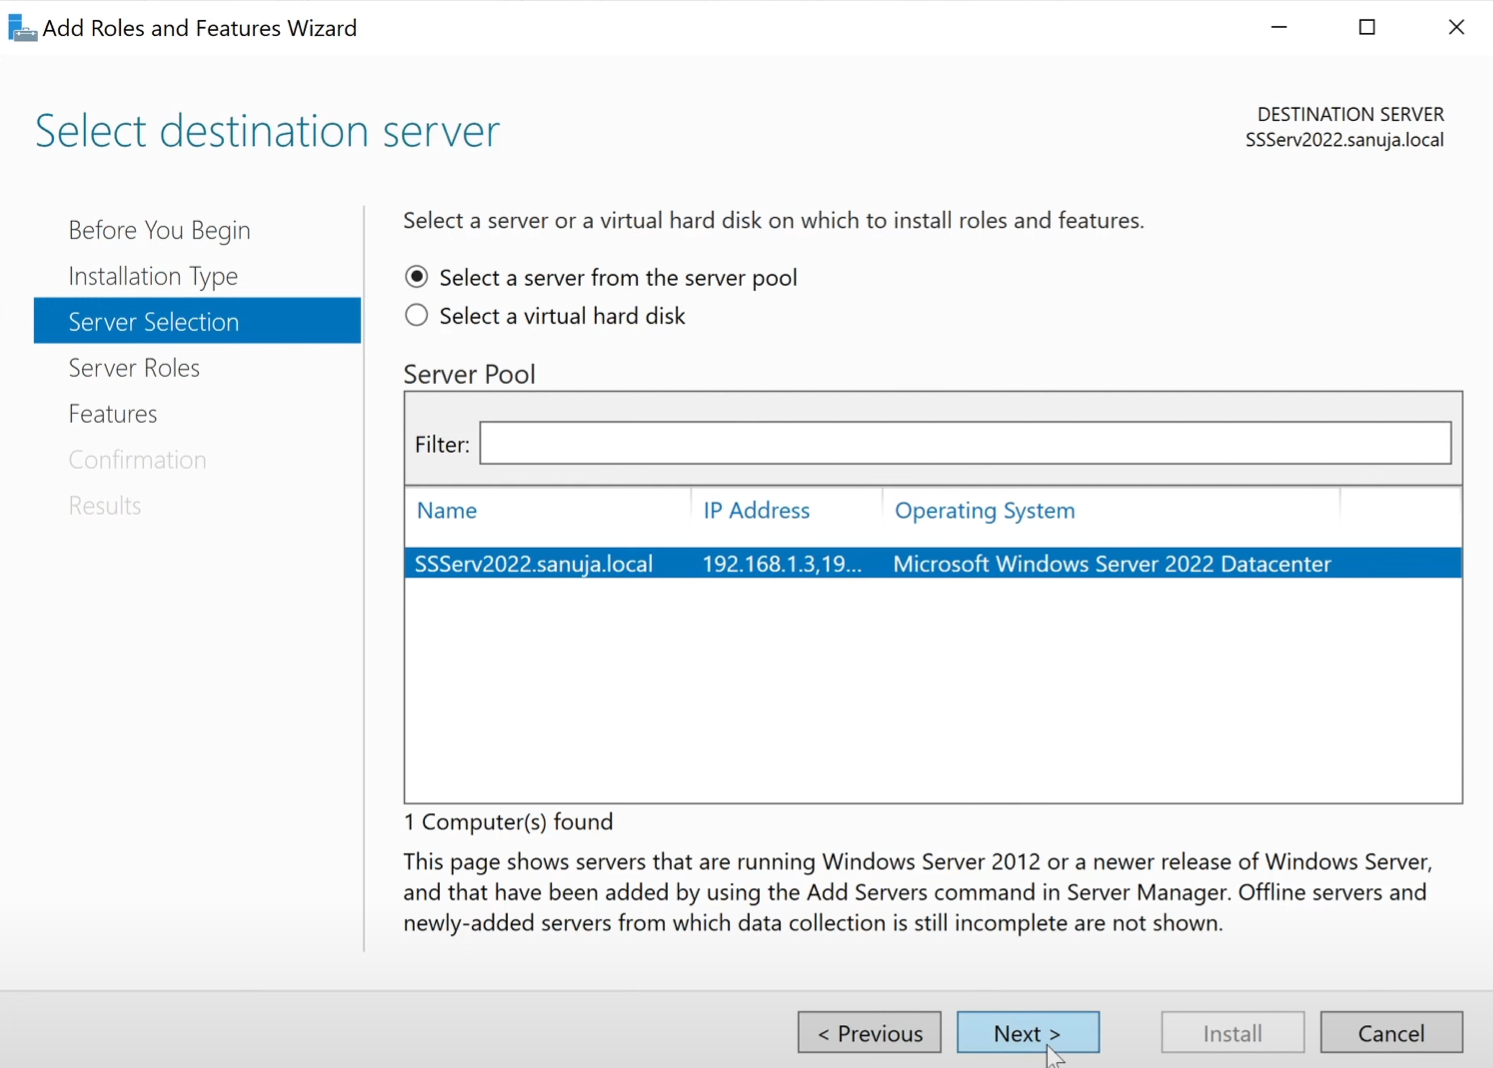
Select your server. If this is being installed on a stand-alone local server, it should be the only one that appears under Select a server from the server pool list. This would be the case for most of you. Then click Next.
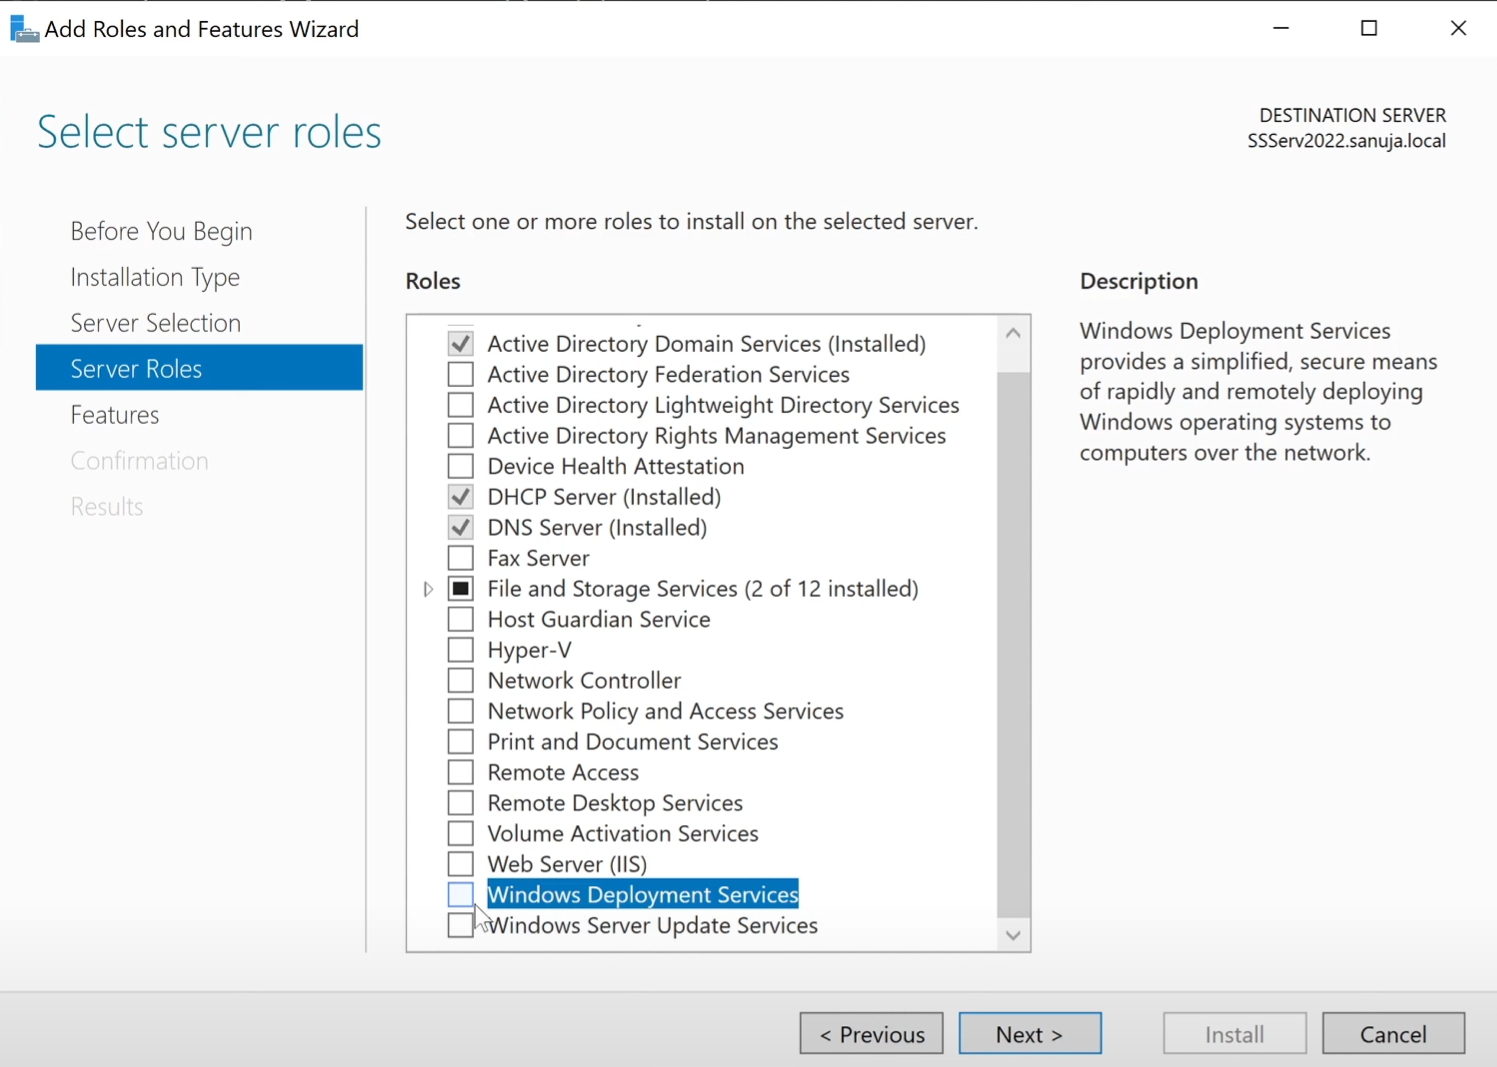
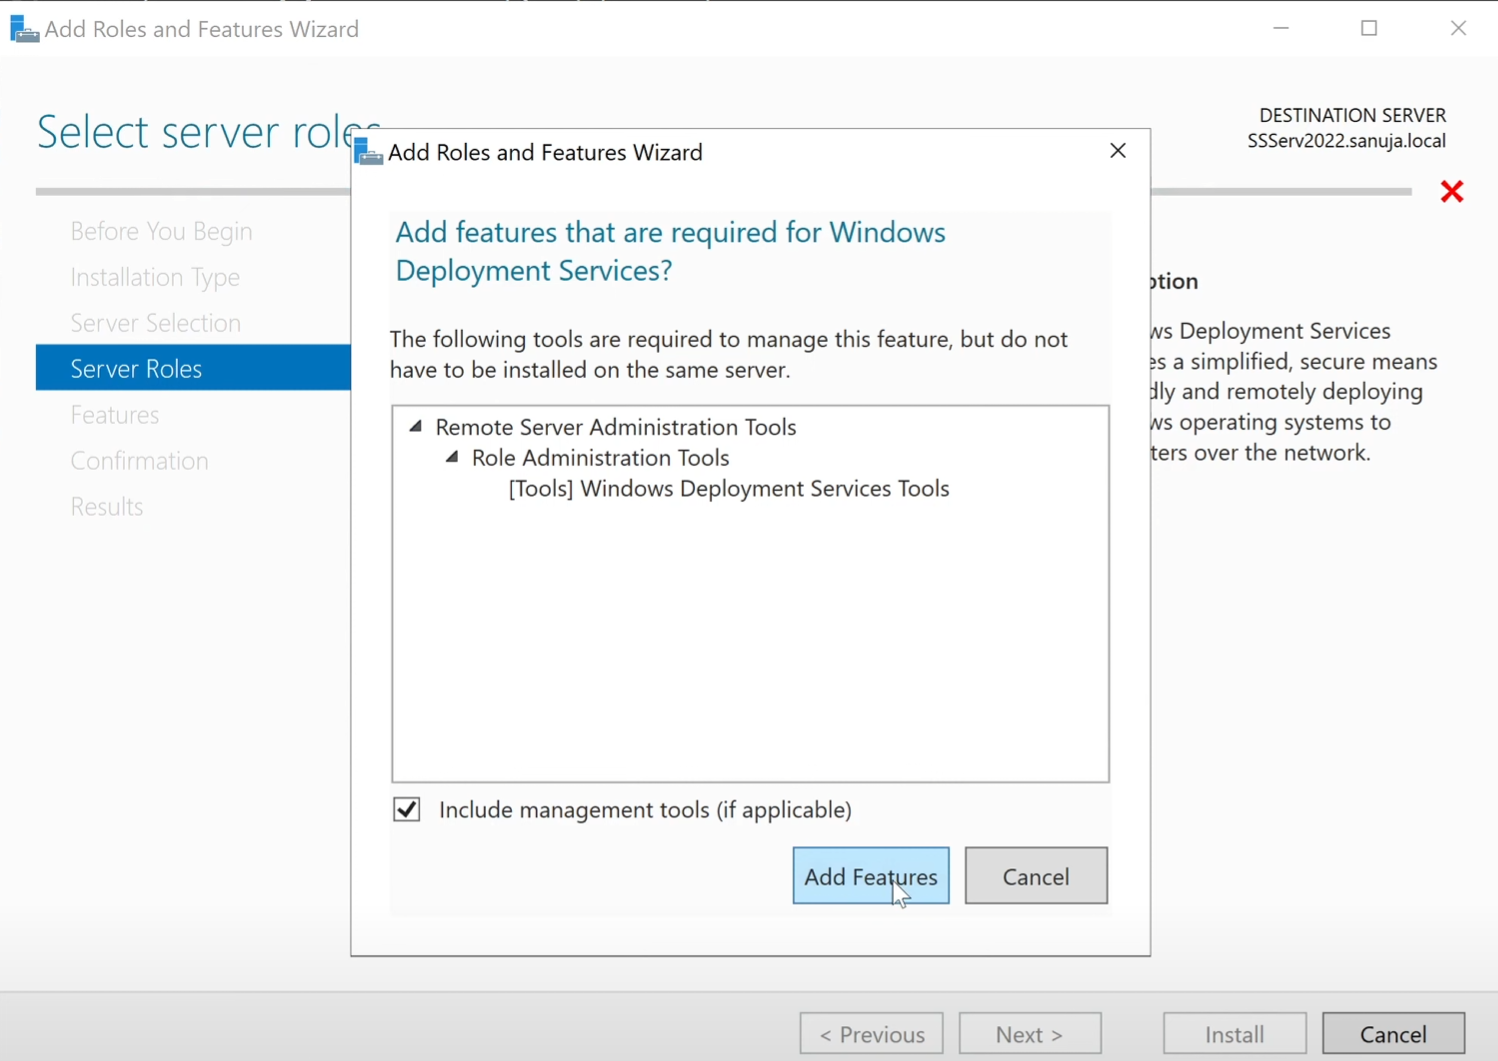
On the Server Roles screen, select Select Windows Deployment Services. This is what we need. It should give you a pop-up for the confirmation of additional features. Select Add Features on that pop-up. Click Next.
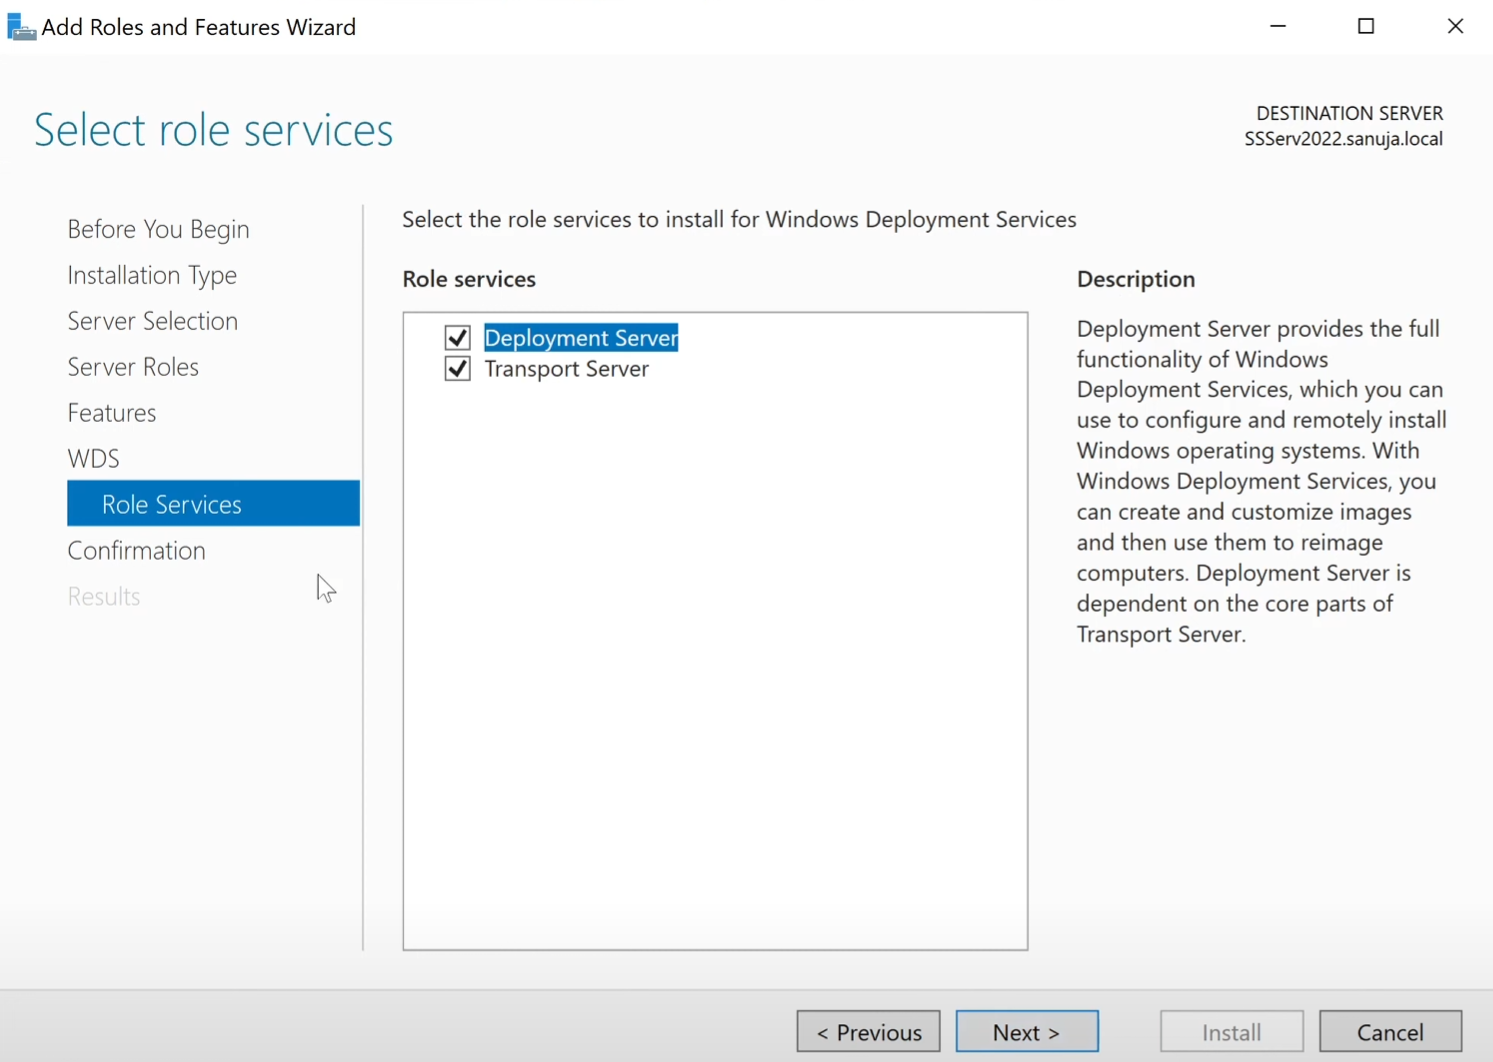
On the next screen, make sure both Transport and Deployment servers are selected for install. Click Next.
On this next screen, you may want to select to restart your server if your server is a fail over backup server or non-critical server. But this particular install does not require a reboot of the server.
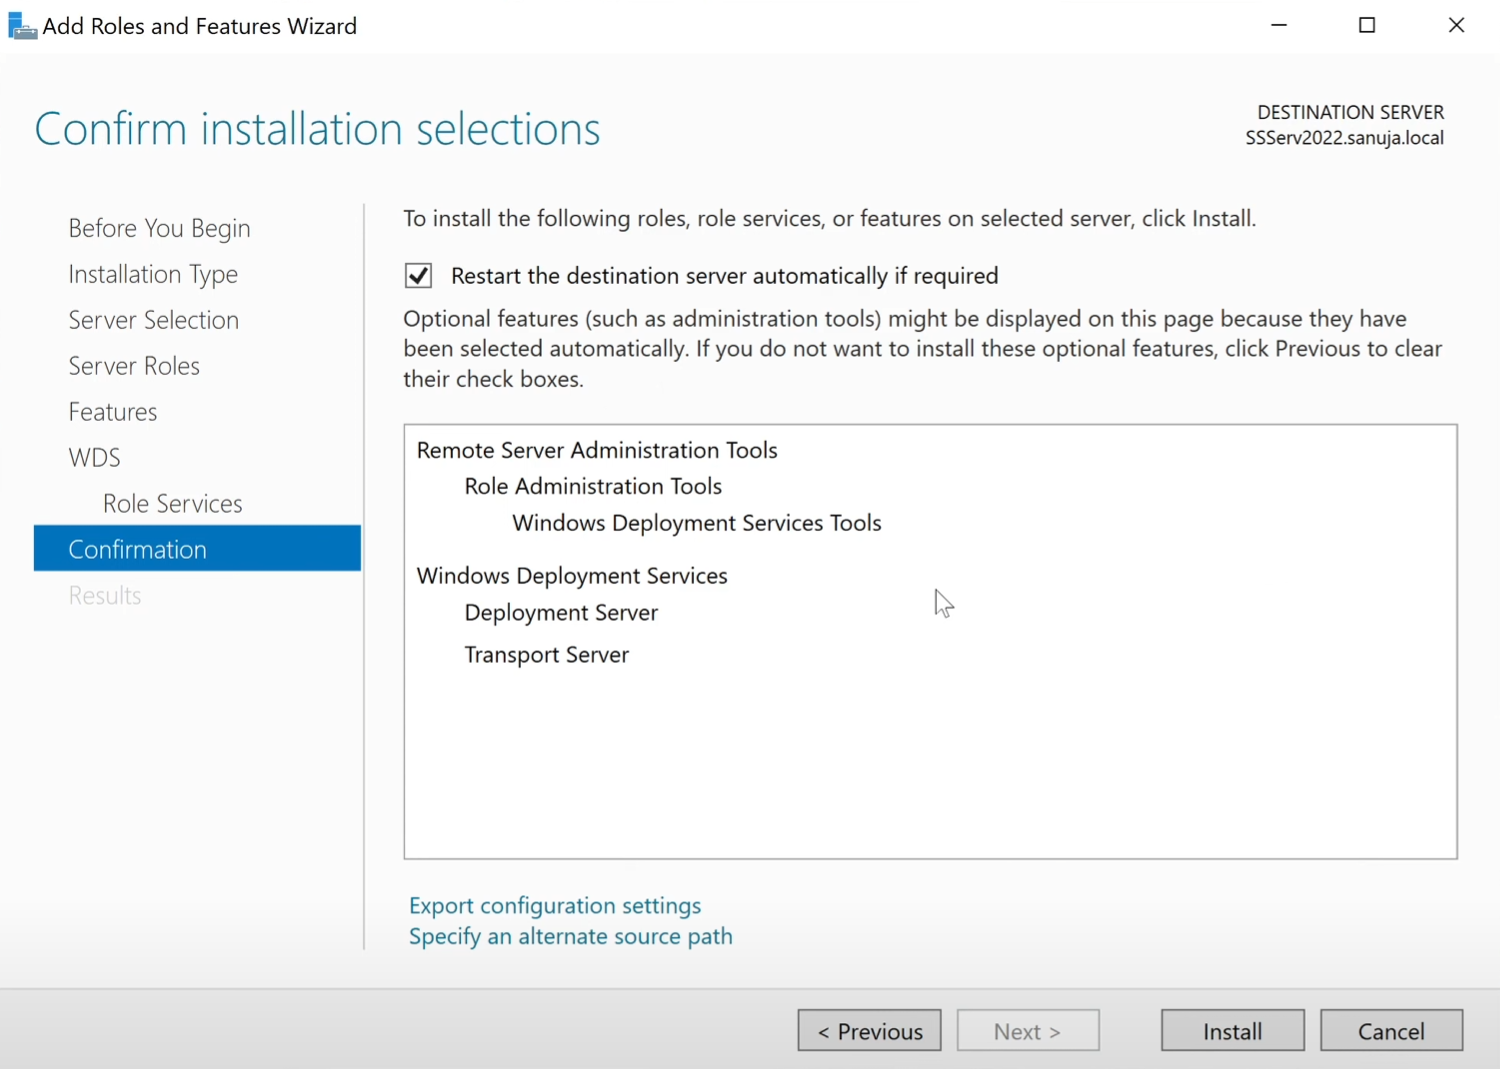
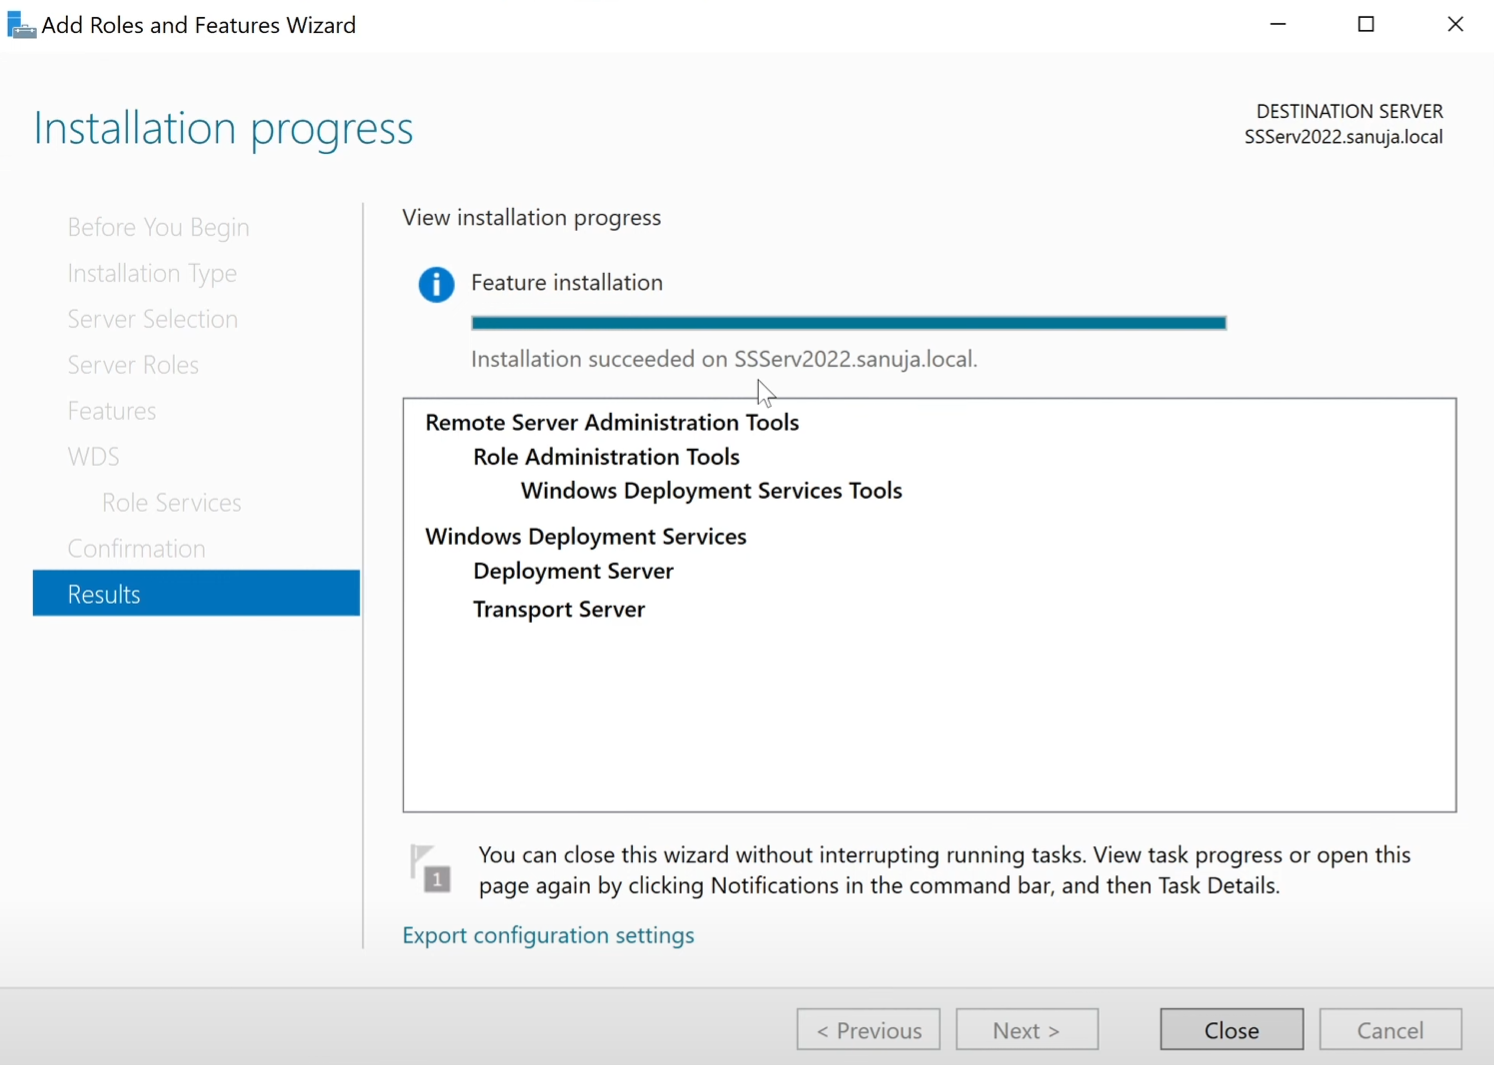
You should get a confirmation screen next. Look for any errors and warnings. If you see any errors or warnings, some of them can be eliminated with a simple reboot of your device. But generally, you should not see any errors on the last screen.
That is it! You now have all the requirements needed to configure MTD on your Windows Server. On my next article, I will go into how we can now use these installations to configure and create an MDT. But in case you cannot wait, please check my complete tutorial from install to deployment posted below.