This is how you can create Home Folders for your user in Active Directory (AD) in Windows Domain Controller (DC). You can create folders for multiple users (even hundreds of users) with few clicks by following these steps. For a video demonstration, please check my YouTube video.
I used Windows Server 2022 for this demonstration but these same steps can be followed on Windows Server 2019. Please note that you must be logged into the Windows Server with an account with Administrator privileges to perform some of these actions. If you are not logged in as an admin, you must have access to an admin account in order to enter those credentials when requested (pop-up)).
Video Guide
Step-by-Step Guide
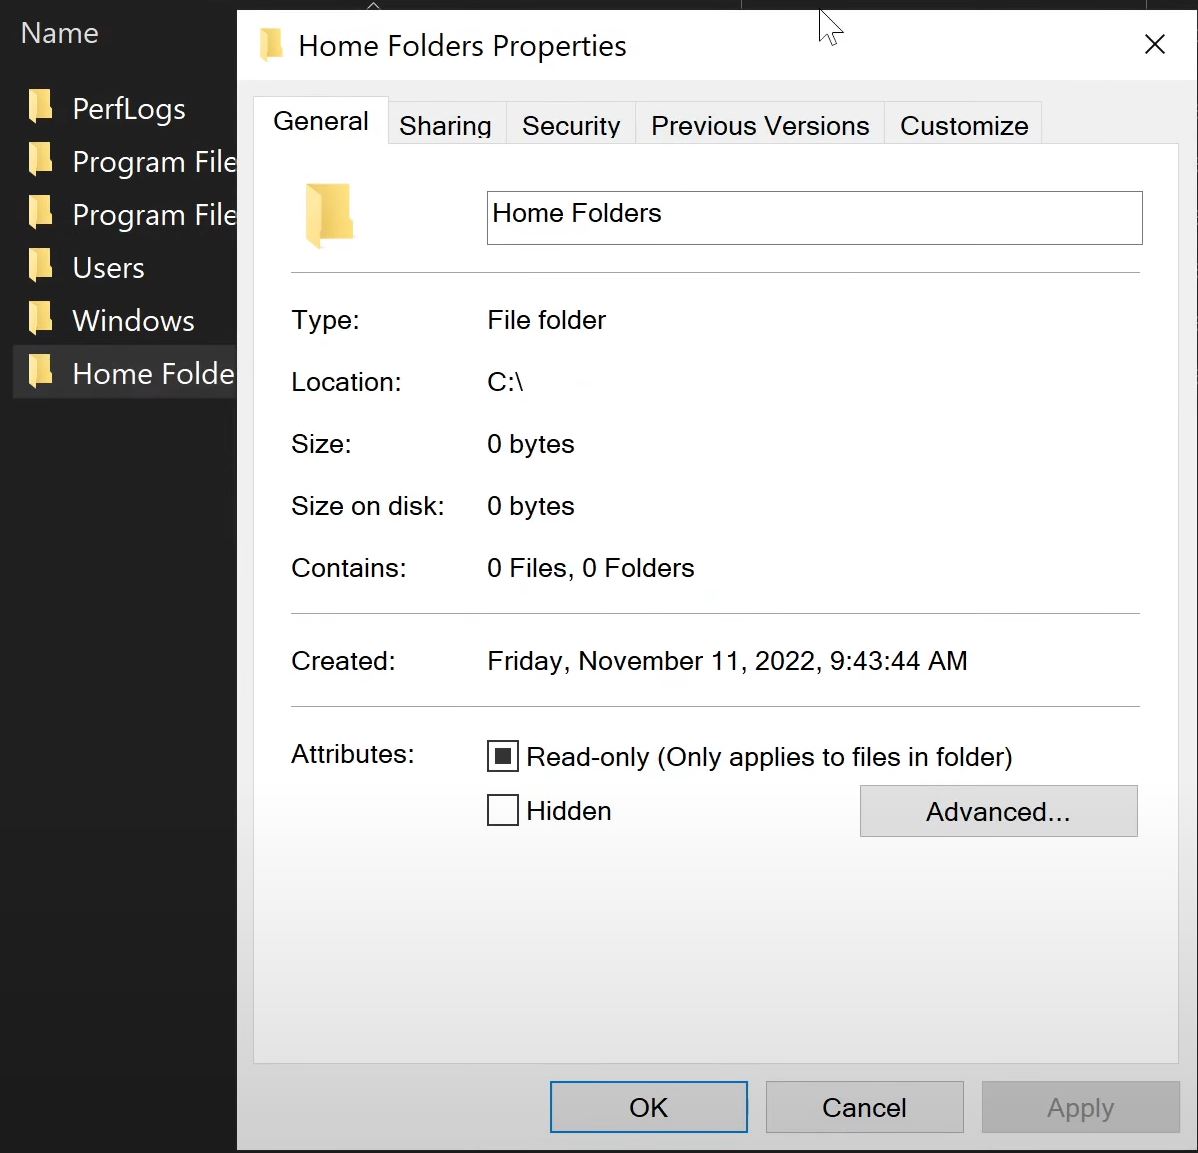
Create a folder to be shared within your network. This is just like creating any other folder. Right click on any empty space of a main folder, New > Folder or you can use the “New folder” option under Home tab of the File Explore. Then right click on the folder you created after naming it appropriately (this name can contain spaces /whitespaces, but in proceeding steps, you can change the network folder name to remove white spaces) and select Properties to open folder Properties window as shown below.
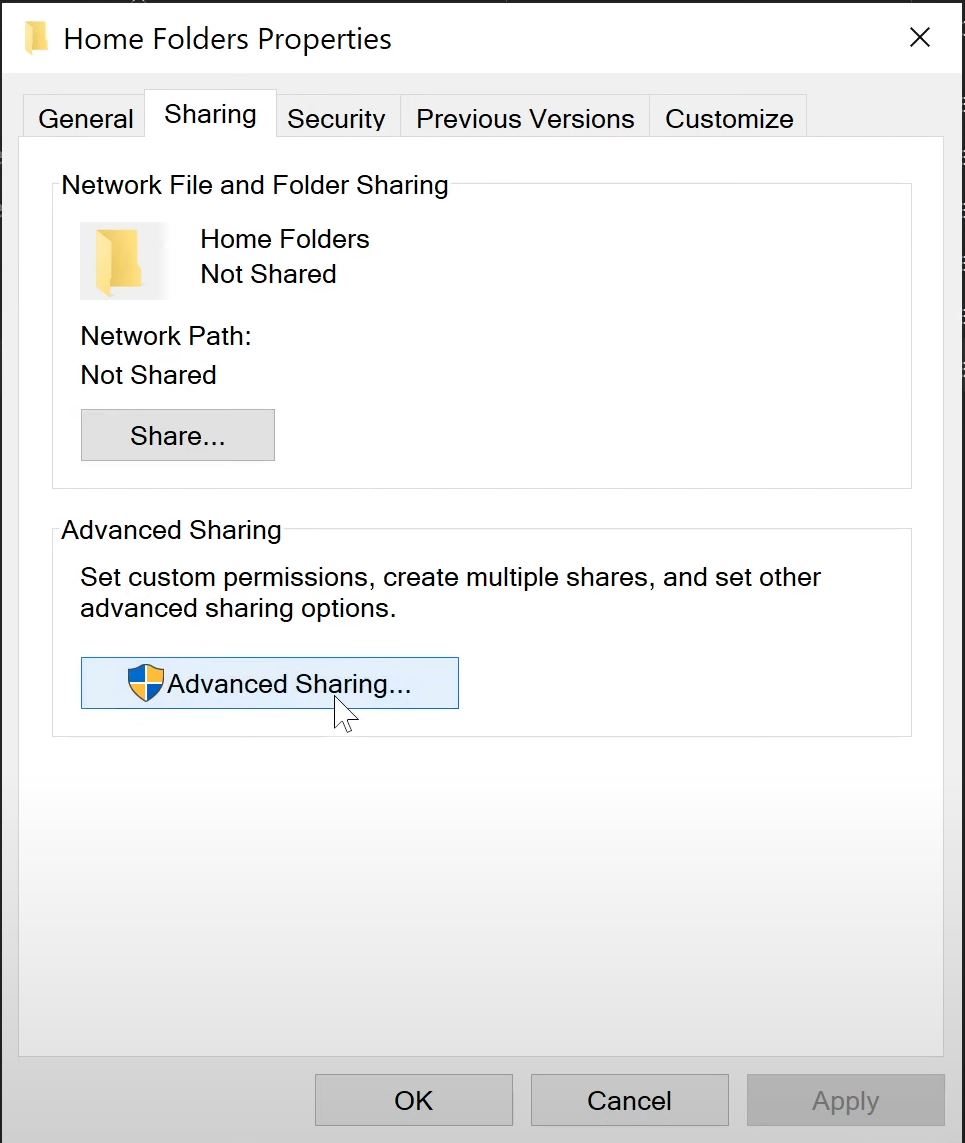
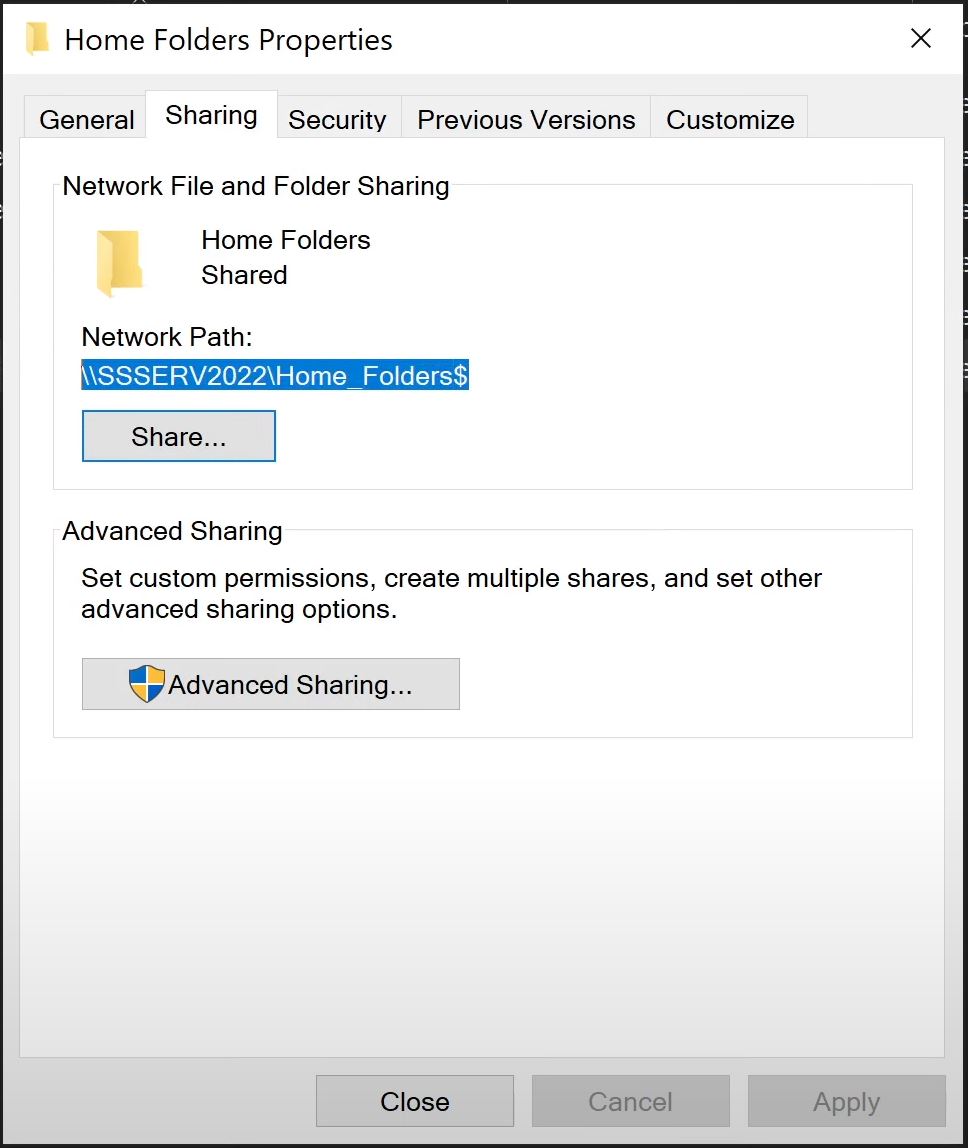
Under Properties, negative to the Sharing tab and then click Advanced Sharing…. You must be an Administrator (logged in with an admin account or your have admin account credentials that can be used) to perform this action. This is also the case for few of the proceeding steps in this guide.
Under the Advanced Sharing window, select Share this folder and now you can update the Share name: under the Settings section. This is the name in which the network will use to share this folder. As mentioned above, it is not recommended to have whitespaces when sharing on the network. Here in this example, I changed the Share name: to “Home_Folders”. The special character, $ at the end of this name makes this folder invisible to your users. This is done for security reasons. The users do not require access to this main or “root” folder. What they need access is their user folders within this folder. Hence, by adding the $ character at the end of the folder name, we can hide this root folder.
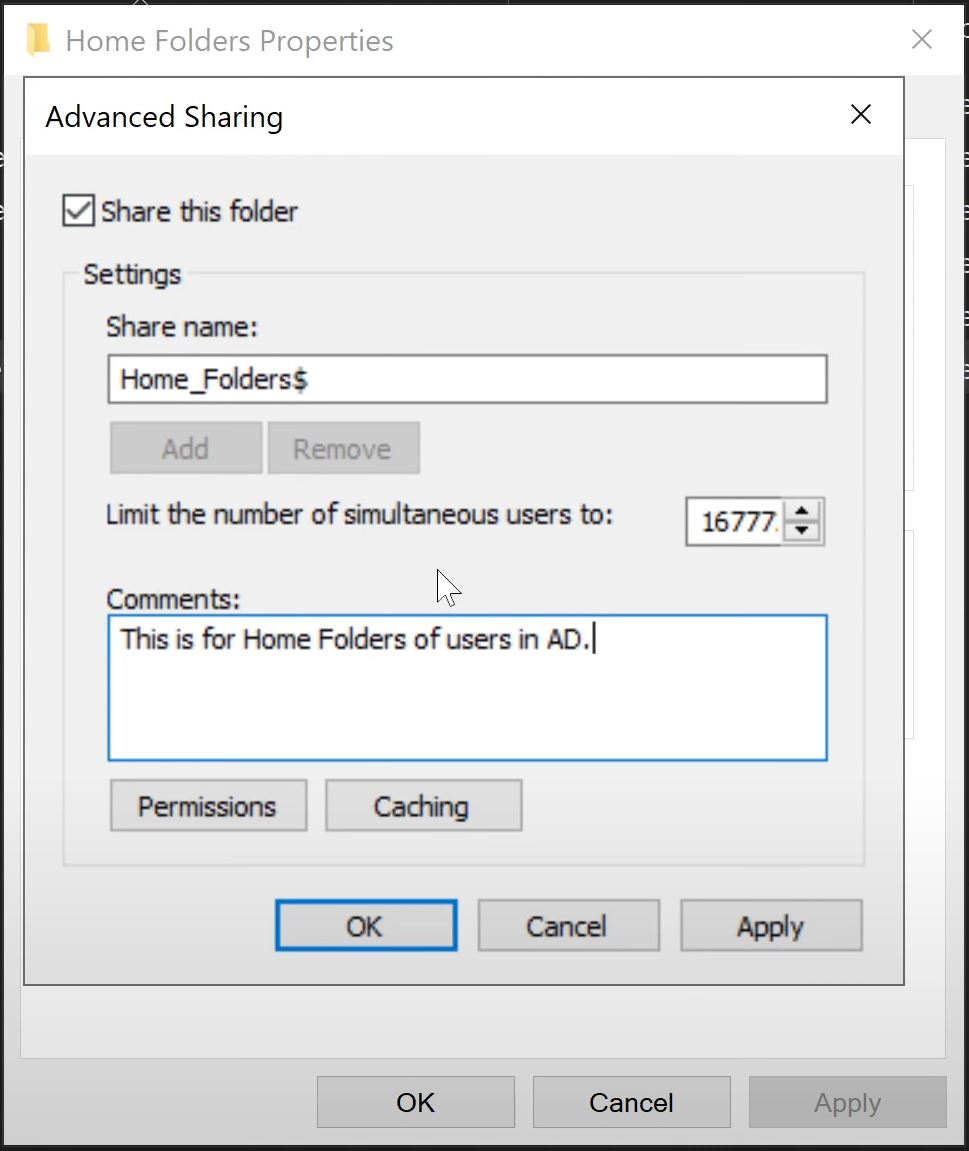
You can also add a comment under Comments: section. This has no operational value but rather used for system administrators to keep track of folders. Click Apply.
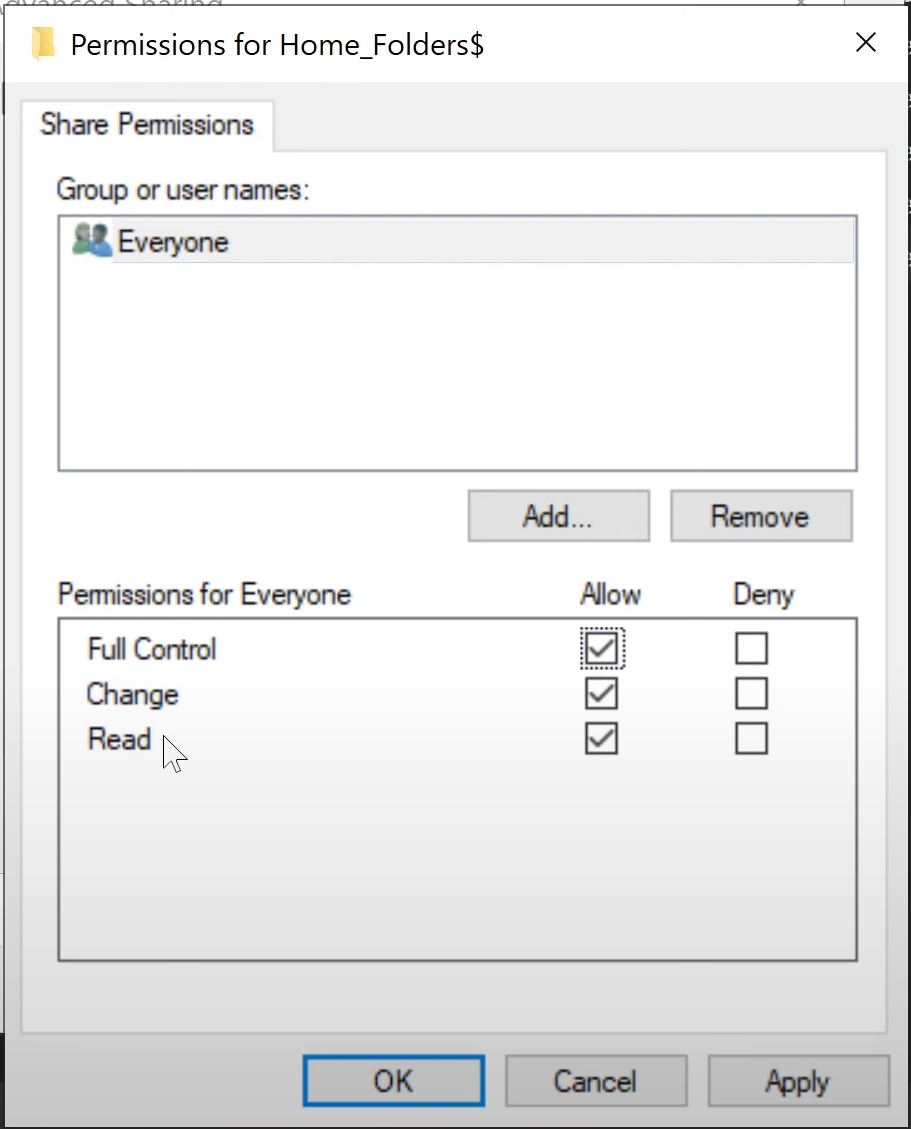
Click and open the Permissions windows (button right bellow the Comments: section. Under Share Permissions, you will see a AD Group titled “Everyone”. Highlight/select this group and change the Permissions to Full Control. Then click Apply and OK.
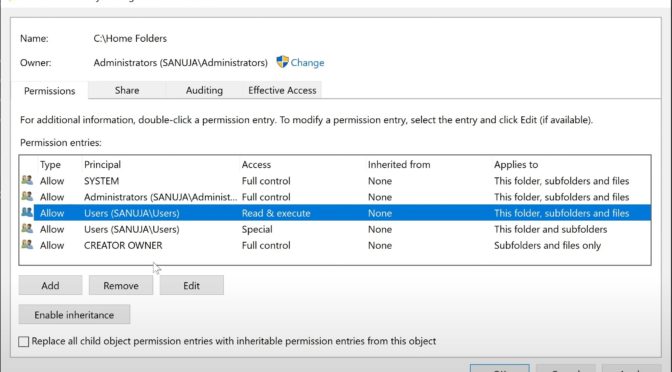
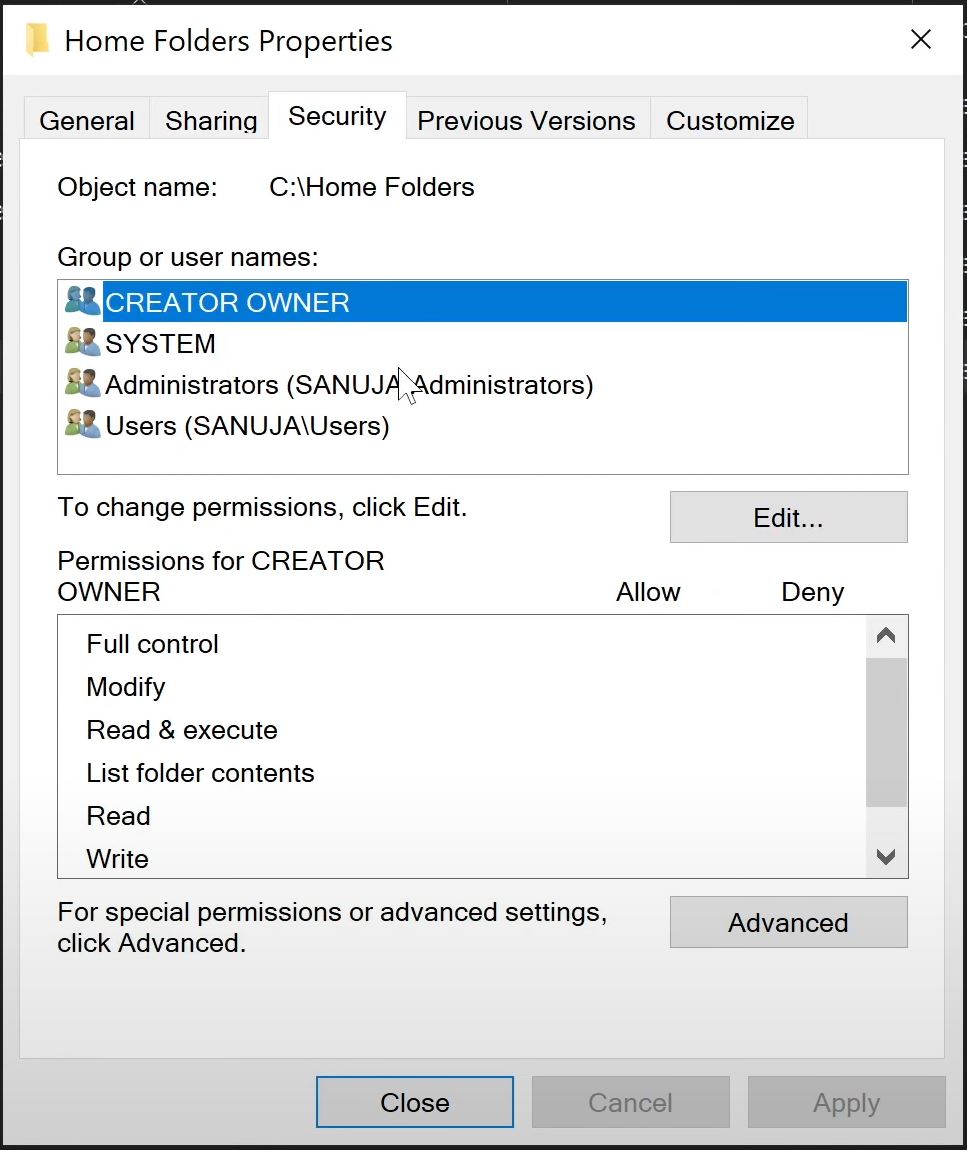
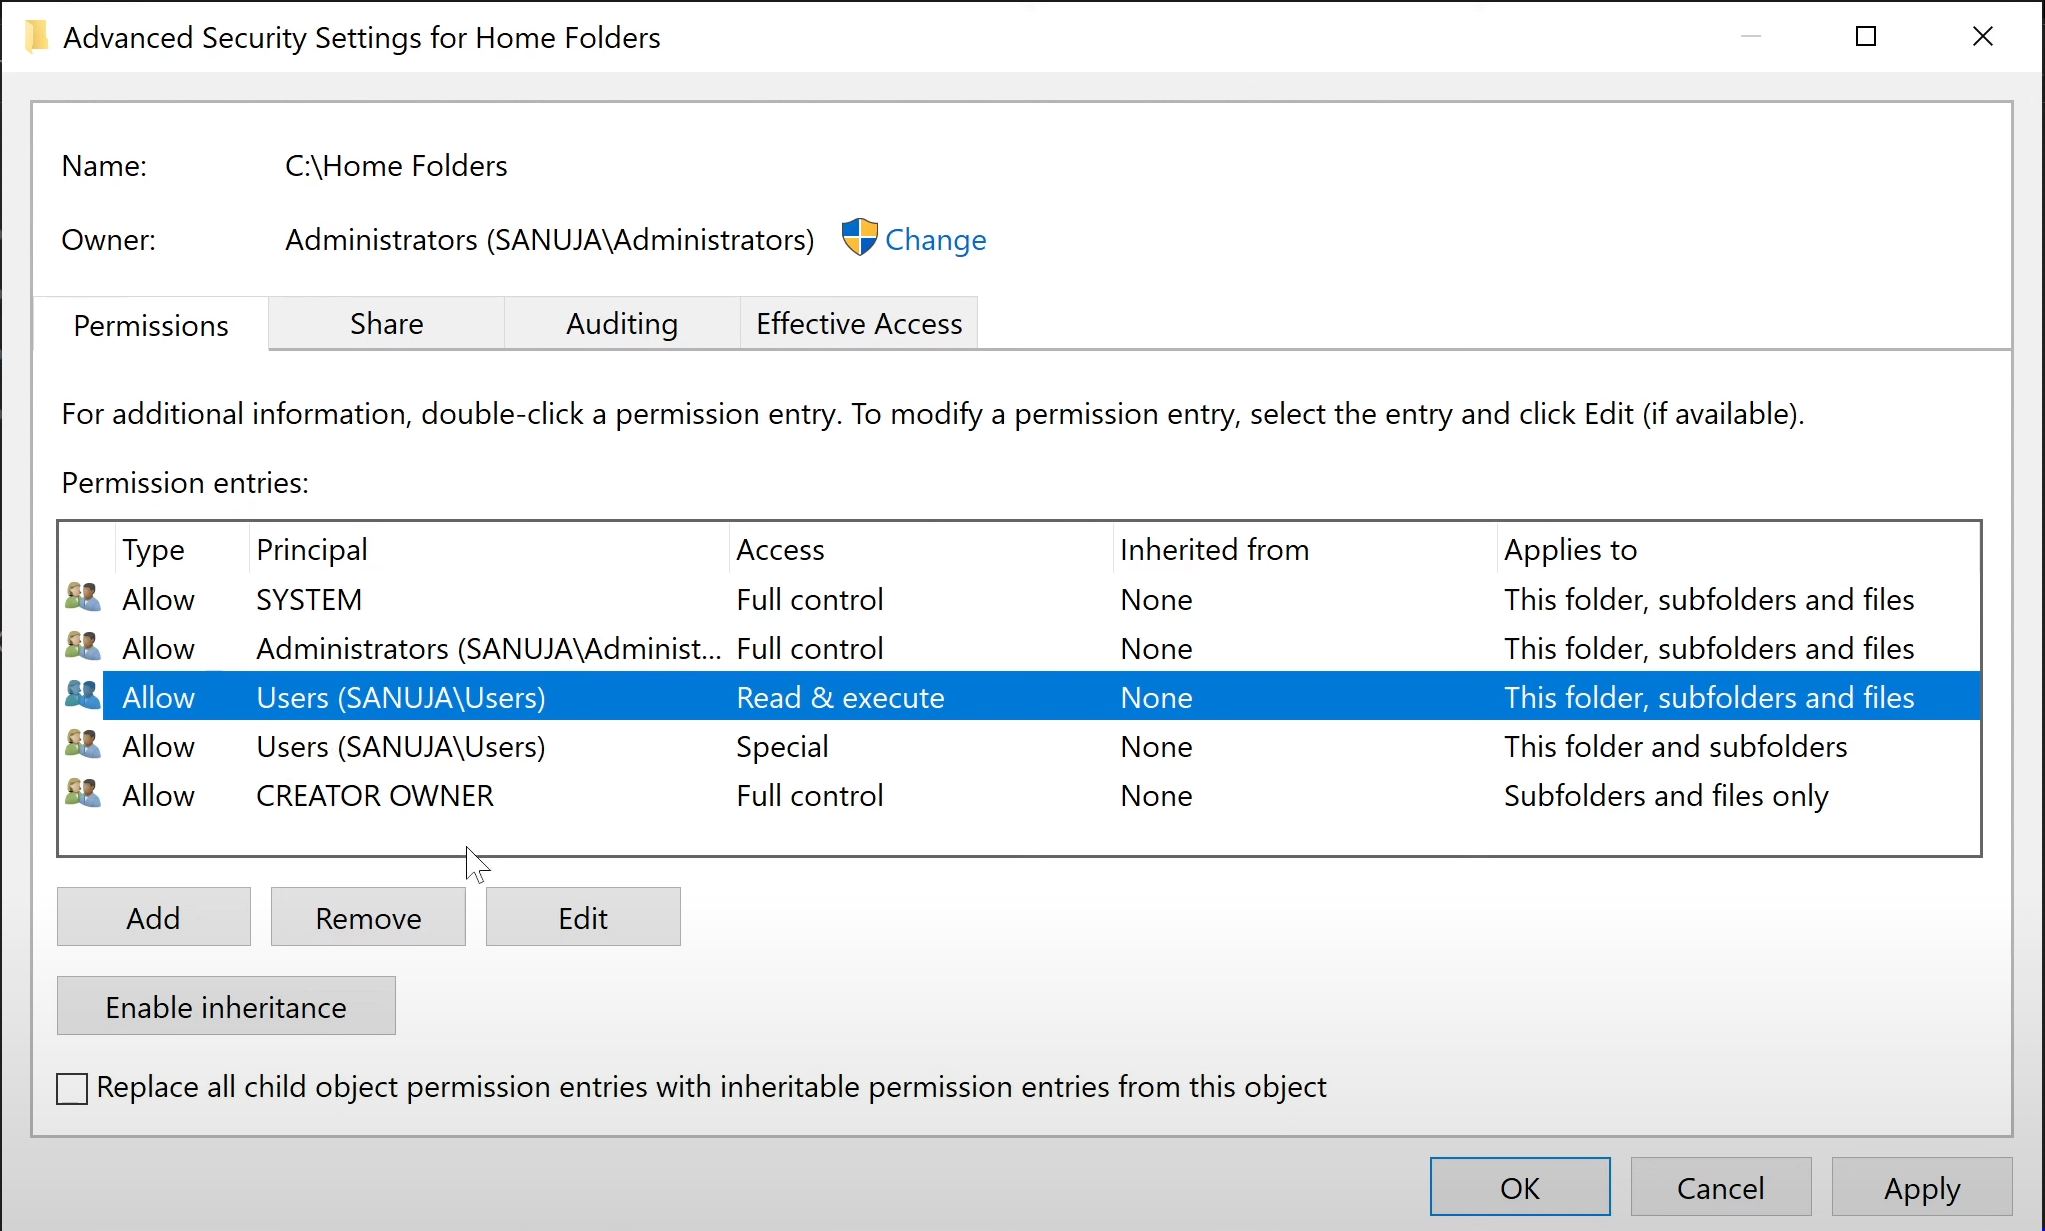
Navigate to the next tab in folder Properties, Security. In the Security tab, open Advanced Security Settings window by clicking the Advanced button near the bottom.
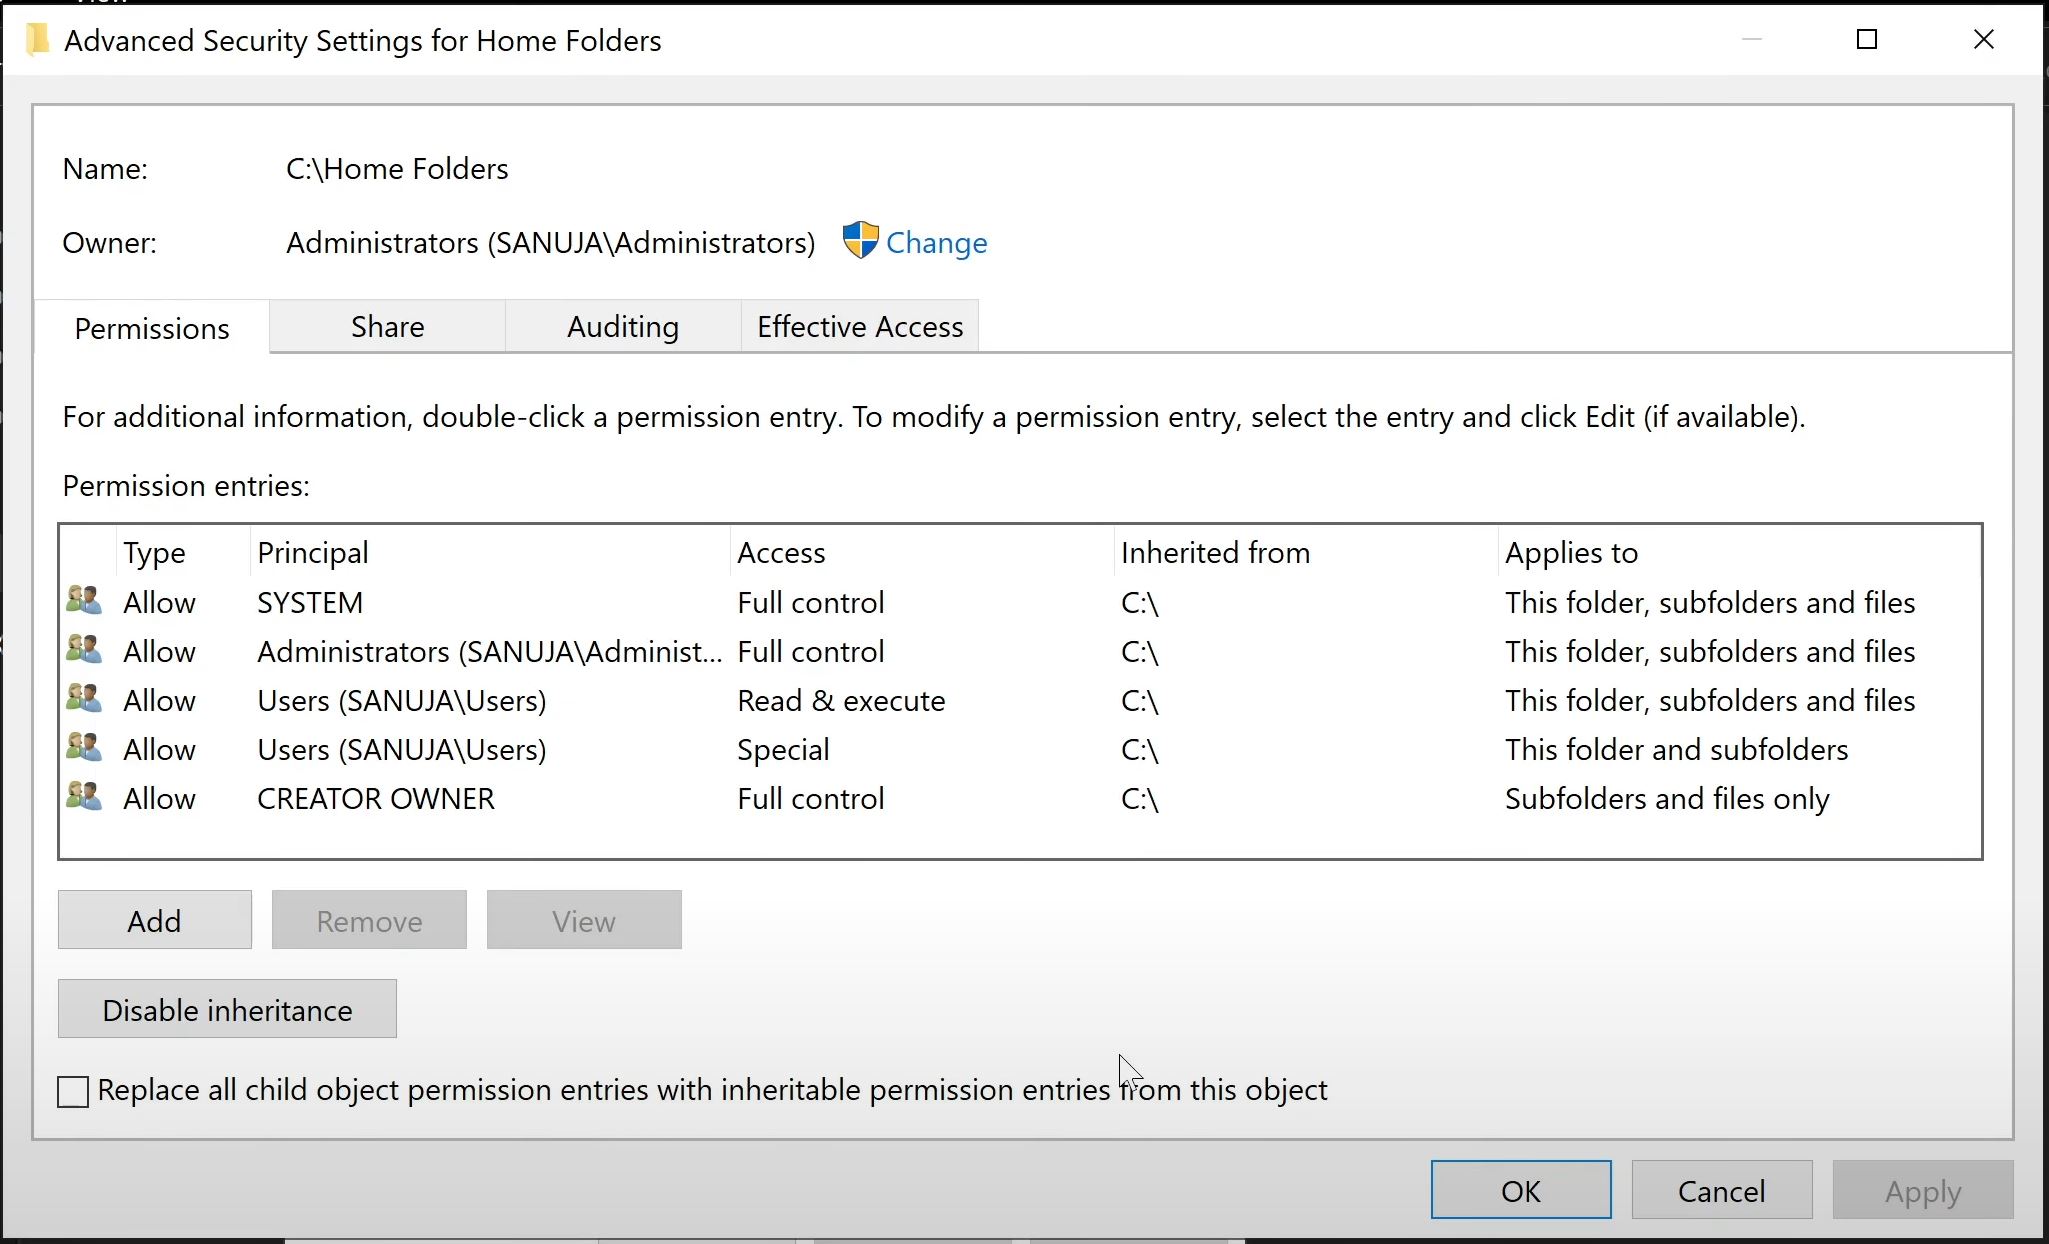
Under the Advanced Security Settings window, click Disable inheritance.
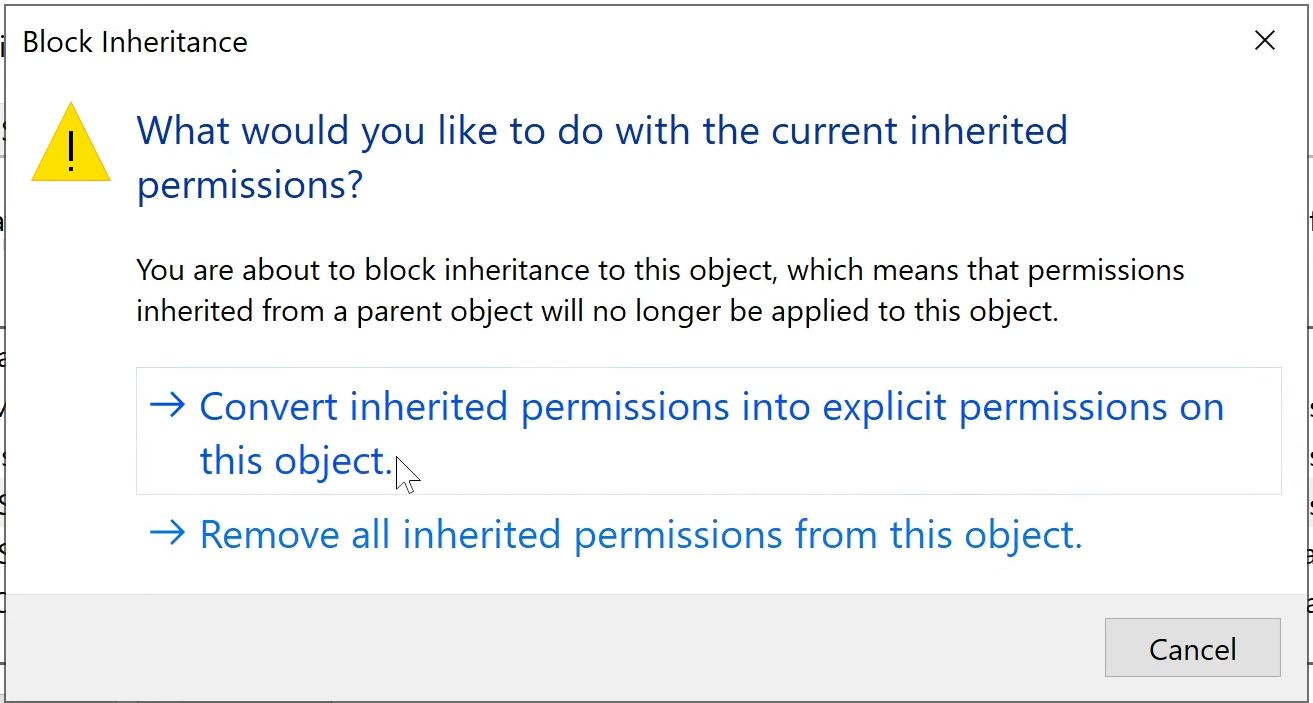
Select Convert inherited permissions into explicit permissions on this object on the Block Inheritance warning pop-up.
Select Users groups, Read & execute and Special and use the Remove button to remove them from the Permissions entries. Click Apply and OK.
Go back to the Sharing tab and copy the Network Path: we created earlier by highlighting it, right click and copy. This will copy that information to the clipboard and you can pate this information in our next step.
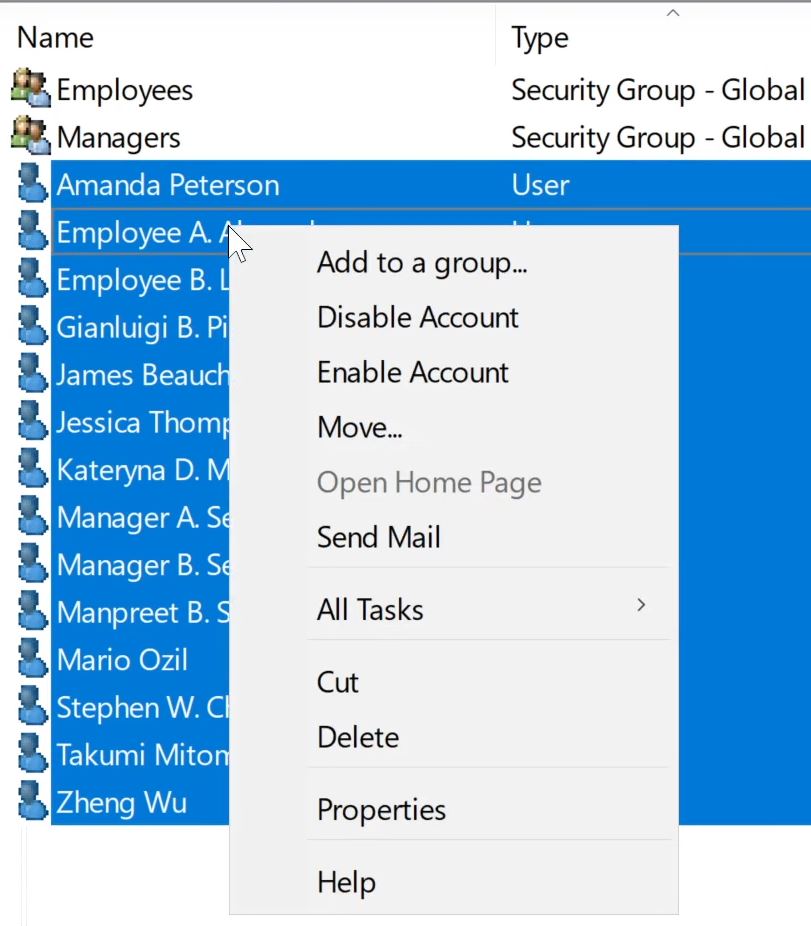
Open Active Directory Users and Computers and navigate to the Organization Unit (OU) or Group or area in which you already have users. Sort the columns by “Type” so that you will have all your AD users right next to each other.
Once sorted, you now can select all the users without highlighting the Groups. Select all users and then right click (while the users are selected) and open Properties. This will open up the Properties for Multiple Items window.
In the Properties for Multiple Items window, navigate to the Profile tab, select Home folder and choose Connect:. Now you can choose a drive latter for Home Folder for each user. Typically, we use the letter H for Home Folders as an unwritten rule of thumb. But you may select any drive letter from the drop down menu as long as it will not create a conflict for any of your users. Under the To: section, pate the “root” Home Folder location we created few steps ago. Then at the end of it, please insert %username%. This will result in creation of Home Folders for each highlighted user with their own user name. Remember, the Home Folders shared root folder path typical syntax to auto generate folders based on individual user Active Directory logon name: \\SRVER_NAME\ROOT_FOLDER_LOCATION\%username%
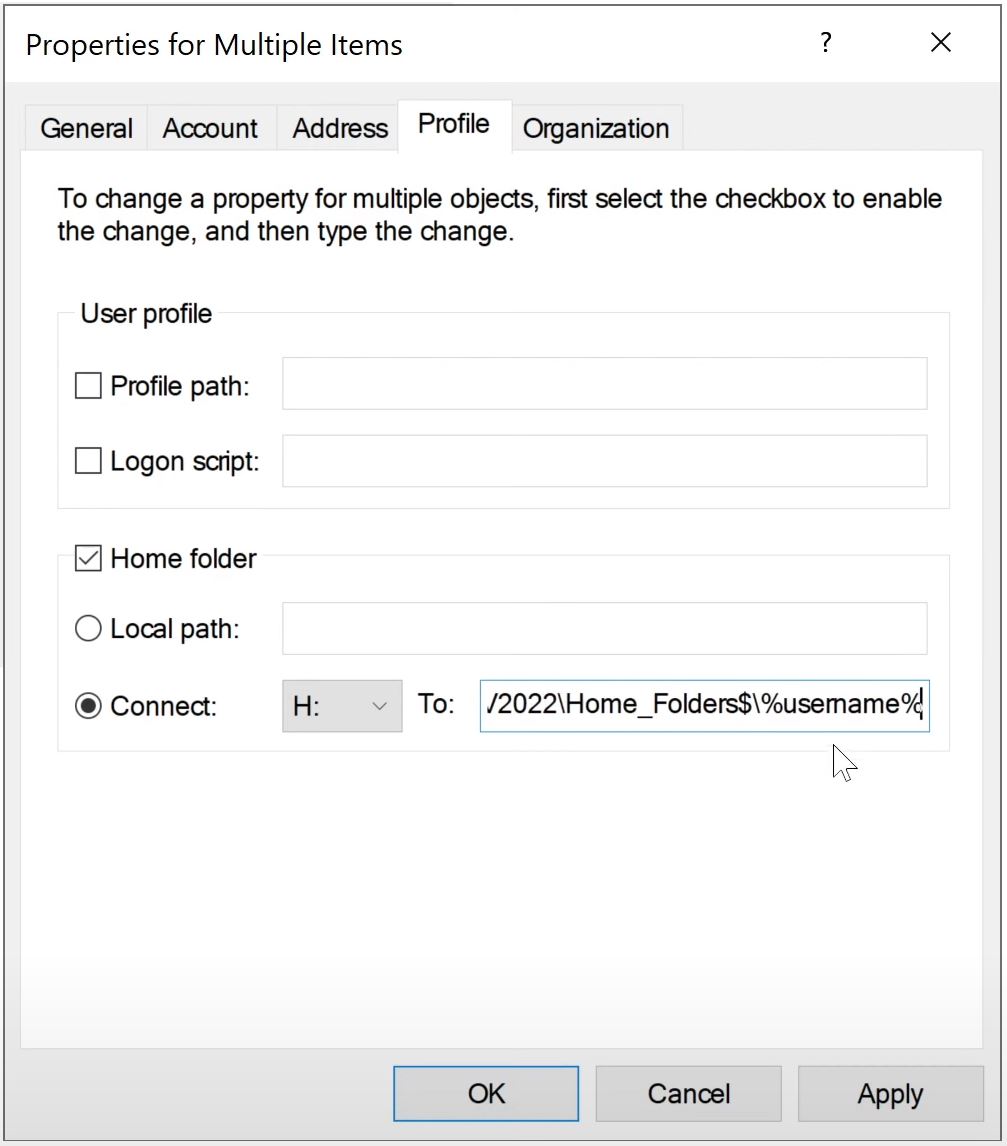
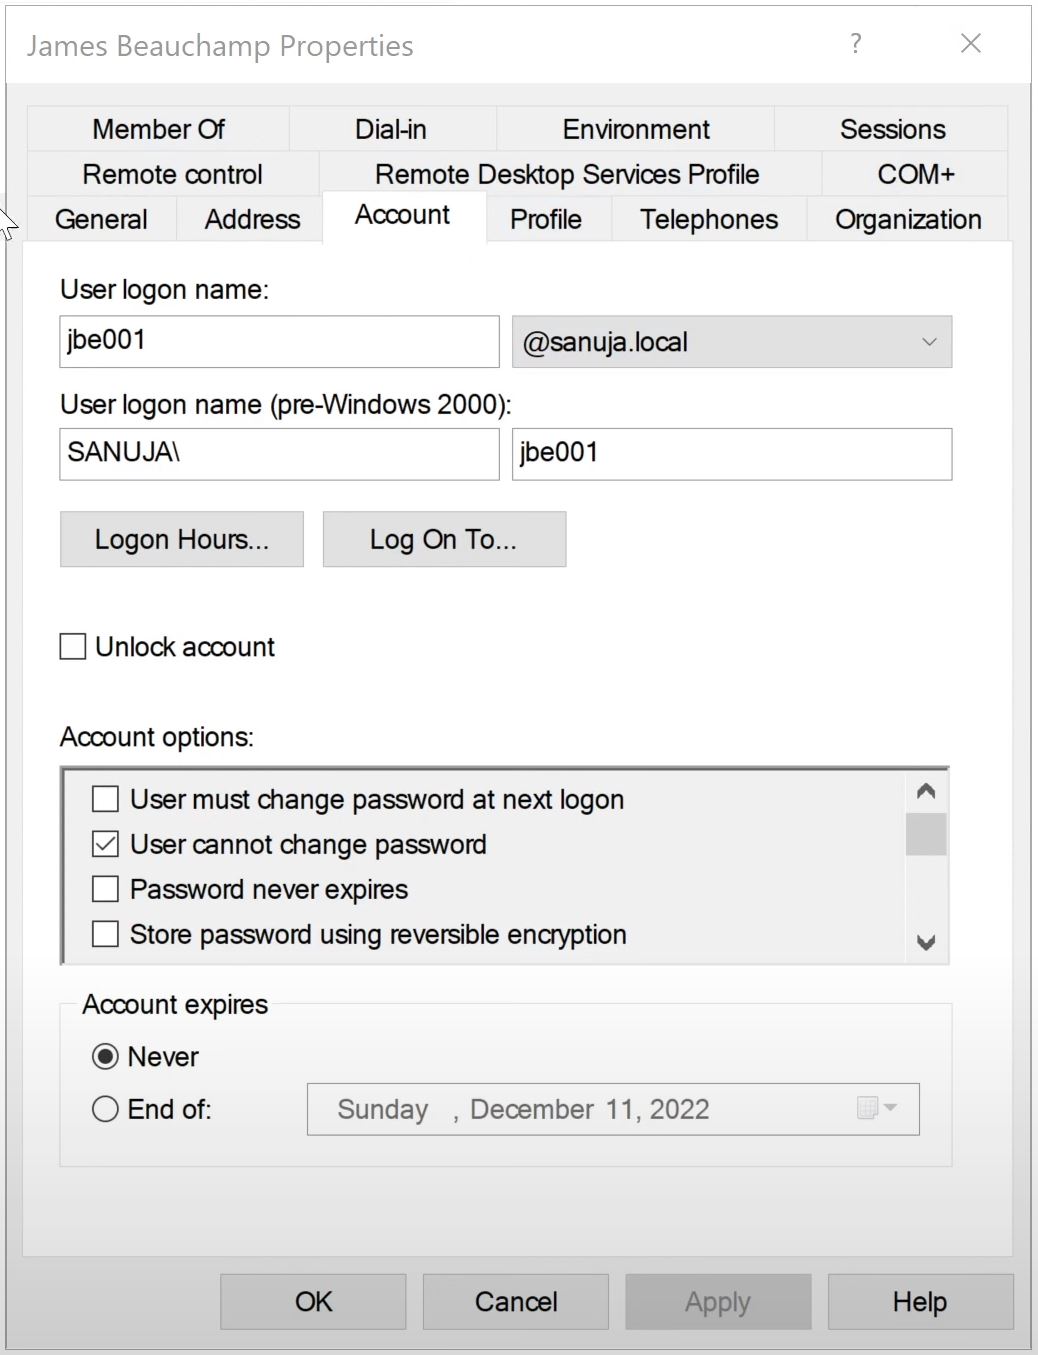
Notice the Home Folder name is based on the AD User Profile logon name (check under “Account” tab for logon name). If you would like to know how to create users and basic overview of logon names and profiles, please check this video.

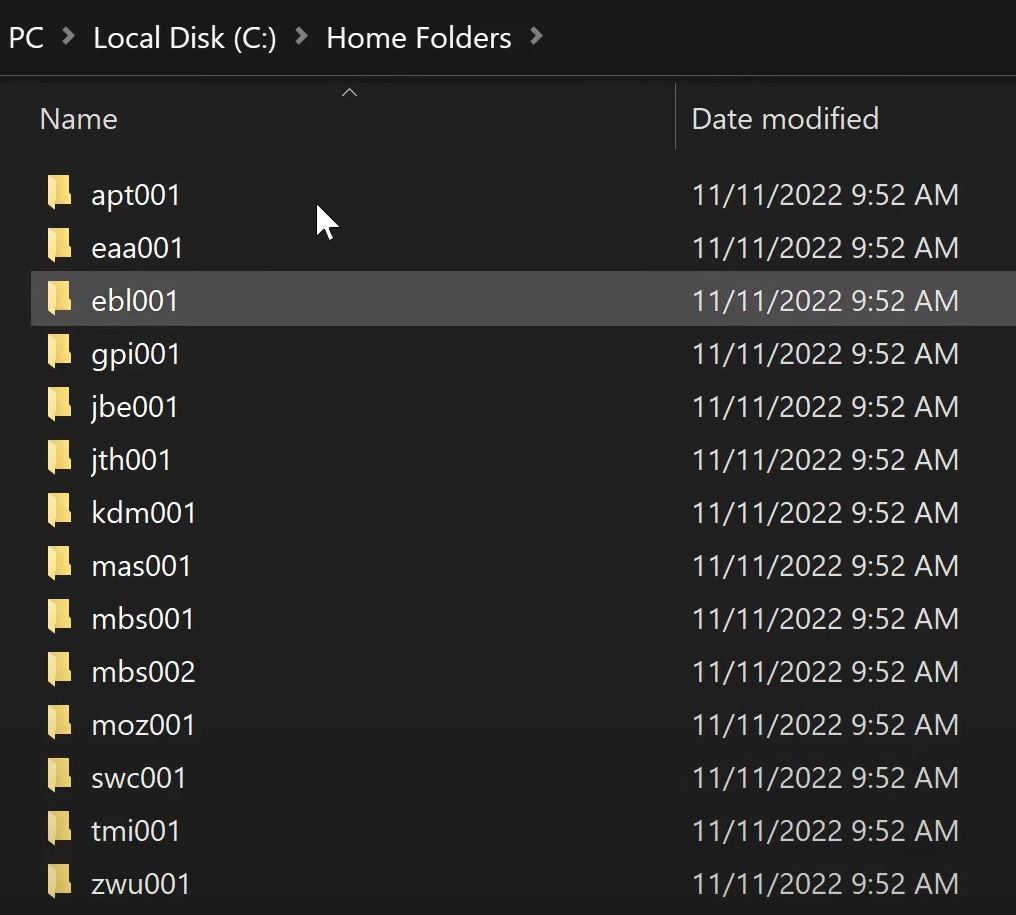
Folders are automatically created based on the logon name of each AD user account under the shared folder for Home Folders. This process occurred when we added the \\SRVER_NAME\ROOT_FOLDER_LOCATION\%username% in our previous step.
Specific Permissions – Video
If you like to create Home Folders for new users with specific permissions, please watch the following tutorial video. The steps are very similar what is described above.