Active Directory Domain Services (AD DS) is also known as a domain controller. It allows network and IT administrators to manage resources across multiple client terminals. In this article, we will look at how to install AD DS on a Windows Server 2019 (Datacenter Edition) in a few simple steps.
The following guide is based on Windows Server 2019. However, the process is very similar (same) on Windows Server 2012 and 2016 editions.
Open Server Manager from Windows Menu. If you cannot locate it, type “Server Manager” on Windows Menu search.

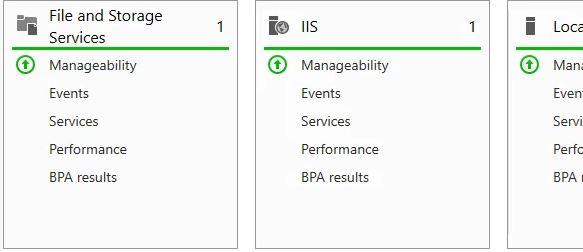
1) On the Dashboard of the Server Manager, you should see Roles and Server Groups currently installed on the system.
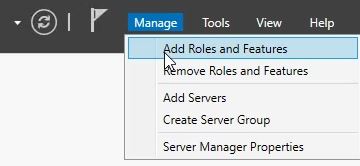
2) Open Add Roles and Features from top right Manage menu.
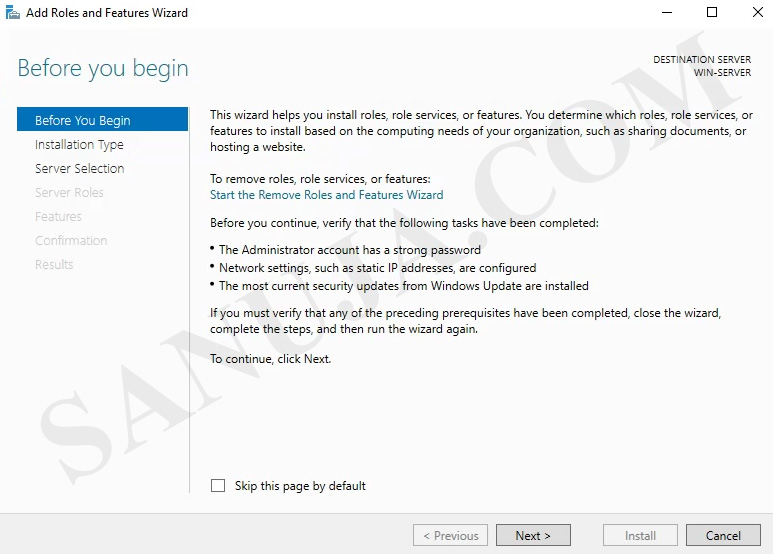
3) On Add Roles and Features Wizard, you may have a welcome screen. Select Next.
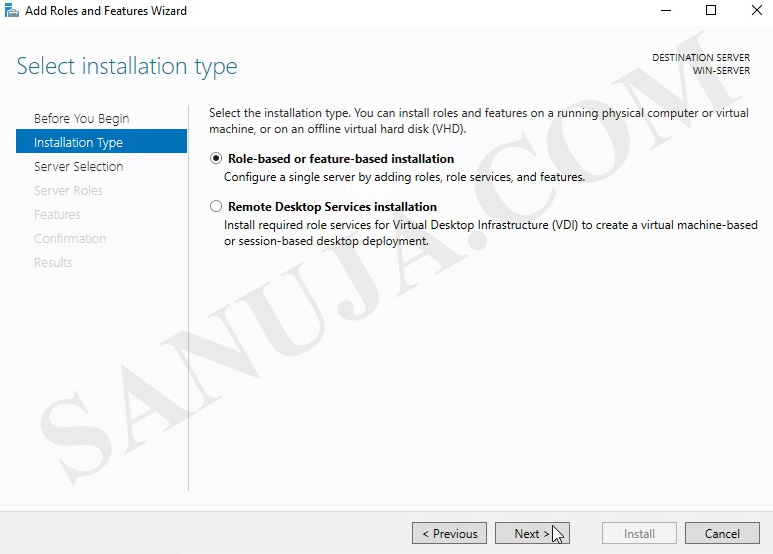
4) Select Role-based or feature-based installation. We will look into Remote Desktop Services installation on a different article.
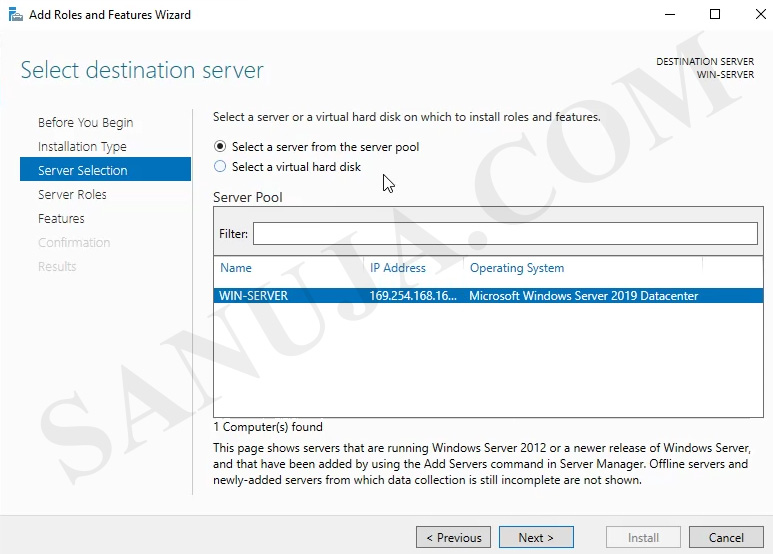
5) On the next screen you can select the server from the pool. Select the server from the current pool. We will look into installation on a virtual hard disk on a different article.
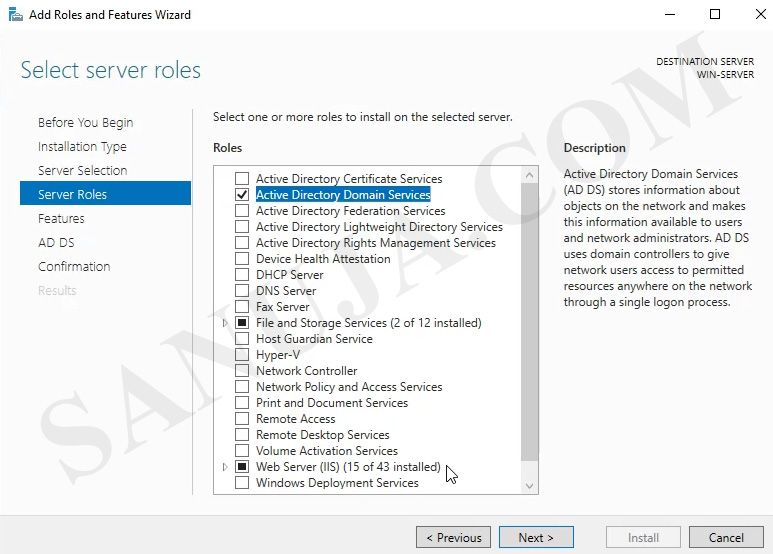
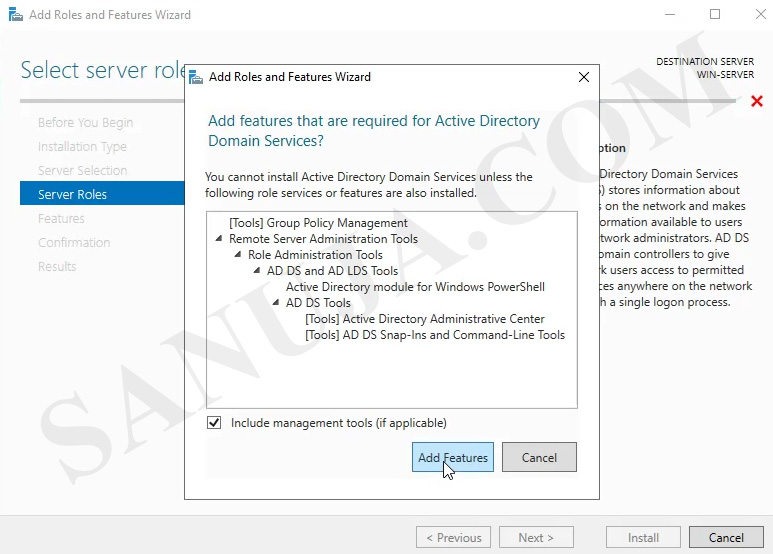
6) Select Active Directory Domain Services and it will request to install additional features with a pop-up. Please add the additional features. This will ensure the AD DS will function properly.
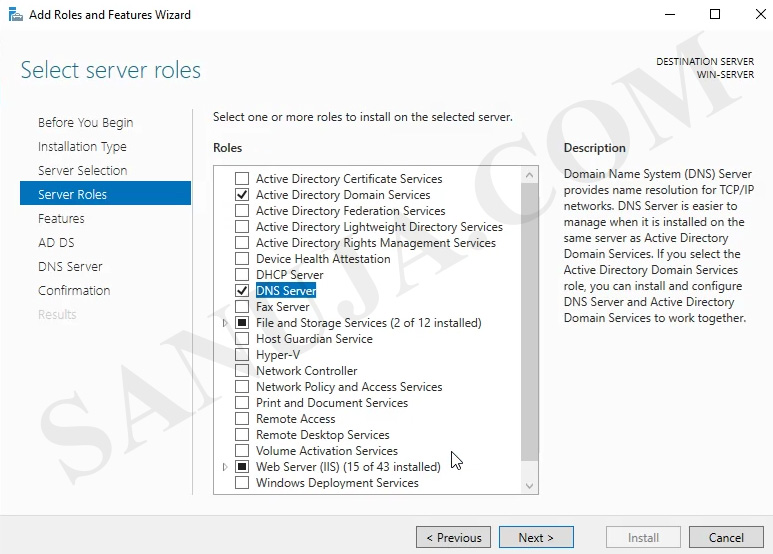
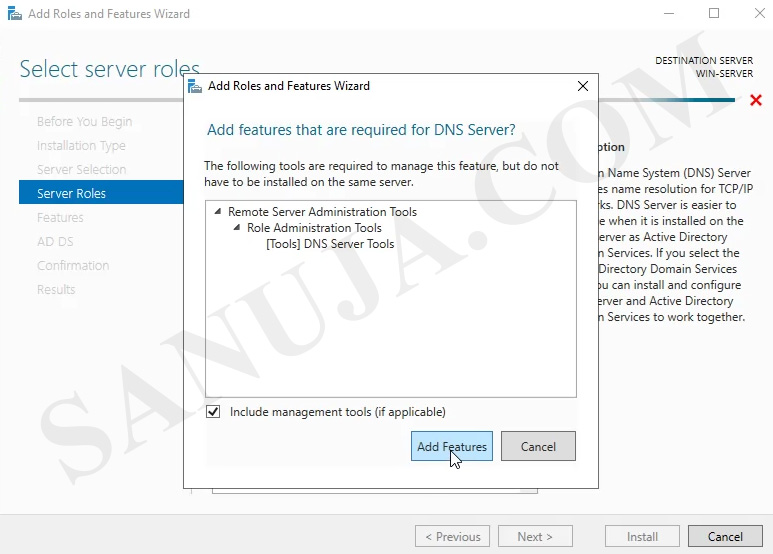
7) In addition to Active Directory Domain Services, you should also install DNS Server. Domain Name System (DNS) allows you do resolve domain names based on TCP/IP addresses. It work together with Active Directory Domain Services (AD DS). A pop-up will appear for additional features and make sure to install them in order to have a fully functioning DNS Server.
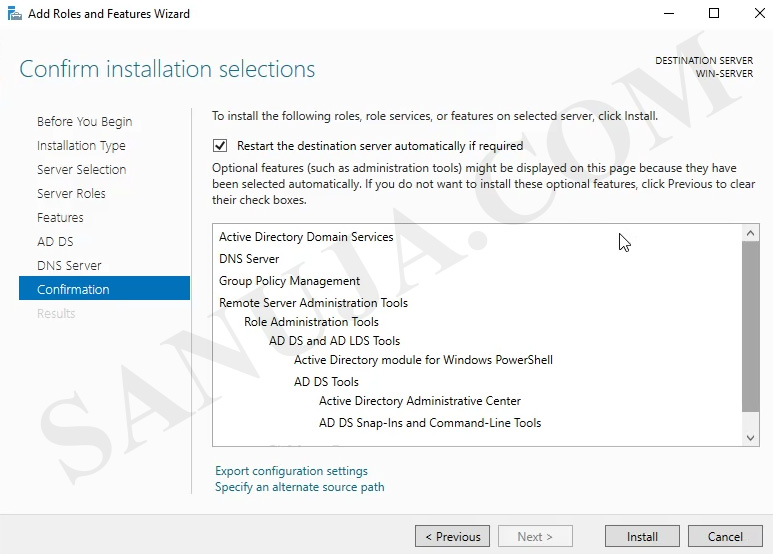
8) On this page the wizard will summarize what will be installed during this process. You can see the additional features added such as Group Policy Management.

9) Confirm installation of features. Please select “Restart the destination server automatically if required”. It will make the installation smoother. However, if you are in a production environment and the server is online and active, you should unselect the option and restart the server manually at a preferred time.
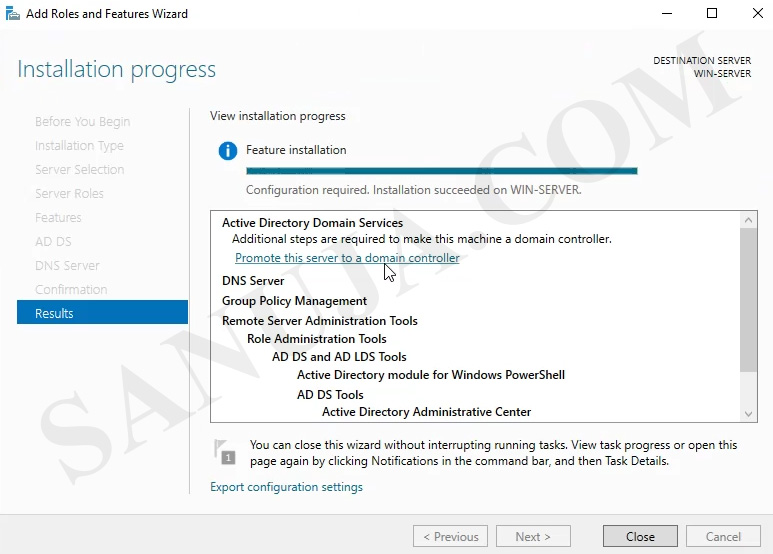
Installation may take few minutes depending on your server hardware compatibilities. In most typical installation environments, the server will not reboot. Instead your will be presented with a link to setup the domain controller: Promote this server to a domain controller. Click on this link and it will open the Active Directory Domain Services Configuration Wizard.
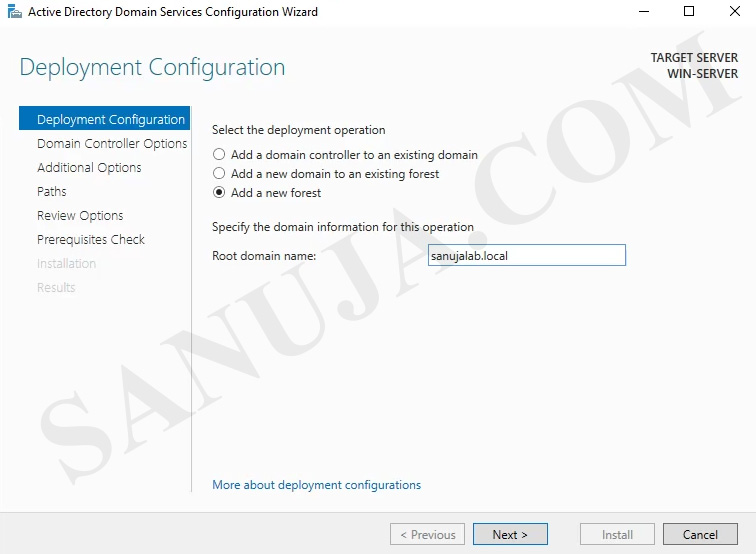
a) Under Deployment Configuration, you can choose to run the AD DS in different operational environments. We will not go into details on each options in this article. Instead, we will select, Add a new forest. For root domain name, you can choose alphanumeric [dot] any alpha numeric extension. In this example, we will use .local, which is a commonalty used extension. Note by using sanujalab.local all terminals connected to this AD DS will be a part of the sanujalab domain.
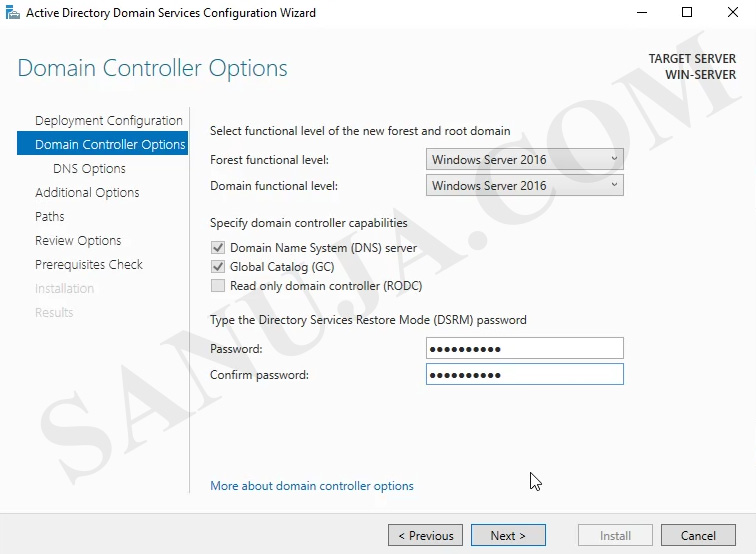
b) On the next step, you can select the forest and domain functional level. We will not go into detail on why you may want to select older functional levels such as Windows Server 2008. In this example, we will go with Windows Server 2016. Enter username and password for the Directory Services Restore Mode. It is recommended to use different password than the server administrator password, but you may choose to use the same password as the server admin account.
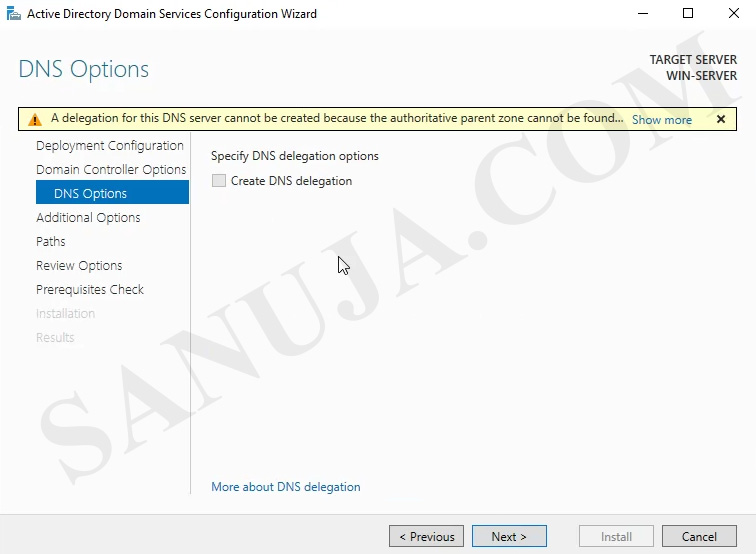
c) We will discuss DNS delegation in a different article. If this is your first AD DS install, you will not be able to install delegation during installation.
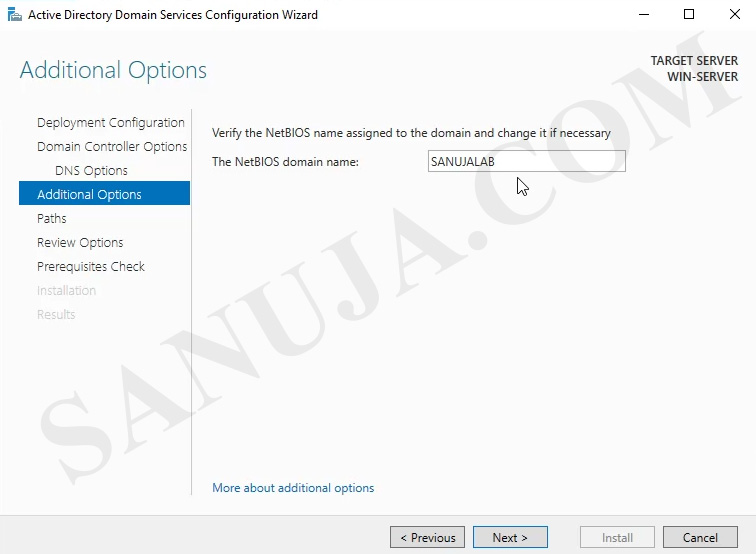
d) The NetBIOS domain name should be populated with the domain name we created in step a. In this example, it would be SANUJALAB. You may choose to change the NetBIOS domain name if required.
e) Unless it is a requirement in your organization to change the default locations of AD DS database files, I would use the pre-populated locations.

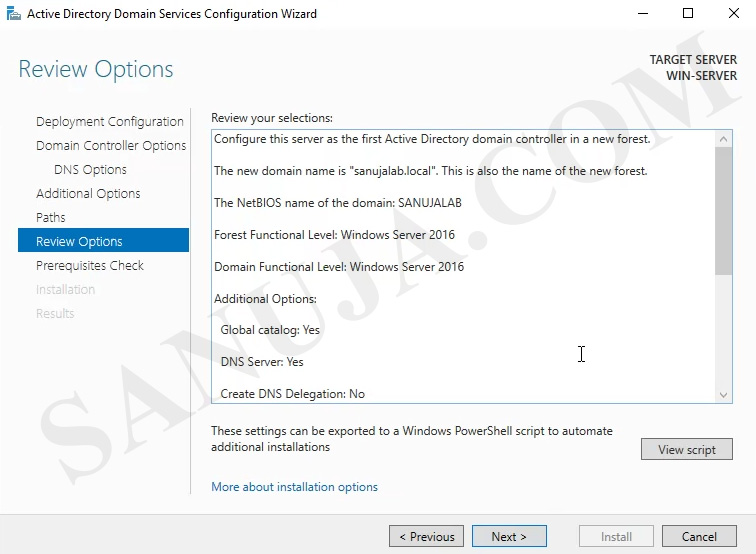
Review your options.
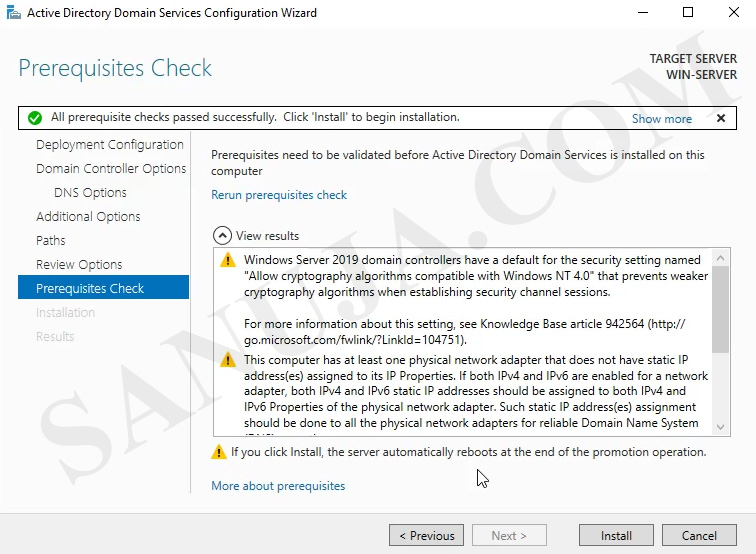
f) You will almost always presented with few warnings just before the installation. I would not worry about it and most of these warnings can be resolved after the installation if required. Click Install to begin installation.
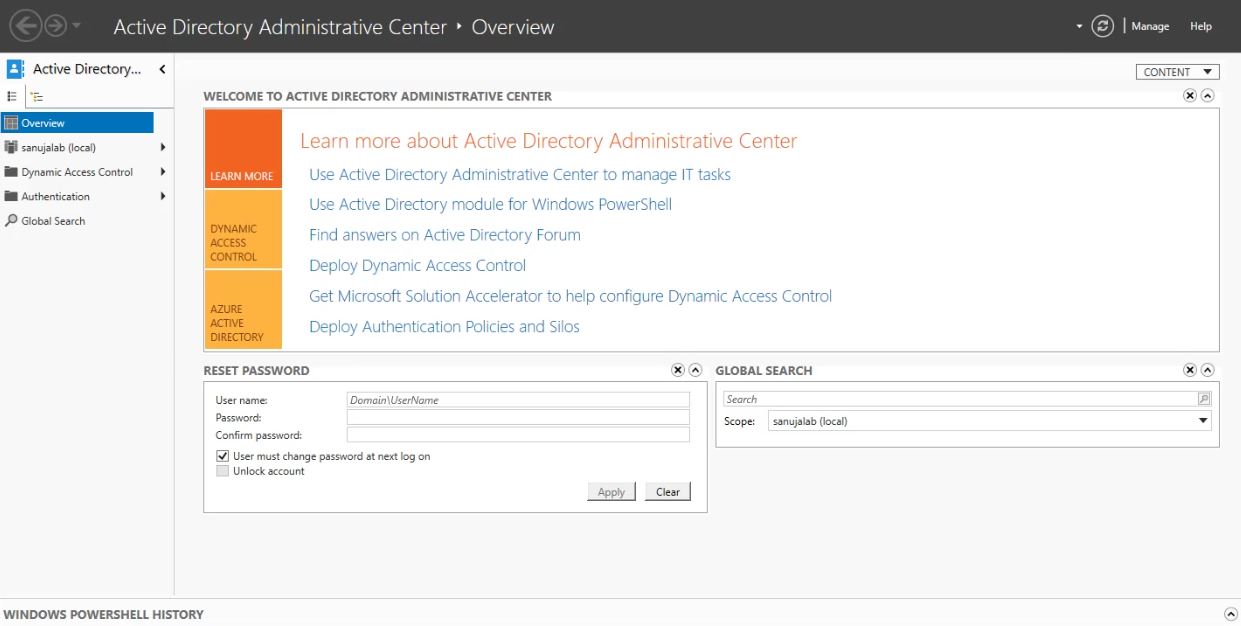
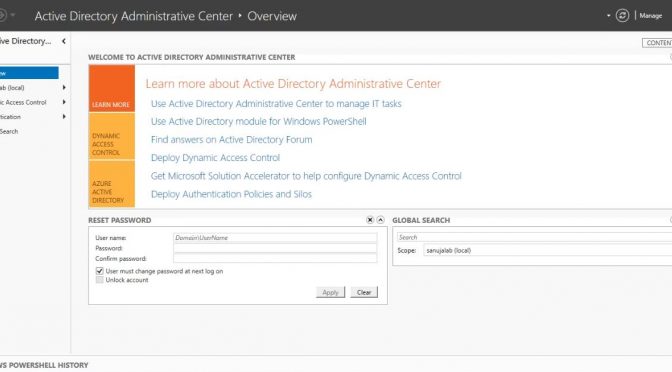
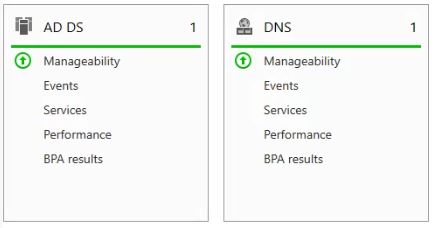
Now you should have the following on your Server Manager Dashboard.
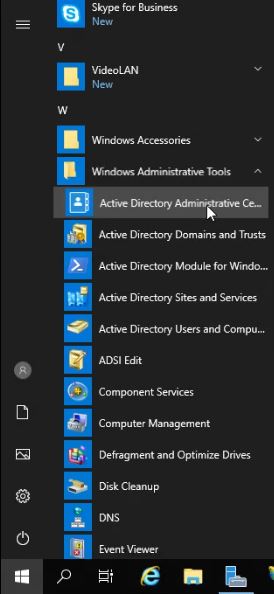
You can also find the AD DS and DNS options on the Windows Menu.
Congratulations. You should now have a working AD DS on your Windows Server. We will look in to configuration and operations of AD DS such as connecting a terminal to the domain on a later article. If you would like a video tutorial, please do not forget to check the YouTube channel.