This article also applies to Microsoft Windows 10 and Windows Server 2019.
Microsoft collects data from their users through a program called telemetry system. They collect data on Windows Operating System, Microsoft programs and third-party programs. It also collects data on some user behaviour. They use this information to improve products and help diagnose issues as well as to recommend apps and features to the end user. Microsoft is not hiding anything from their end users but it requires the users to take action on their part to change limit or block telemetry system once the initial setup process is done.
Disabling or limiting telemetry on your system should not have any adverse impact on your user experience. There are multiple ways to update your preferences on the telemetry system after the initial setup. If you would like to see a detailed demonstration of the following items, please watch my YouTube video.
System Settings
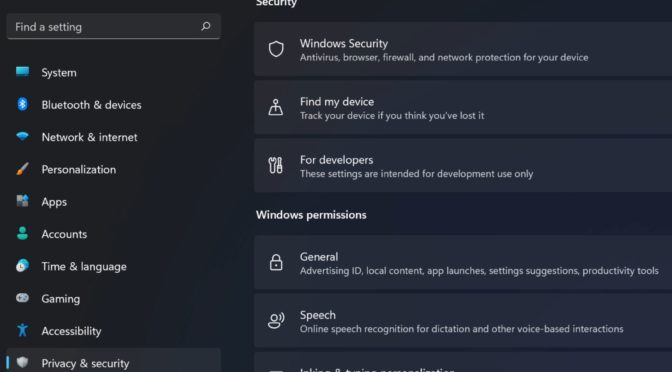
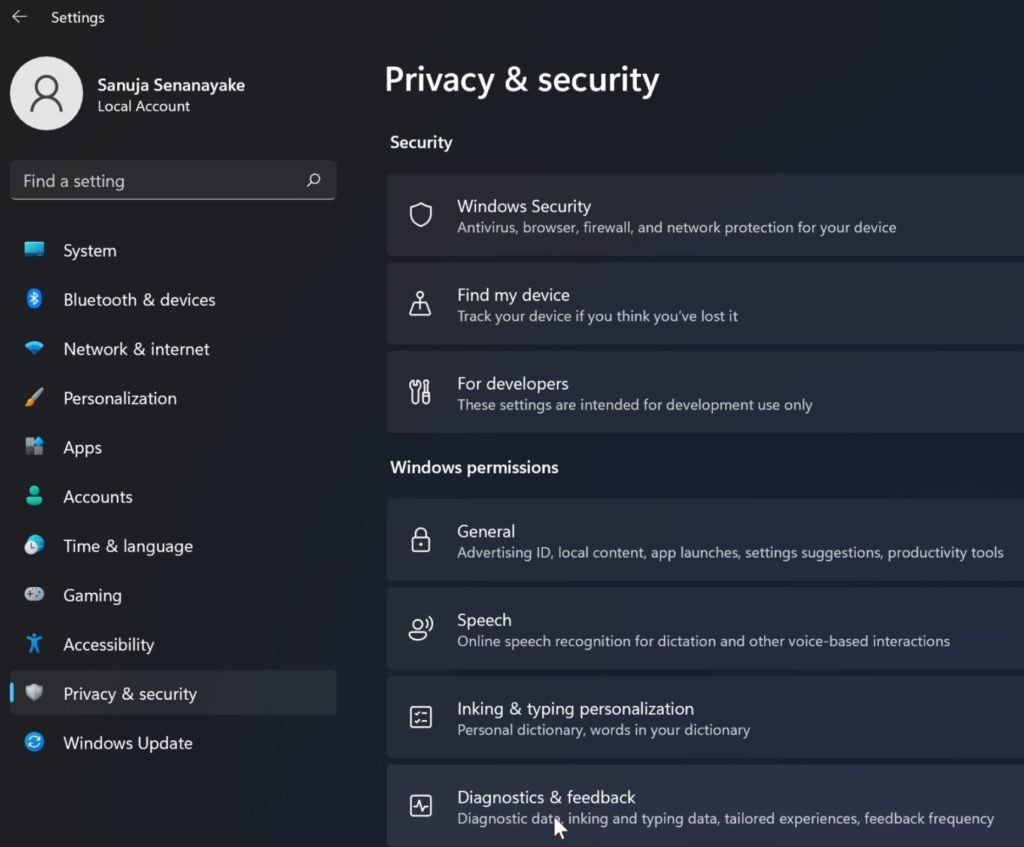
Go to Start > Privacy & security > Diagnostic & feedback
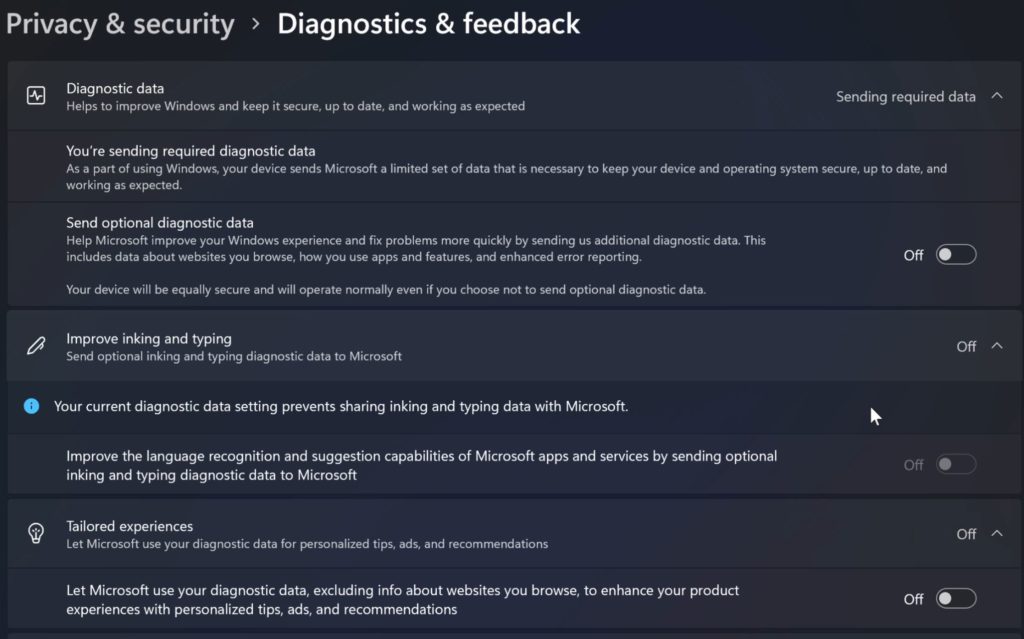
Change the settings for Diagnostic data, Improve inking and typing, and Tailored experiences to off.
You can also delete the data that is locally stored on your drive if you have the View diagnostic data turned on. It basically create a copy of all the data that has been sent to the Microsoft on your local hard drive. One you have disabled the options above; you should also disable and delete the stored data.
Group Policy Editor
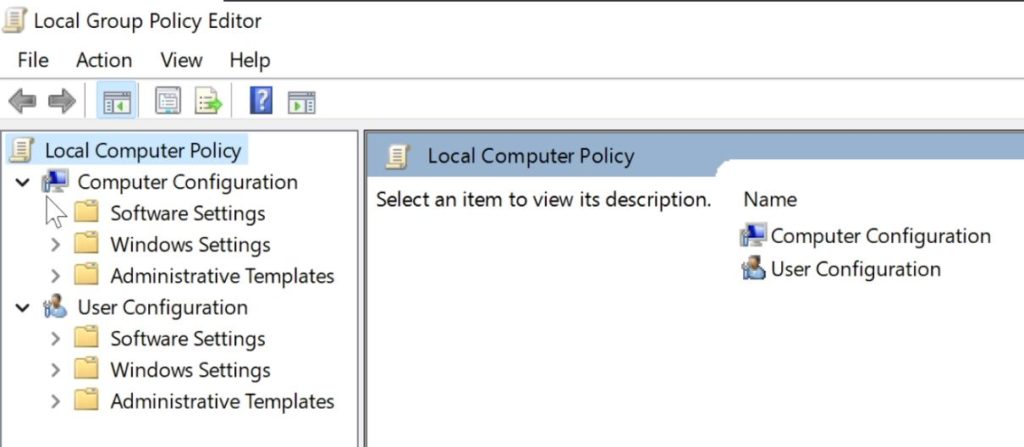
Go to Start and search “run” to open Run application. You can also open the Run application by pressing Windows key + R. On the Open entry, type: gpedit.msc. It should open the Local Group Policy Editor.
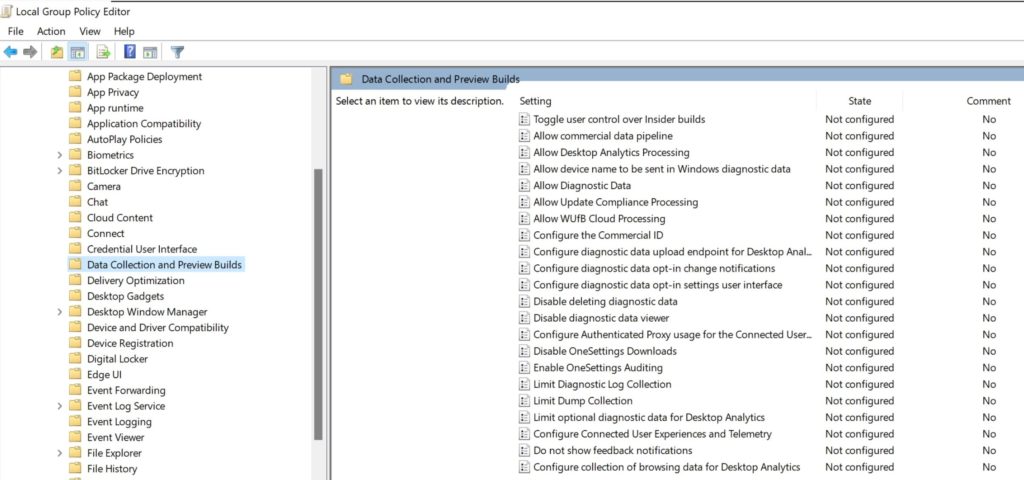
Under Local Computer Policy, under Computer Configuration, navigate to Data Collection and Preview Builds.
Administrative Template > Windows Components > Data Collection and Preview Builds
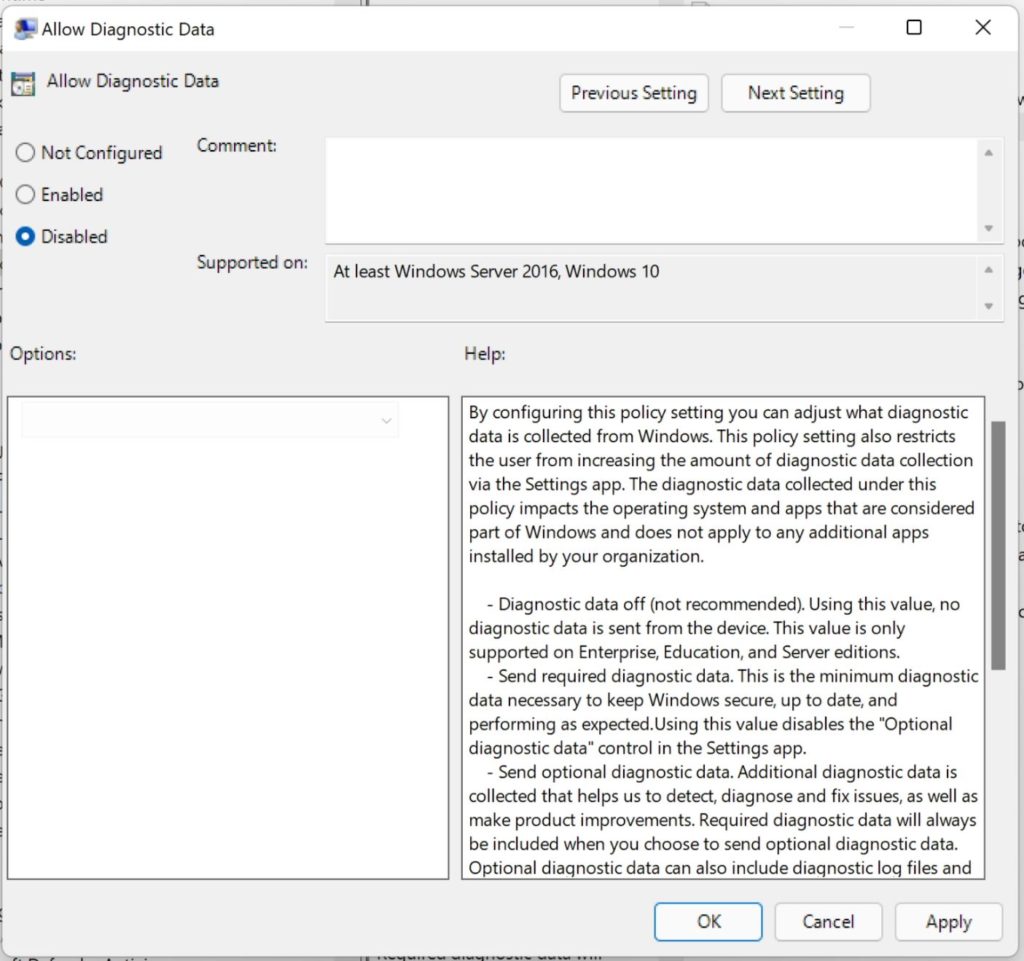
You should change the item listed as: Allow Diagnostic Data to Disabled.
Registry Editor
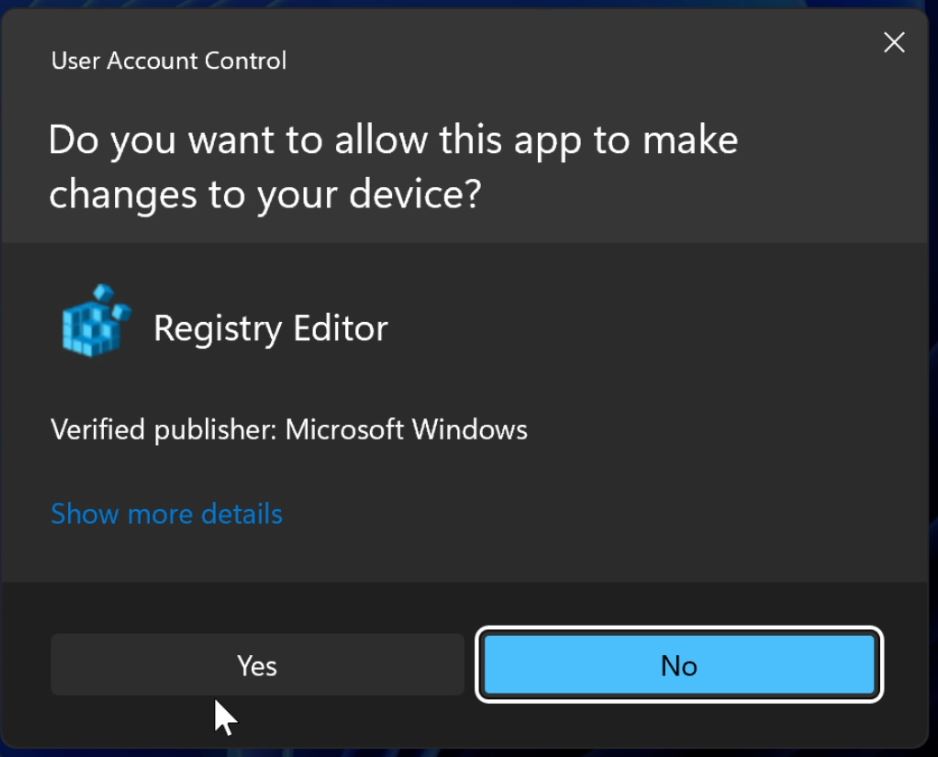
Go to Start and search “run” to open Run application. You can also open the Run application by pressing Windows key + R. On the Open entry, type: regedit. It should result in a User Account Control (UAC) warning for Administrative privileges. You must either have been logged in as the System or Domain Administrator in order to edit Registry entries. Click yes to open the Registry Editor.
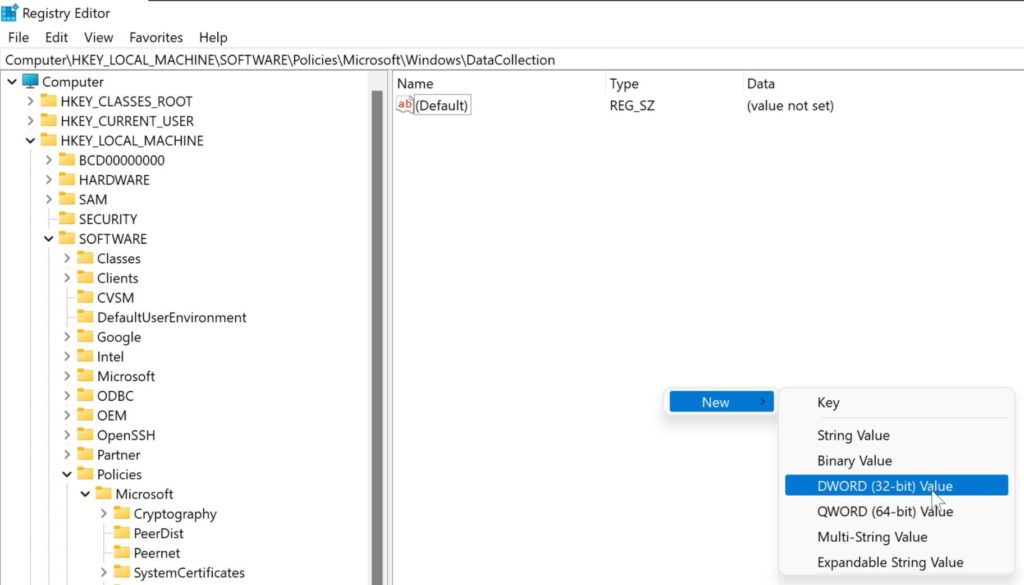
Navigate to the following location by expanding items from the left-hand menu.
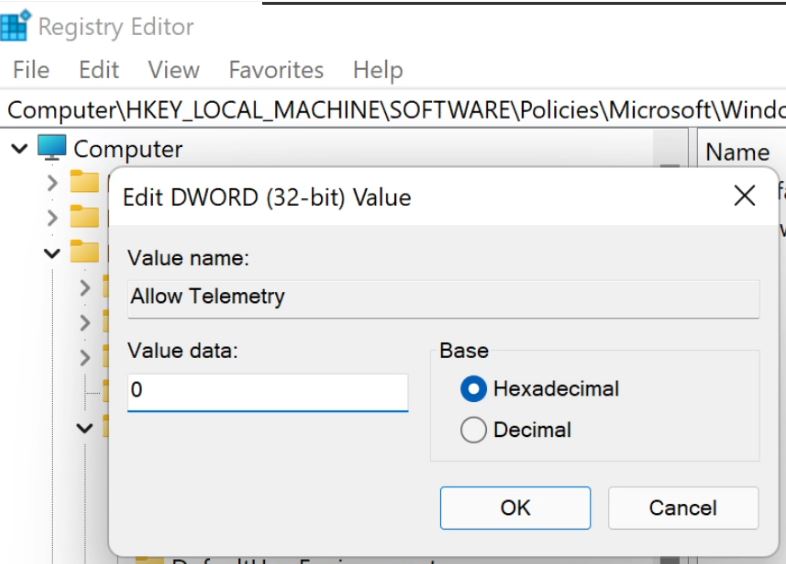
HKEY_LOCAL_MACHINE\SOFTWARE\Policies\Microsoft\Windows\DataCollection
The add a key by right clicking on the right hand panel and selecting DWORD (32-bit) value. The key should be named Allow Telemetry.
Set the Allow Telemetry key to the value of 0 (zero).
Reboot your computer.
Services
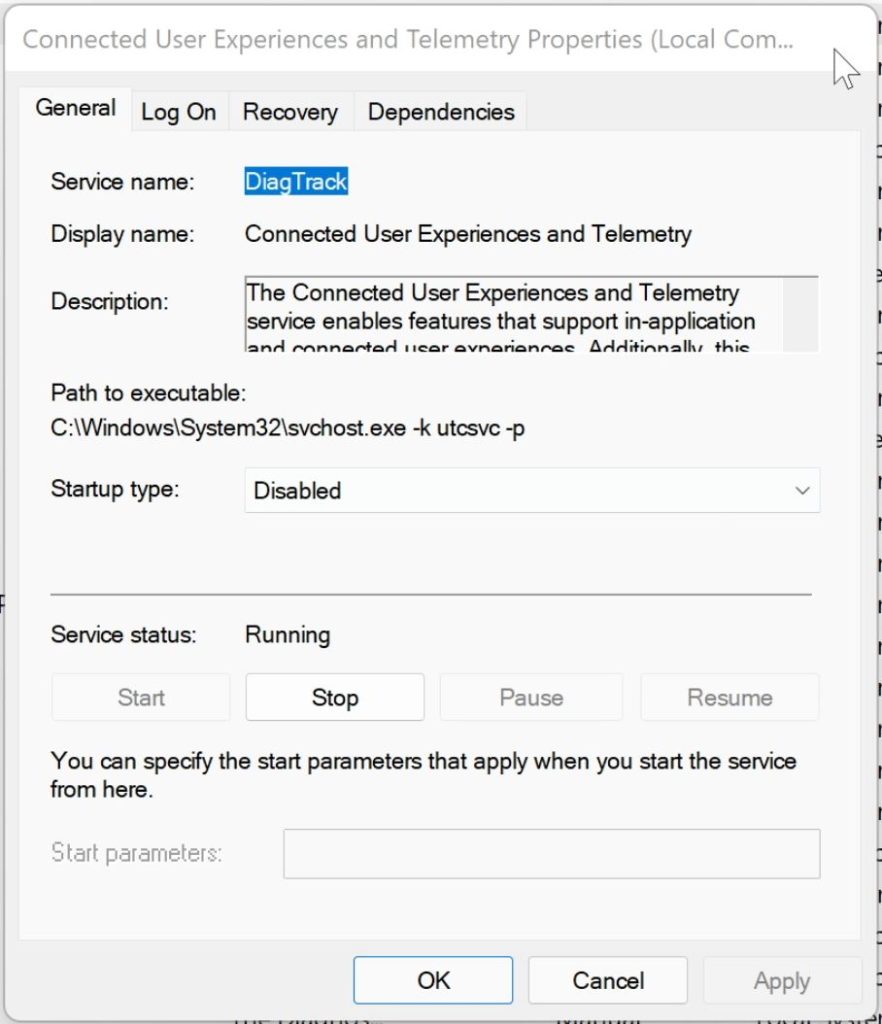
Go to Start and search “run” to open Run application. You can also open the Run application by pressing Windows key + R. On the Open entry, type: services.msc. It should open the Services window. Find a open Connected User Experiences and Telemetry.
Change the Startup type to Disabled and click “Stop” under Service status. Apply and close.
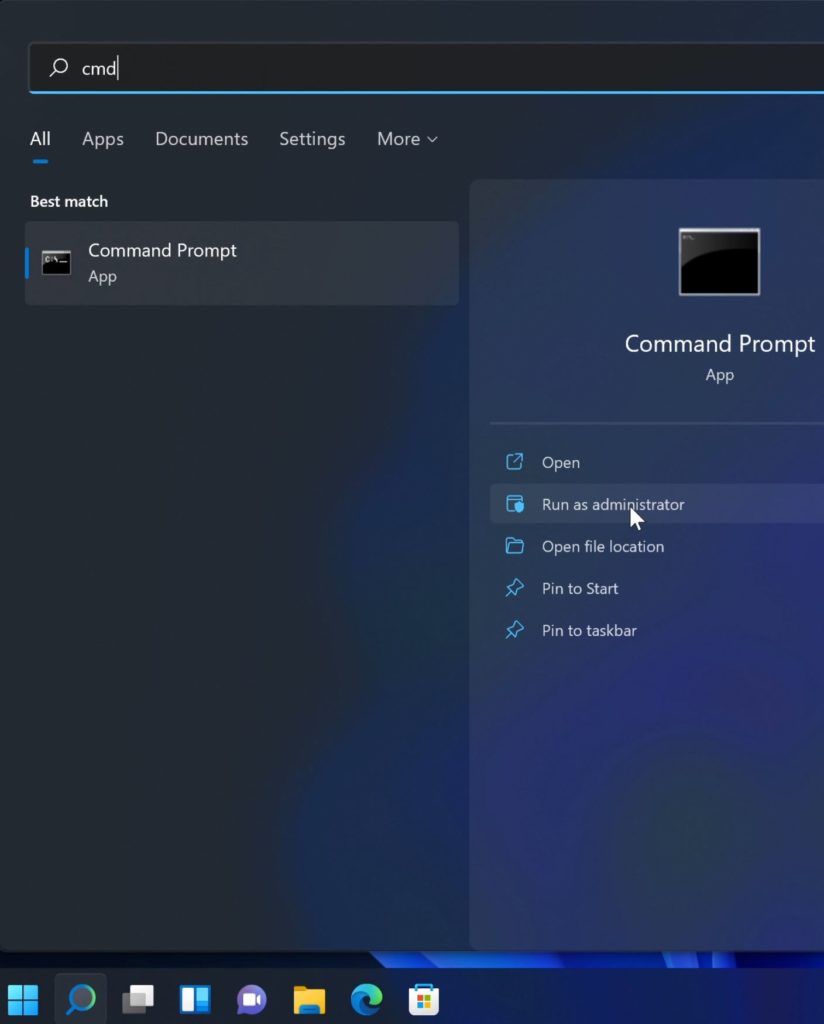
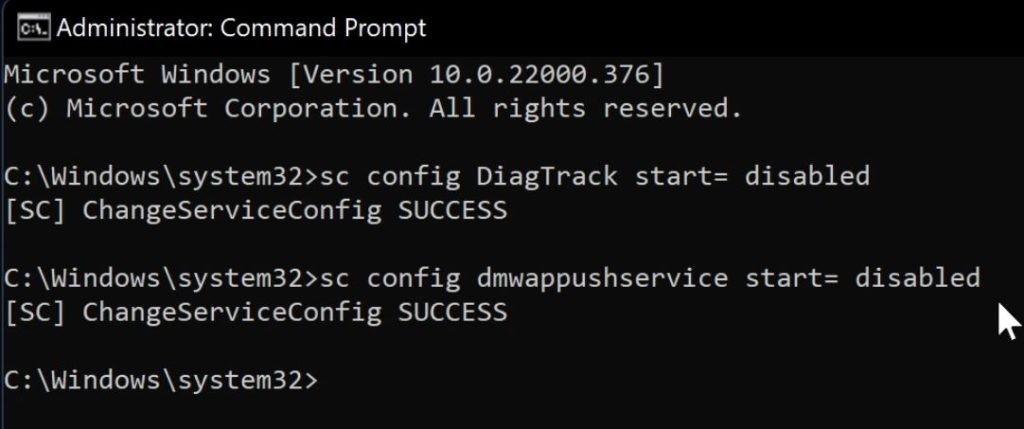
You can also stop and disable services from Command Prompt (CMD). The Command Prompt must be open with administrative privileges (Run as administrator). Open Start menu and type “cmd”, then click “Run as administrator” from the right hand menu.
Then enter the following commands on your Command Prompt. Each entry should return with a success message.
sc config DiagTrack start= disabled
sc config dmwappushservice start= disabled
Task Scheduler
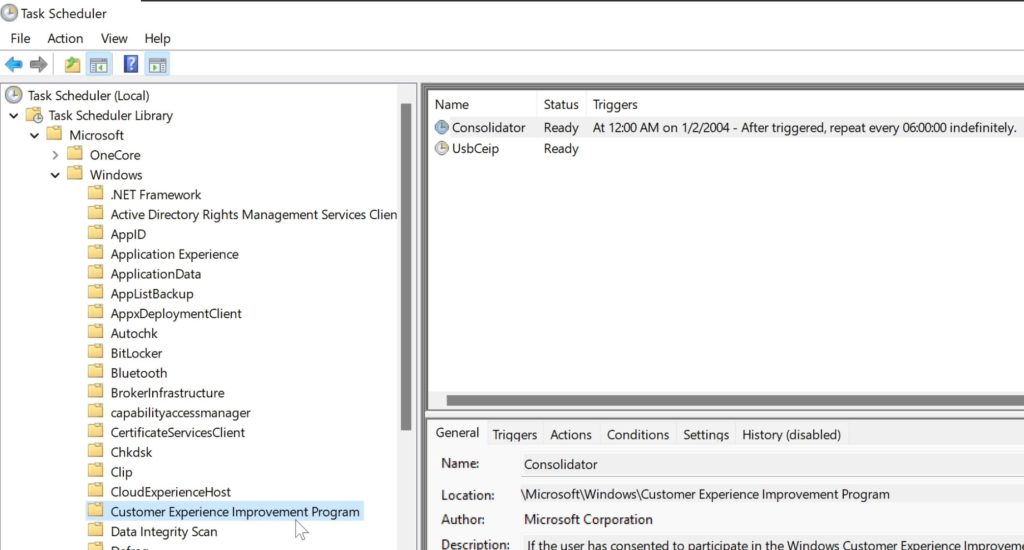
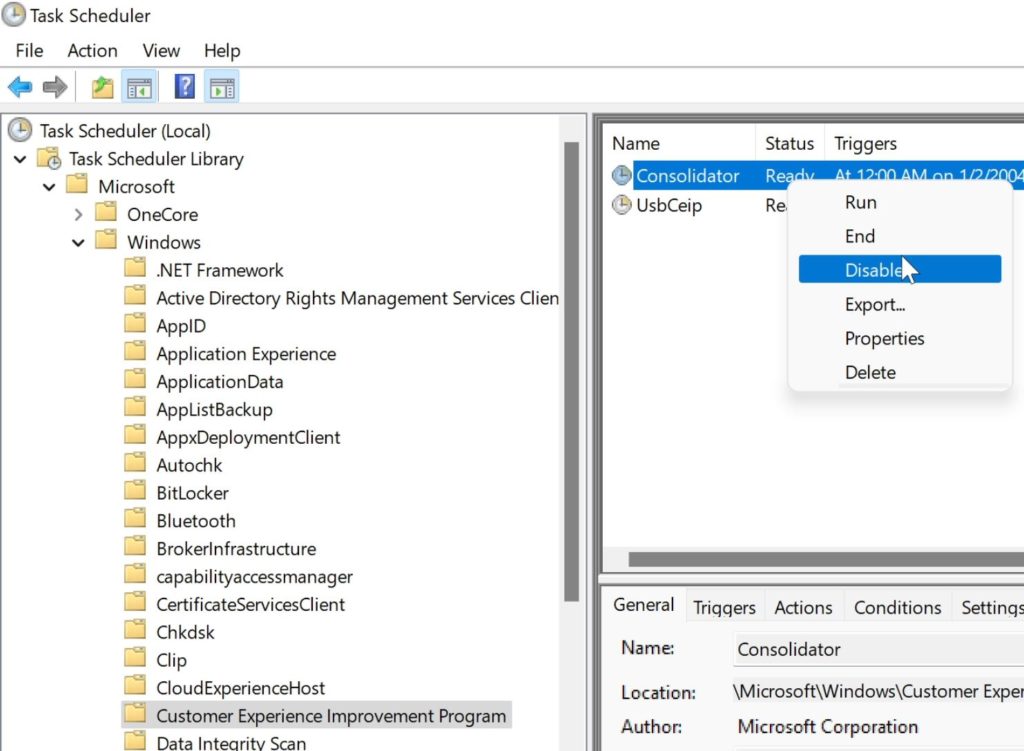
Go to Start menu and type Task Scheduler and open the application. Inside the Task Scheduler program, under the Task Scheduler (Local), navigate to the following location.
Task Scheduler Library > Microsoft > Windows > Customer Experience Improvement Program
Right click on the item named, Consolidator inside the Customer Experience Improvement Program and select Disable.
Again, you cannot break any processes or software on your Windows computer by disabling telemetry services. With user personal data related issues at all-time high, disabling telemetry may help protect you and your family from data breaches.
If you are confused on any of the above items, please refer to the demonstration on my YouTube channel. It may help you further clarify items described above.
