As Windows 11 is being rolled out, some advanced users may want to run both Windows 10 and Windows 11 on the same computer before completely moving on to Windows 11. In this tutorial, we will configure dual boot with Windows 10 and Windows 11 Operating Systems (OS). Here is how you can configure a dual boot system using a Personal Computer (PC) that already has been upgraded to Windows 11.
Important!
You can also follow these steps to install:
-Windows 7, 8, or 11 on a Windows 10 installed computer
-Windows 7 or 8 on a Windows 11 installed computer
-Windows 7, 10, or 11 on a Windows 8 installed computer
The installation instructions should work on all desktop versions of Windows (Home, Professional, Enterprise)
The instructional video on how to install dual boot with Windows 10 on a Windows 11 computer can be found on YouTube.
Windows and Driver Updates
As always, make sure you check Windows updates. Make sure there are no pending Windows updates or updates that are waiting to be rebooted for completion.
In addition to Windows Updates, you must check for driver updates for all the components before we proceed. It is important that you have all the critical drivers such as video, network card, chipset, touchpad, etc are updated.
The driver updates on the current Windows OS should not have an impact on the second dual boot Windows install. It is recommended to so before any major OS updates or upgrades to prevent technical issues that may appear after installations and requires further troubleshooting. At minimum, I would also recommend that you make copies of drivers for your basic I/O (input/output) devices. These can be then used to update your new dual boot OS.
Let’s Install dual boot on Windows
Step 1: Find an ISO file of Windows OS flavour of your choice to create a bootable drive. In our example, we will be using Windows 10. Create a bootable CD/DVD or a USB thumb drive.
Step 2: Login to your current OS, in our demonstration, Windows 11 Professional. Make sure you have enough space on your current (C:) drive for additional allocations. This free space will be used to create the partitioning block for our Windows 10 dual boot. If you do not have enough space on your Primary C drive, you cannot proceed with the installation.
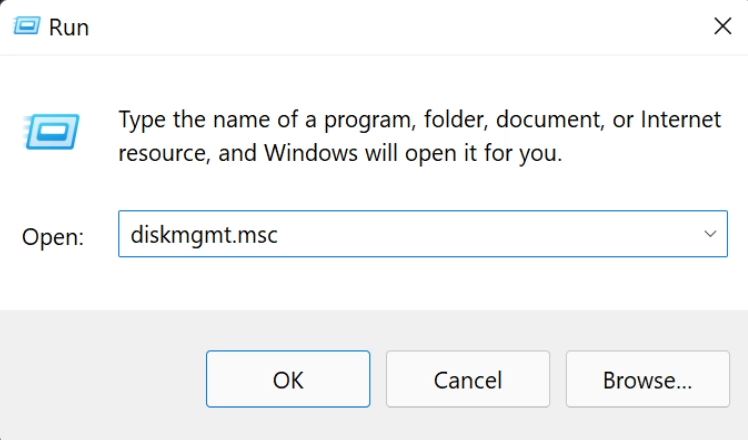
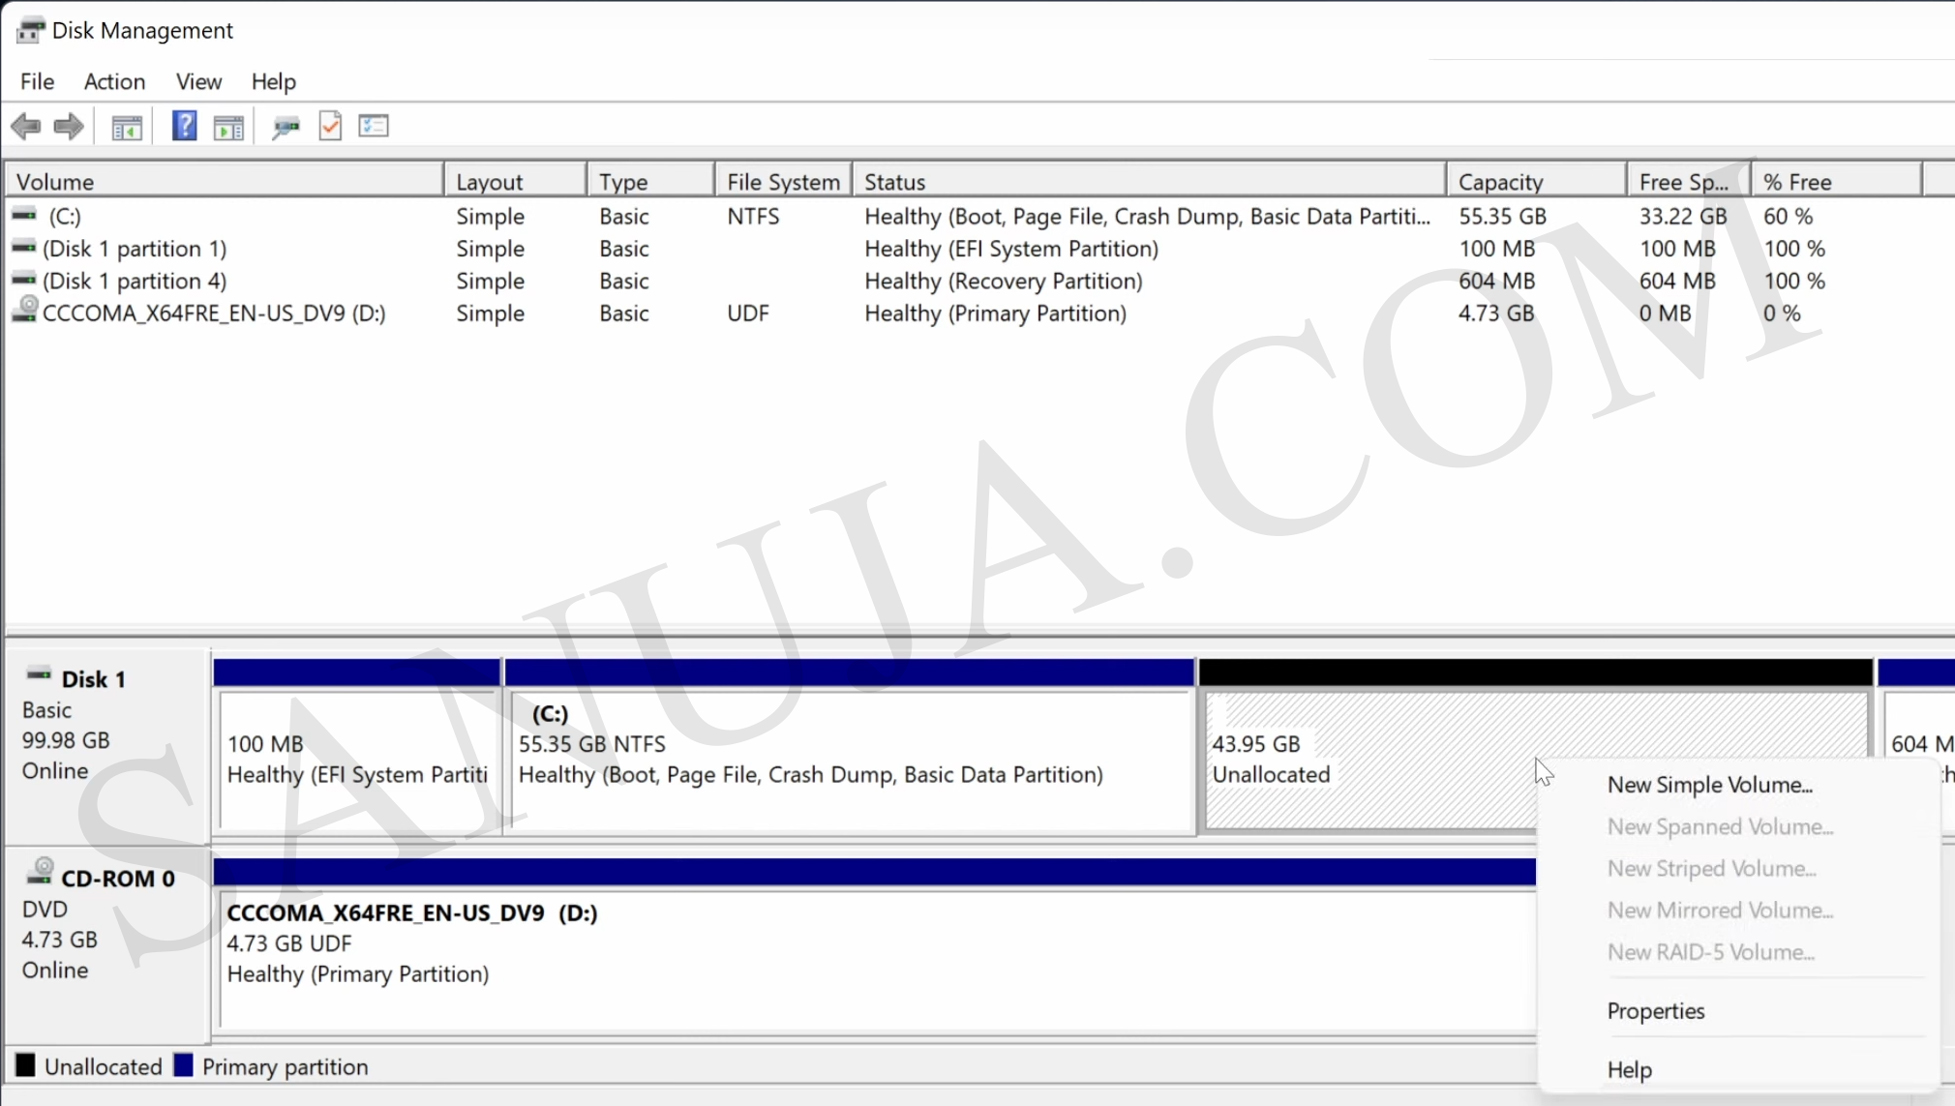
Step 3: Open Start menu > type “run” and lick enter to open Run application window. Enter diskmgmt.msc to open the Disk Management utility. You should a list of drives and partitions available on your device.
Step 4: On the Shrink C: windows, you can decide how much space you can allocate to your new OS. Check the minimum and recommended hardware specifications for the two Operating Systems and allocate the amount appropriately. More space or each OS, better it is so I usually allocate at 50% of total volume to each OS. Therefore, I have allocated 45000 MB (about 4.5 GB) for the new OS as it is close to 50% of the total volume I have on my demonstration virtual machine (VM).
If you have more larger user generated files on one OS compared to the other, allocate more to the OS in which has the larger file sizes. This will make sure that OS side will not run out of space.
Step 5: Right click and click Shrink Volume… option. Then enter the partitioning amount decided on Step 4 above. Click Shrink.
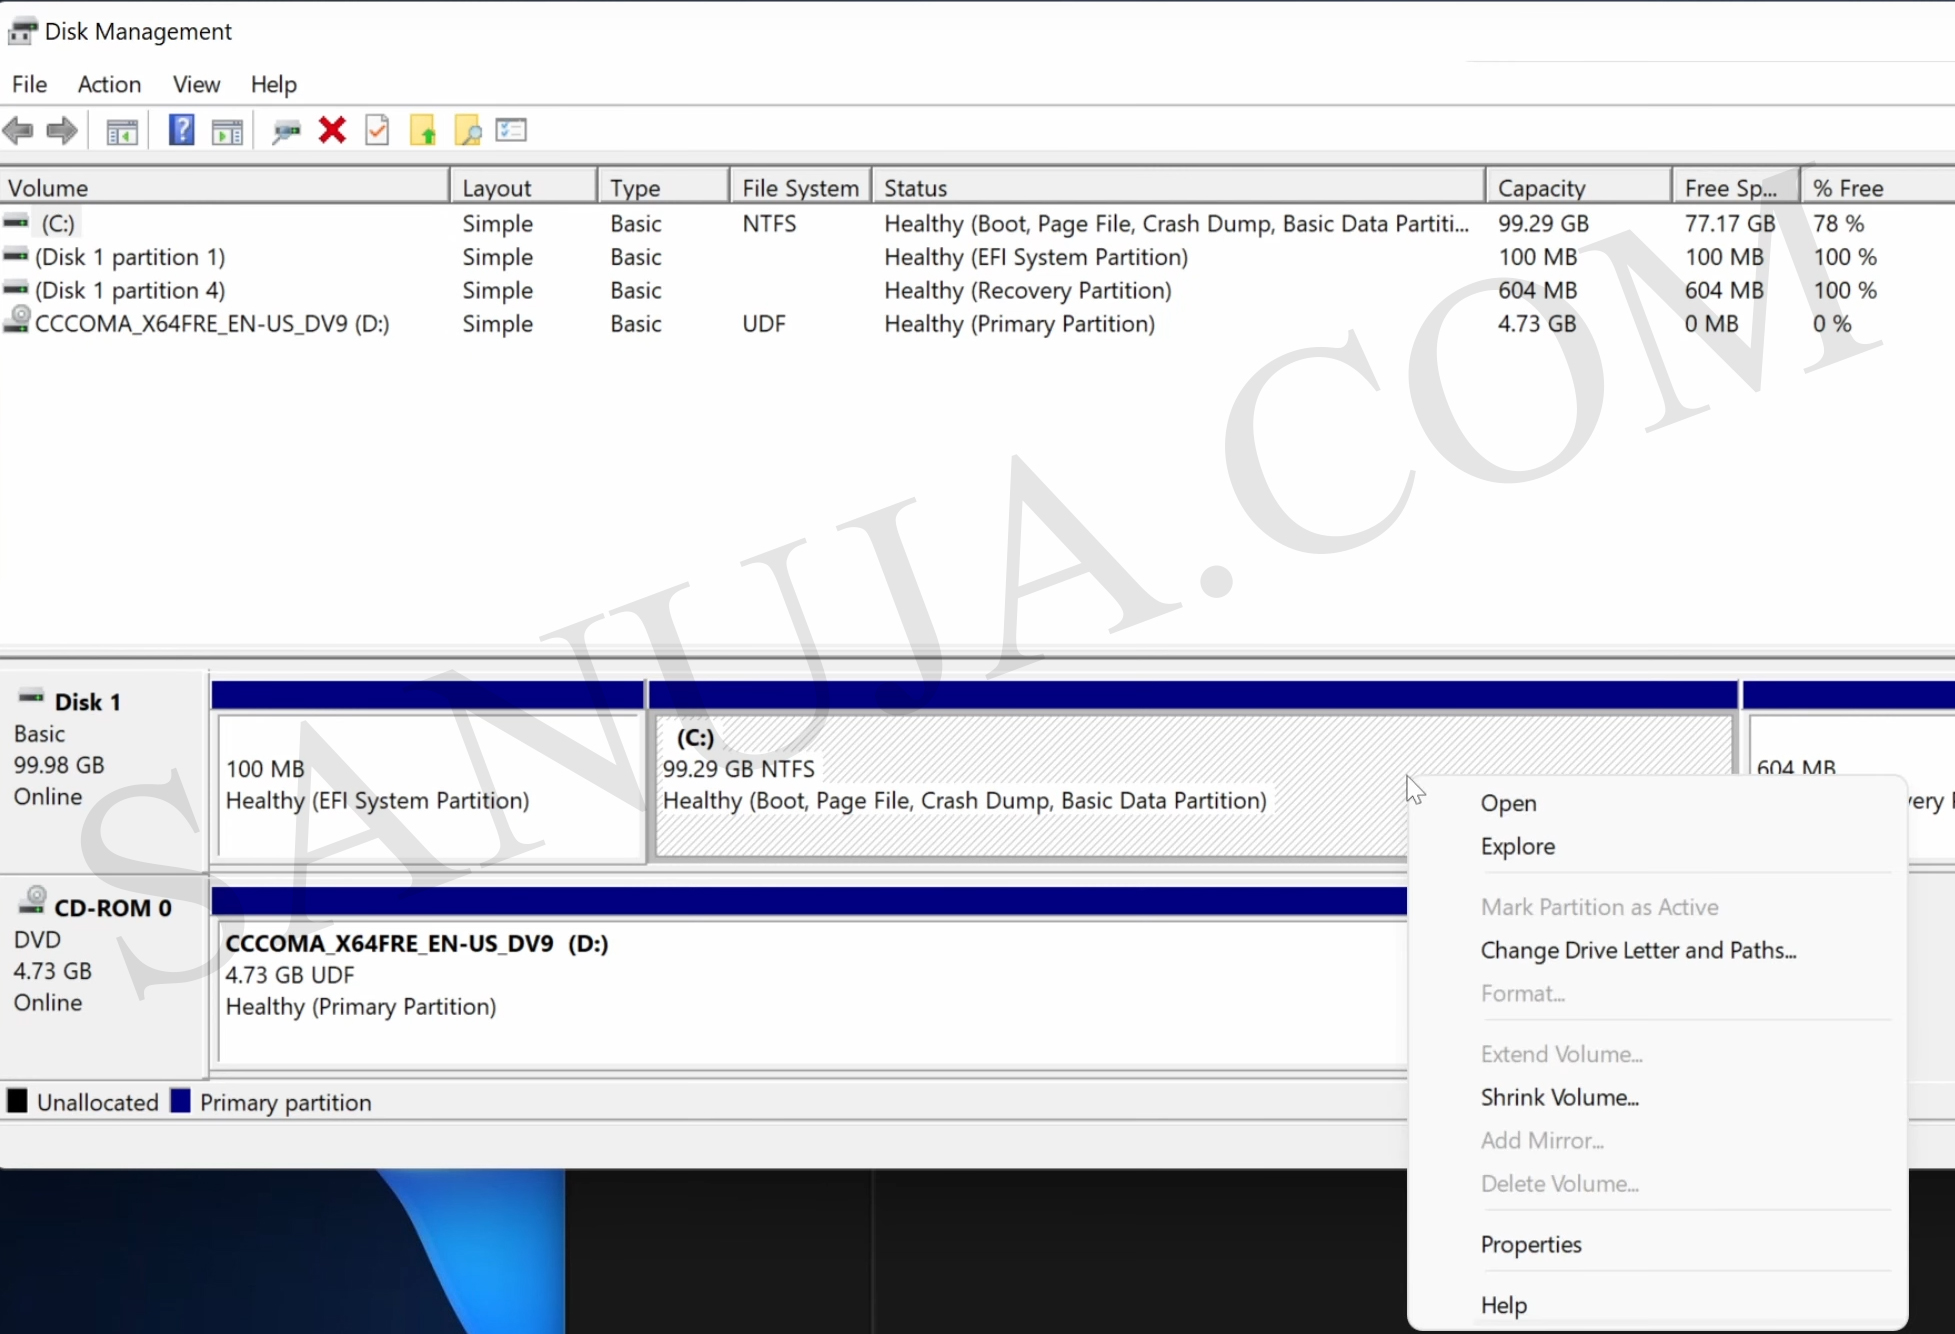
Step 6: Right click on the unallocated partition we just created and click New Simple Volume…
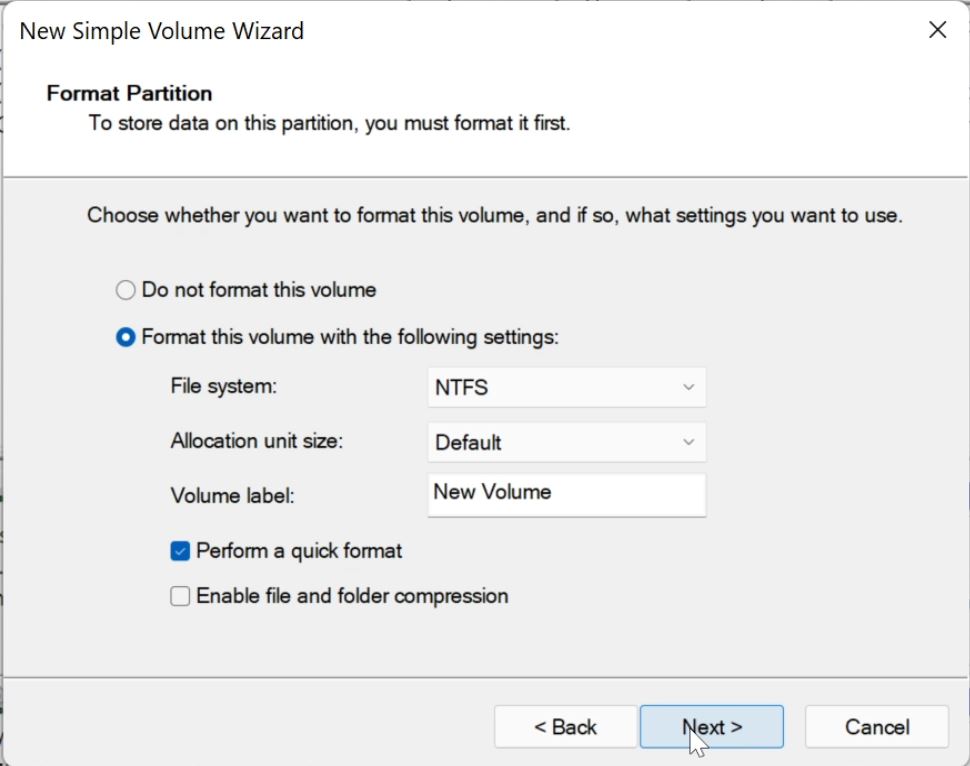
On the New Simple Volume Wizard second page, use the following settings. File system: NTFS and Allocation unit size: Default. I will use Win10 as our Volume label. This will make it easier to identify the driver in the Windows PE (Preinstallation Environment). Check: Perform a quick format.
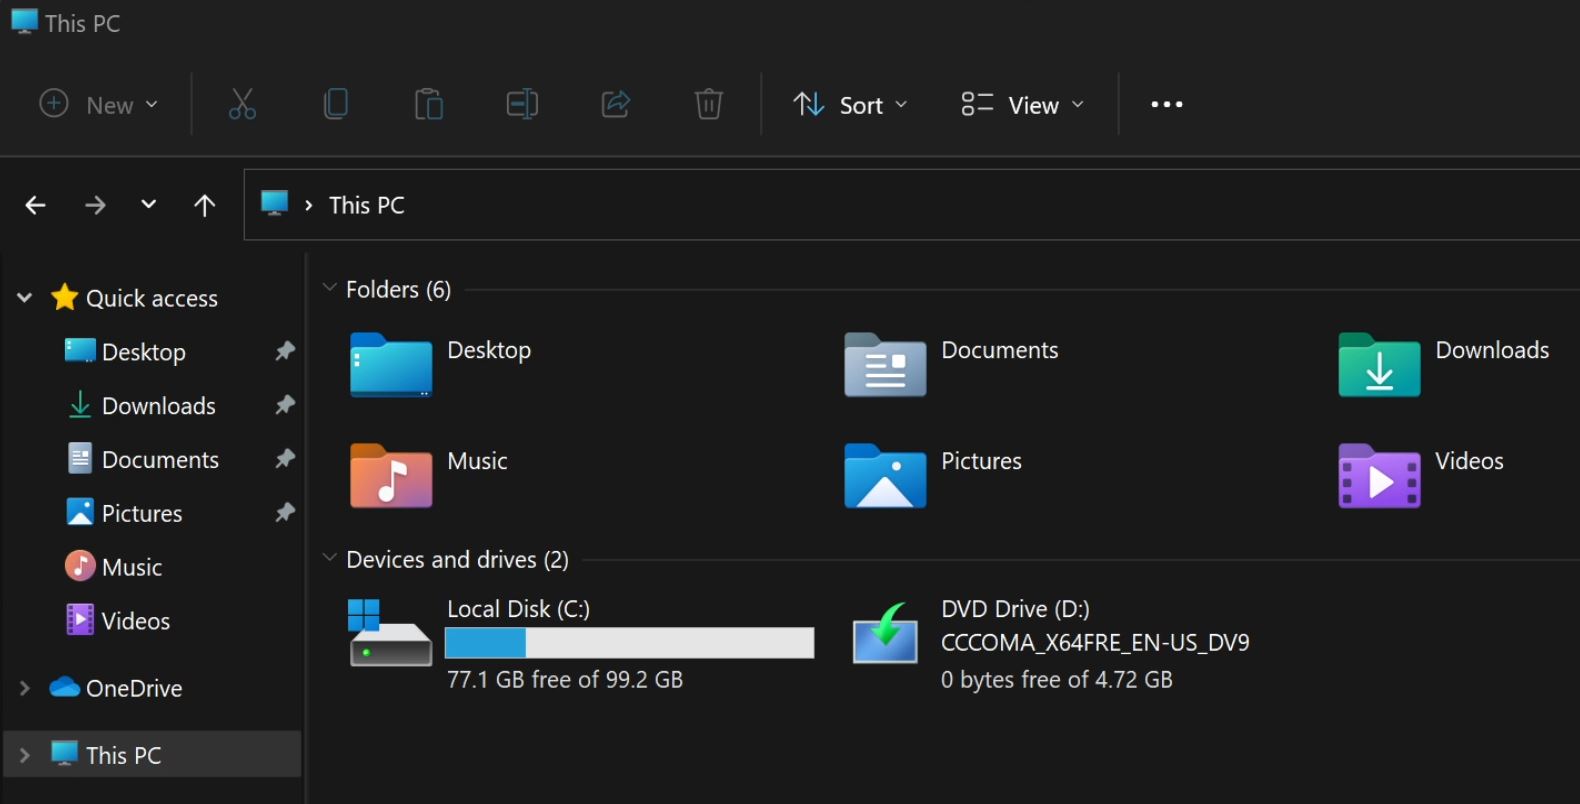
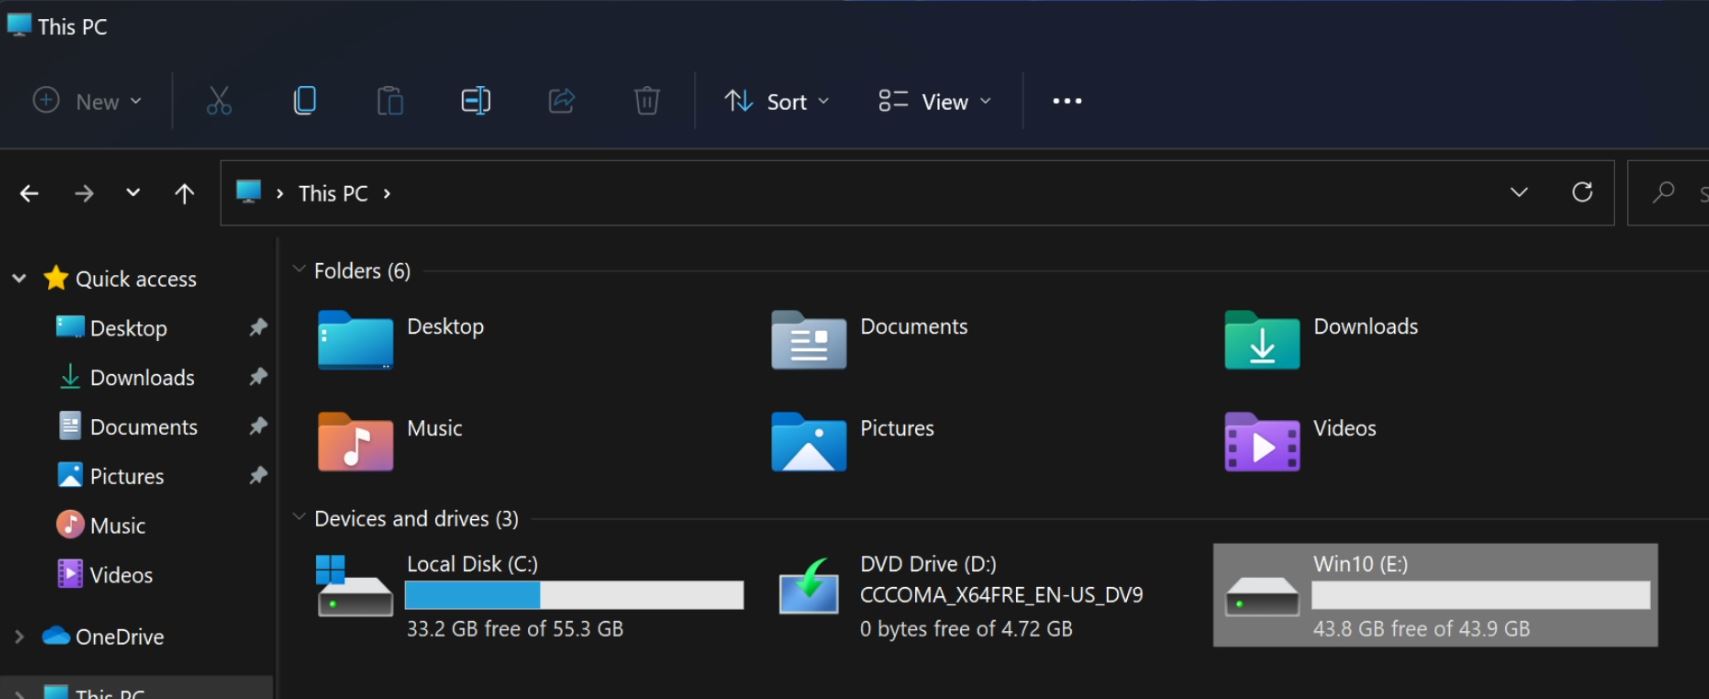
Step 7: Once the formatting is done, you can close the Disk Management window and insert the ISO file for Windows 10 (or other previous Windows Operating System of your choice). Again, I will be installing Windows 10 in this demonstration on a Windows 11 current computer. In “This PC” section, you will also see the newly created Win10 partition.
Step 8: Load into to the troubleshooting menu of Windows. To do this, Open Start > Power > hold Shift key and press Restart. Hold on to the Shift key until your computer began to restart (black screen).

Step 9: In the Windows recover menu, pick the Use a device option.
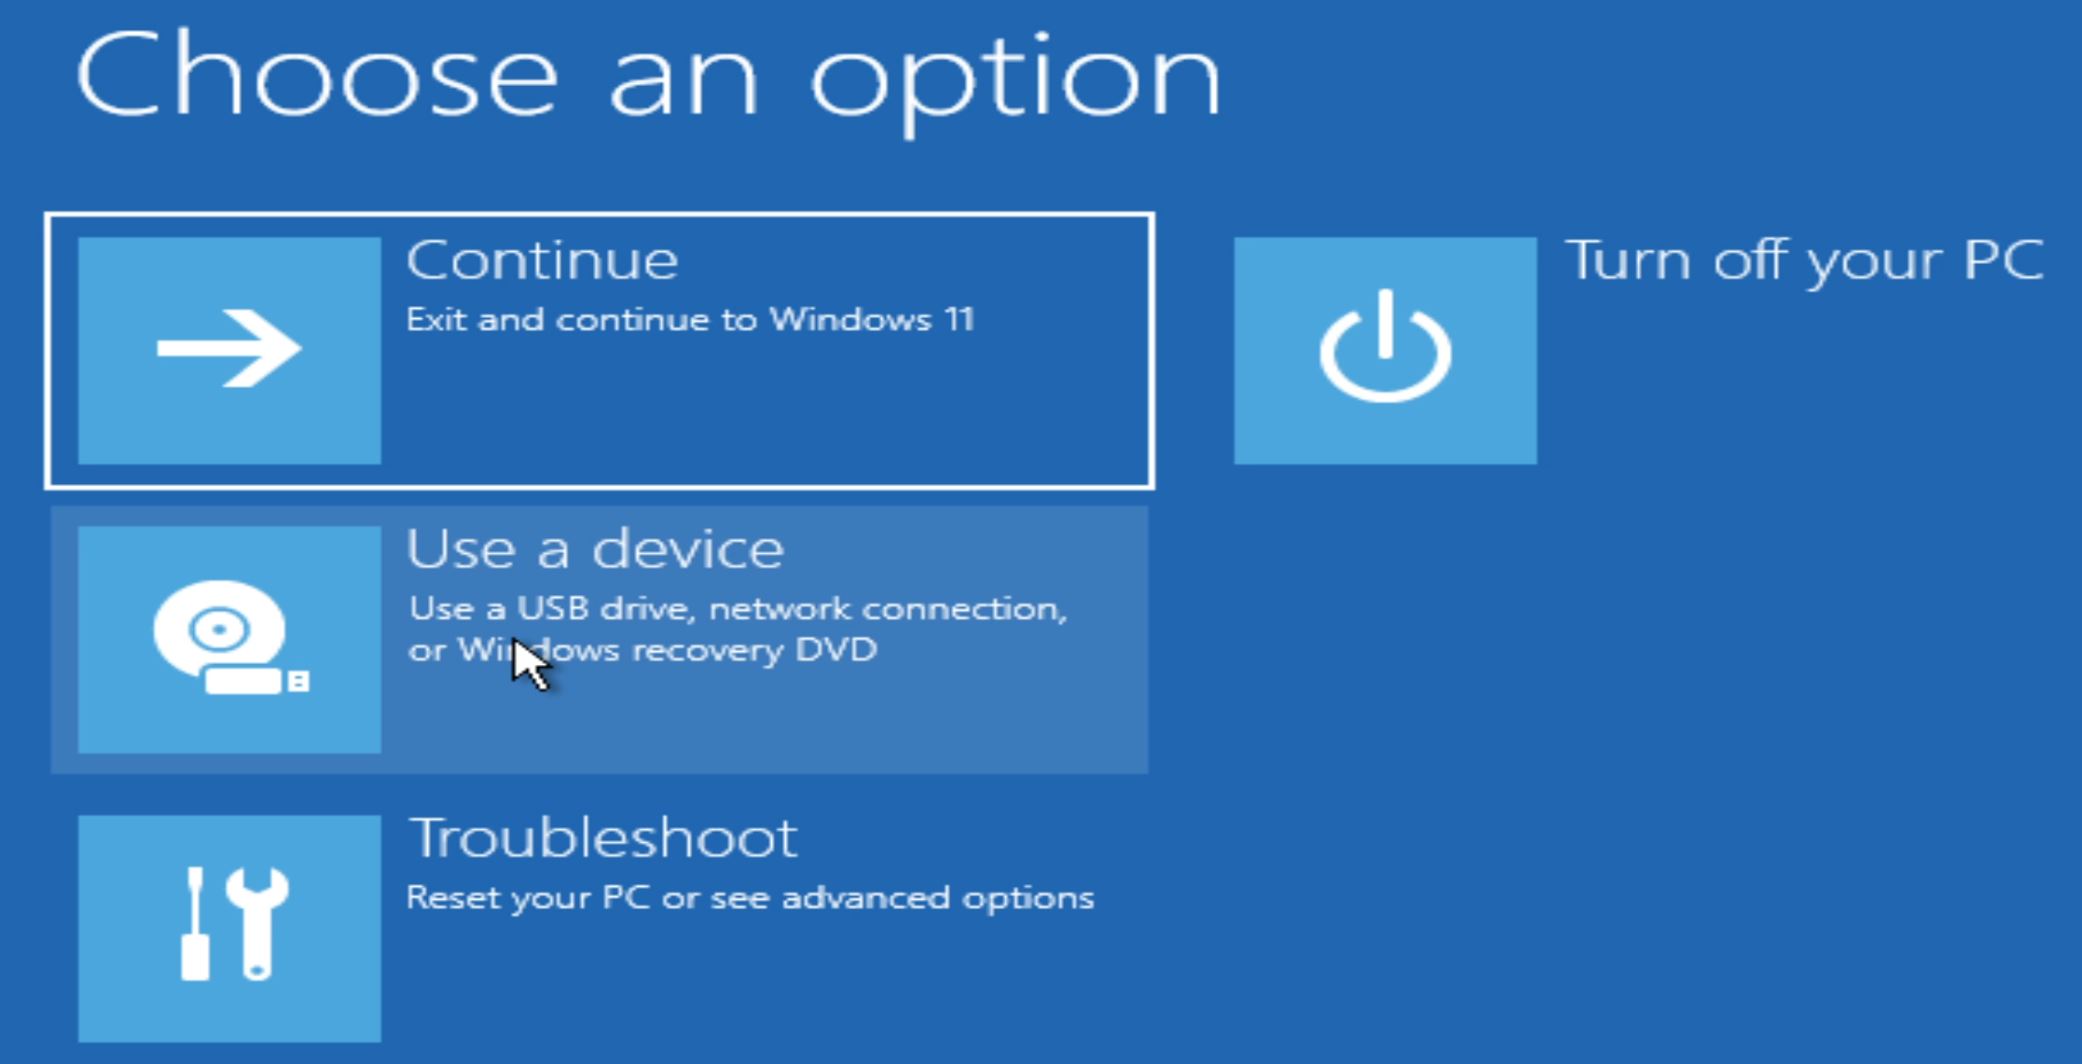
Select the listed device item that has your bootable ISO. If you are using a bootable USB, pick that one. If you are using a CD/DVD, pick that one.

Step 10: When the computer reboots after the selection, press any key to boot from the device with the ISO. It will load the Windows Preinstallation Environment (PE).
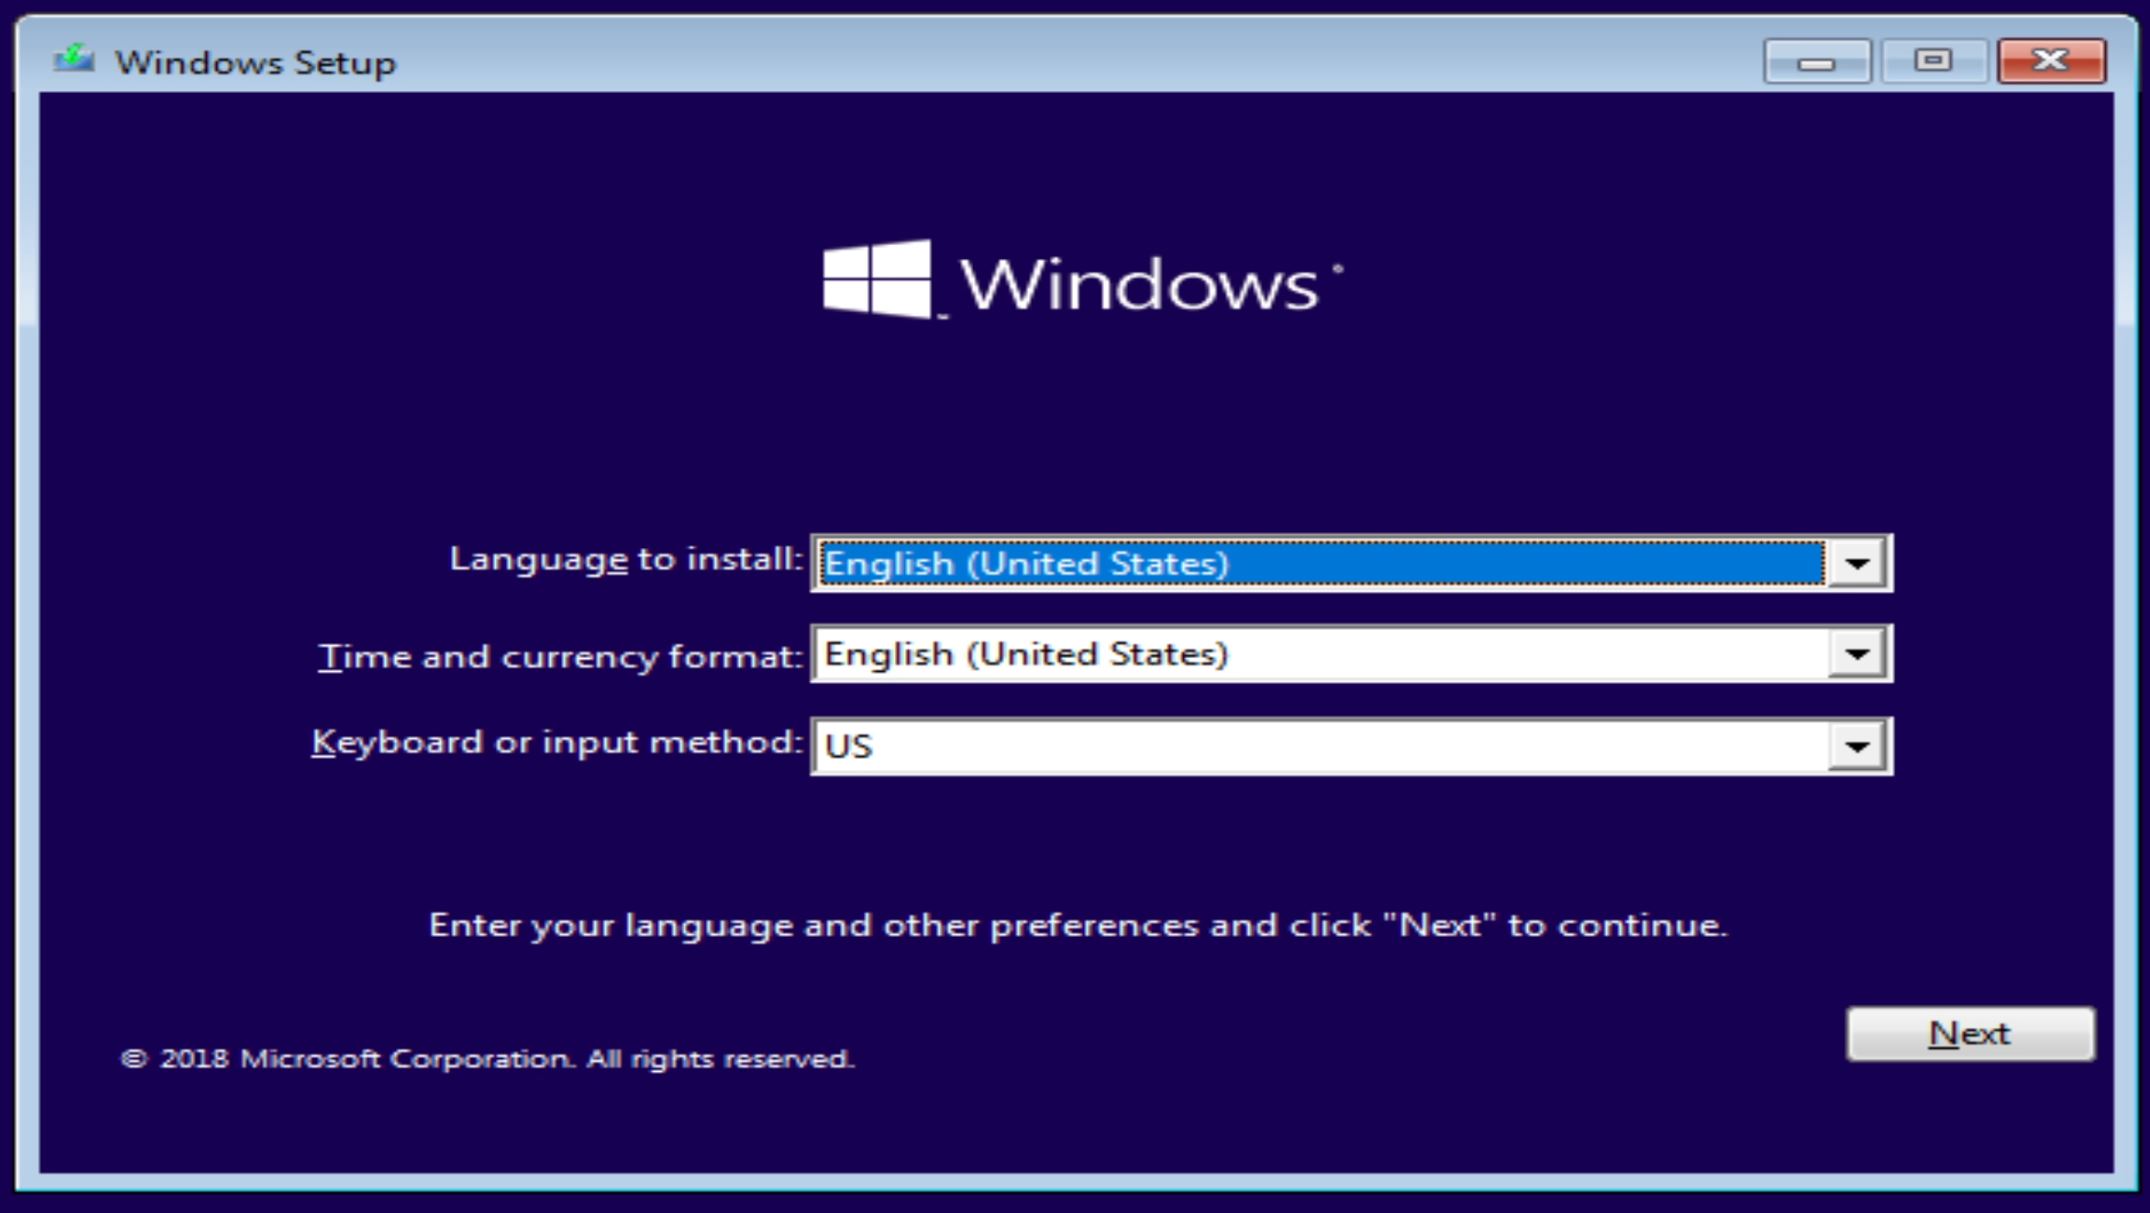
Step 11: On the screen where it asked for Which type of installation, make sure to select:
Custom: Install Windows only (advanced). Then click Next.

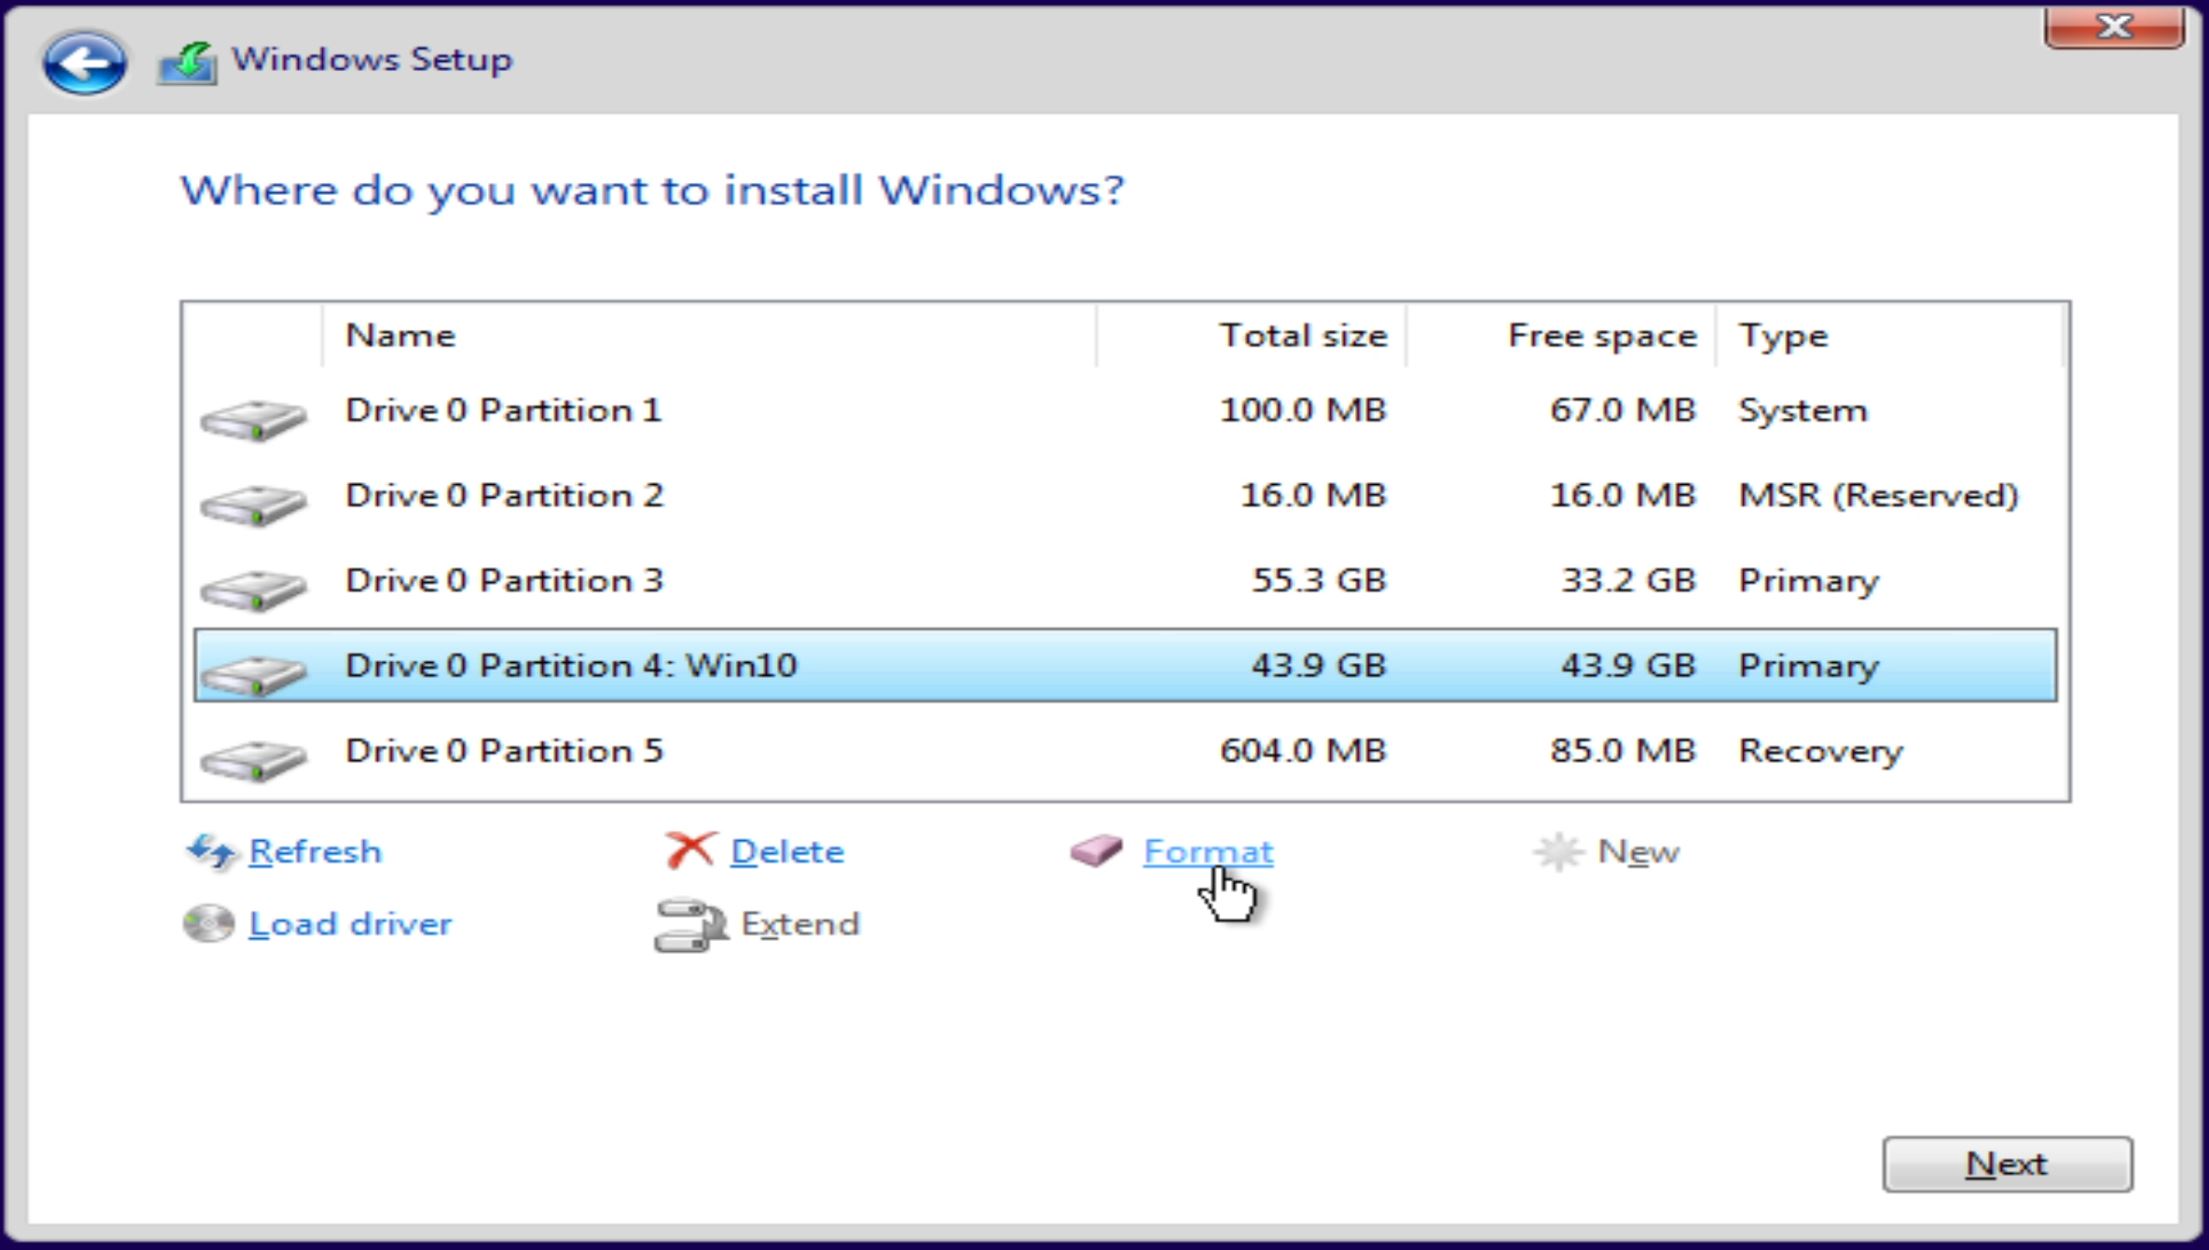
Step 12: Pick the newly partitioned drive from the driver list. Remember, on Step 5, we labelled our new partition as “Win10”. This makes it easier for us to pick from this list. Select that new partition and click Format.
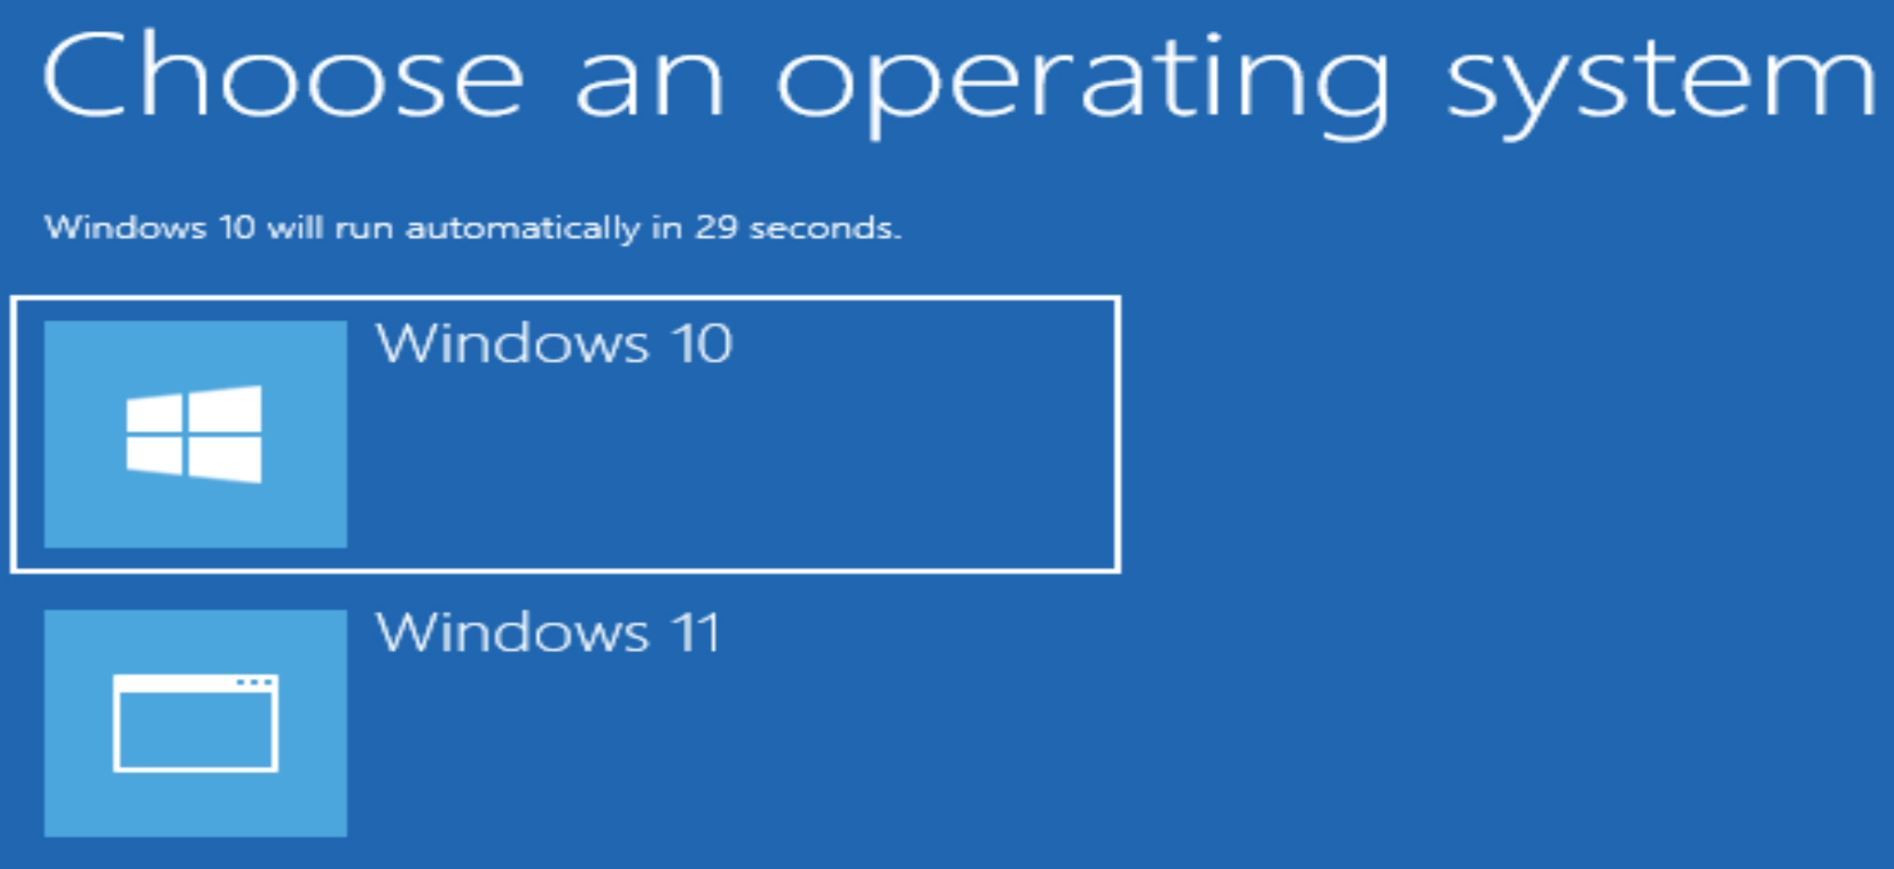
Step 13: Make sure the new partition is selected and then then Next. It will start installing Windows. You may go through several reboots. During these reboots, you will be directed to the “Choose an operating system” page. It should be automatically in the new Windows 10 and boot into it. But if not, make sure to select the new OS option until the installation process is completed.
Step 14: Go through the typical Windows 10 setup process. Now you will have a dual boot system.
Default OS load and Other Options
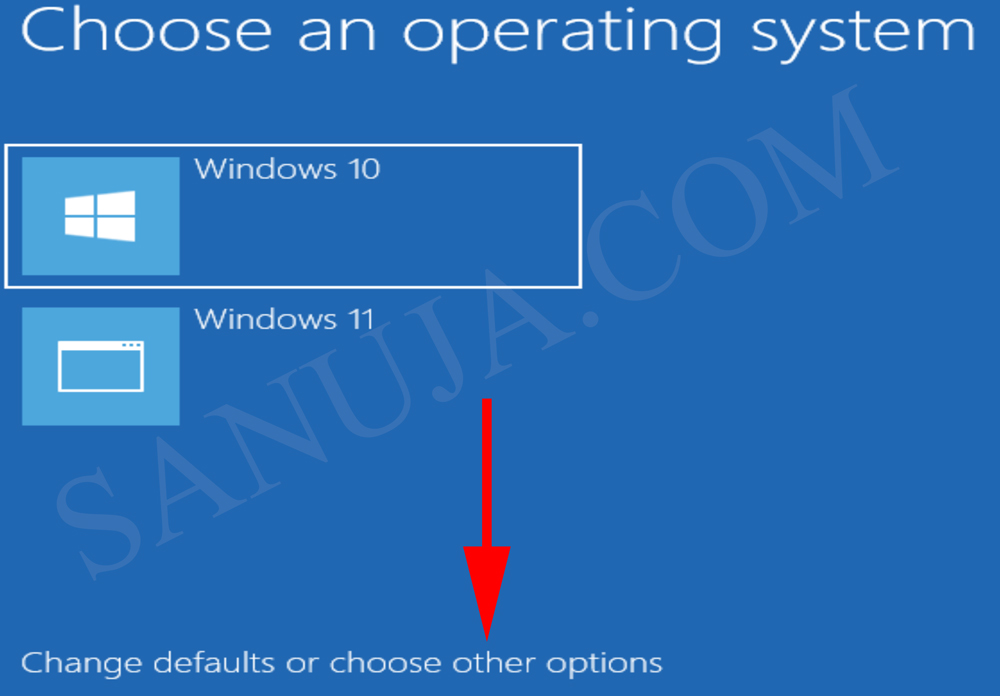
Every time you reboot or shutdown + restart, you will get the option to select the operating system. Based on the default auto loading setting, if no actions were taken by the user, the system will load the default OS.
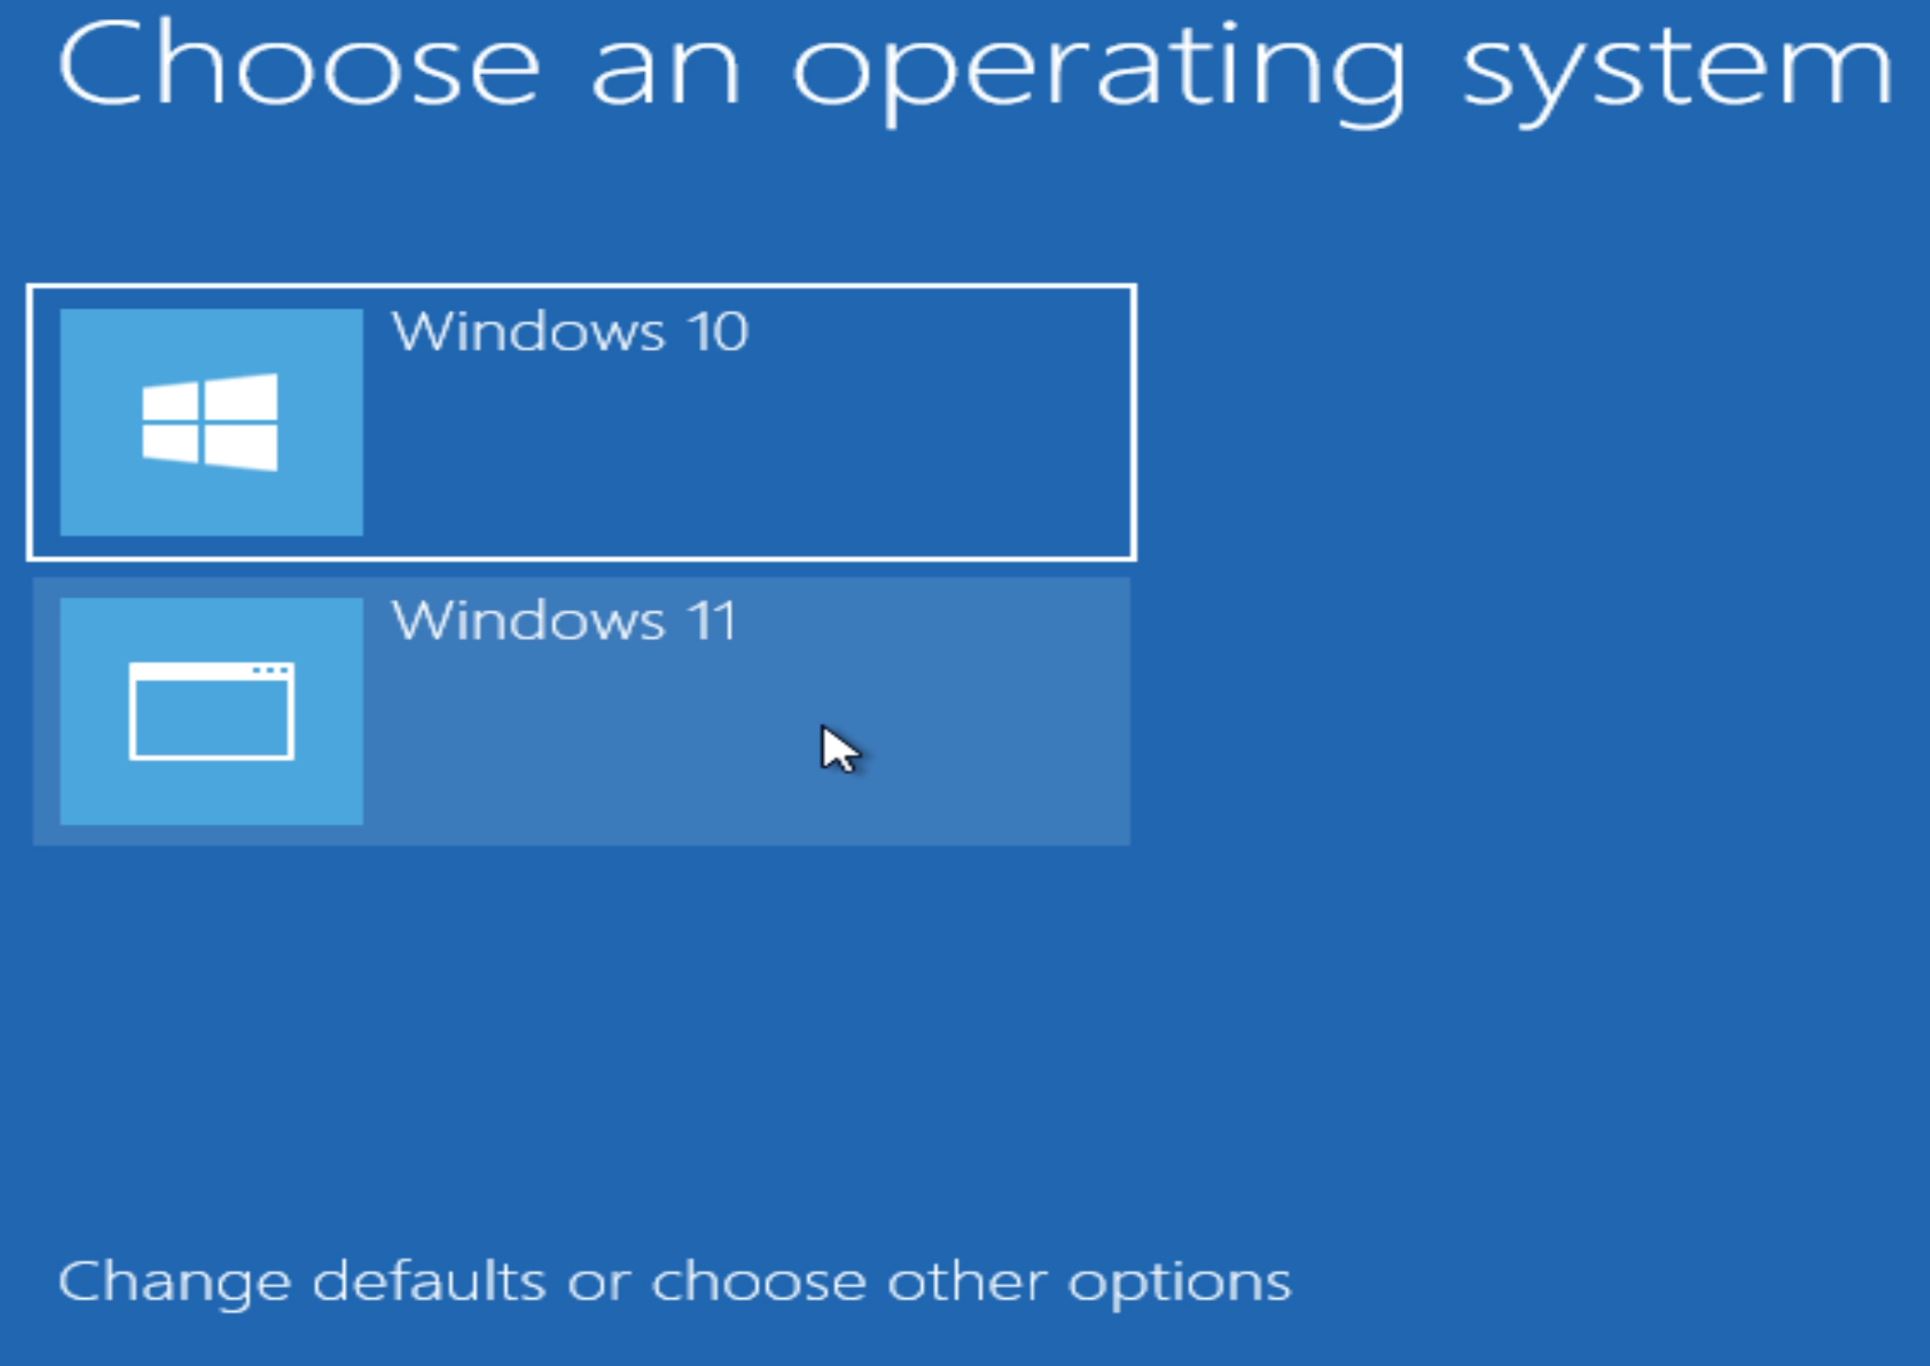
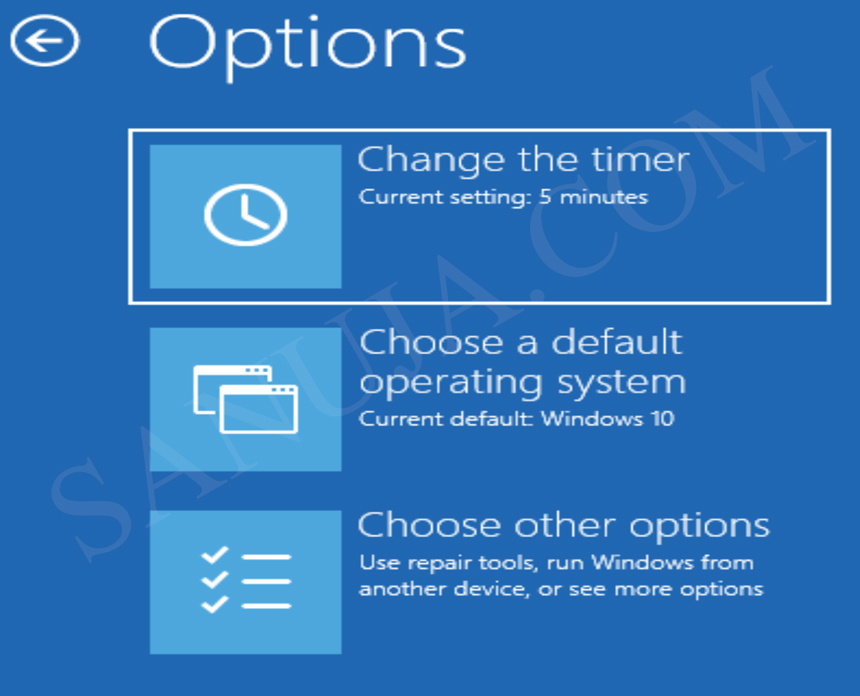
You may change the default options under Change defaults or choose other options menu.
In addition to changing the default OS to load, you can also change the time in which the system will wait for a user choice of OS before booting into the default settings.
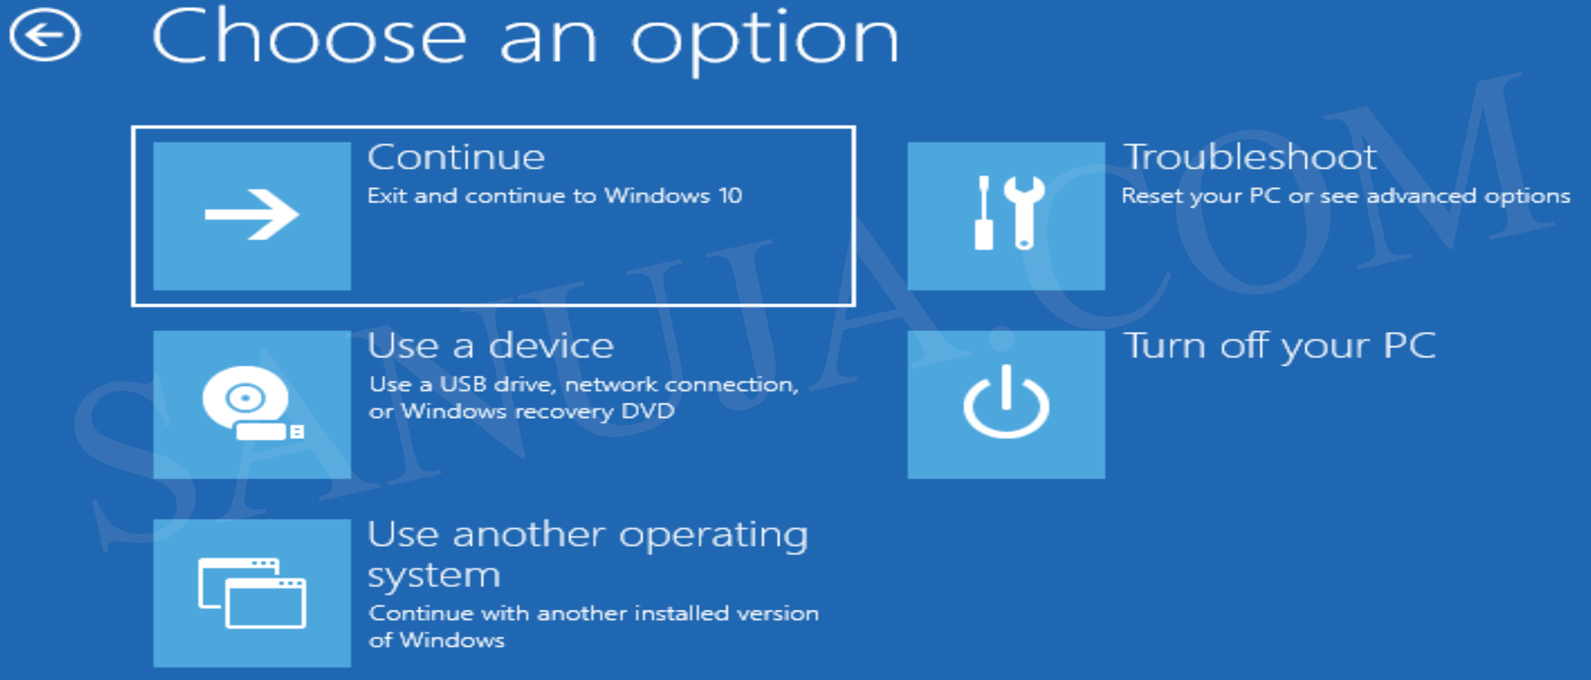
The Choose other options also include typical Windows repair options and the ability gracefully shutdown the system without booting into any OS.
If you need further assistant, please watch my YouTube video posted above.