Microsoft now requires hardware security checks before installing Windows 11. At this time, the VMware Workstation Pro 16 has no solution to bypass the per-installation check for TPM (Trusted Platform Module), CPU, RAM, and Secure Boot. The solution is to use DWORD 32-bit value entries in the Registry Editor to force bypass the pre-installation checks. In this video demonstration, we install Windows 11 Professional 64 -bit version.
Notice
This same method can be used to install Windows 11 on PCs that are currently not compatible with Windows 11.You may watch the video instead of using this article. The video is more detailed on how to setup the VMware machine for the Windows 11 Professional.
If possible, setup your new virtual machine (VM) within the VMware Workstation with at least the recommended minimum requirements for Windows 11 Professional with the exception of TPM. If it is not possible to provide at least the minimum requirement, this guide will help you remove restrictions on some of the per-installation check items.
If you are tying to install on a desktop computer, make sure that you have updated all your drivers before start the installation process of Windows 11.
Installation Process
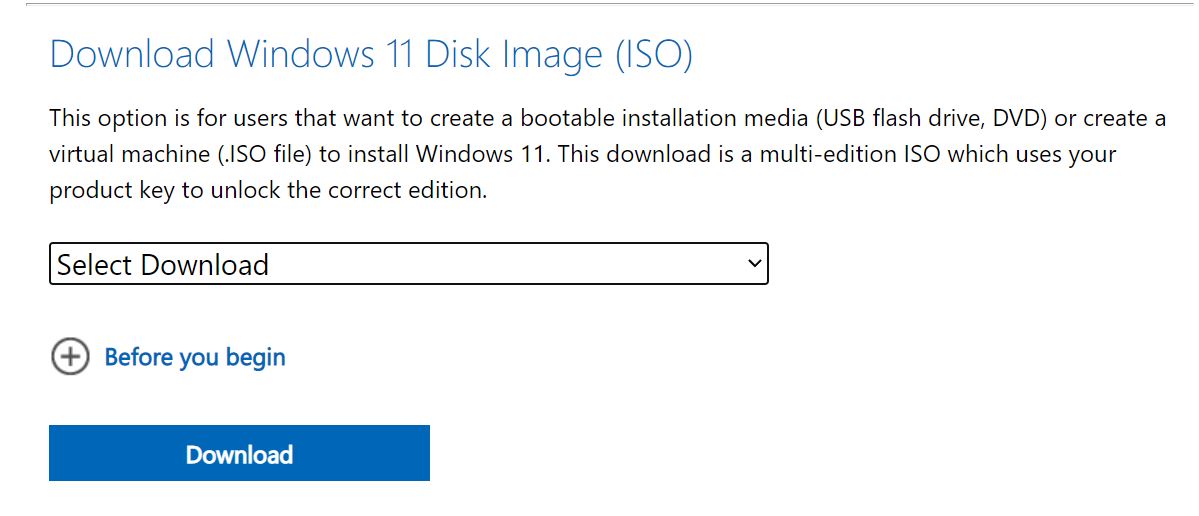
1) Download Windows 11 ISO or obtain a copy from an authorized seller. You can download the Windows 11 from the Microsoft website.
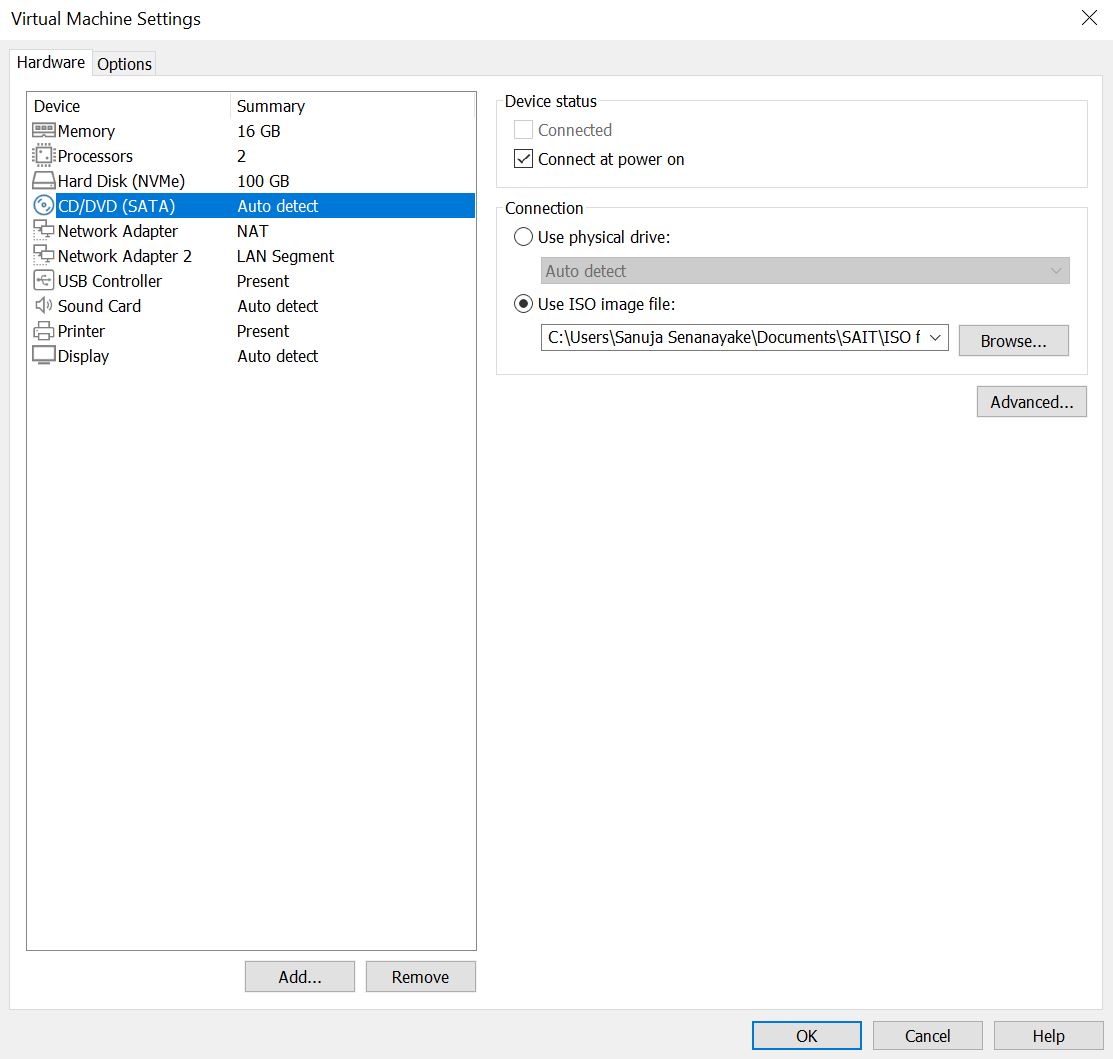
2) Add the ISO to the CD driver of your VM or create a bootable USB key with the Windows 11 Operating System.
In VMware Workstation 16 Pro, you will add this ISO file under Settings (of the VM) –> CD/DVD (SATA) –> Use ISO image file.
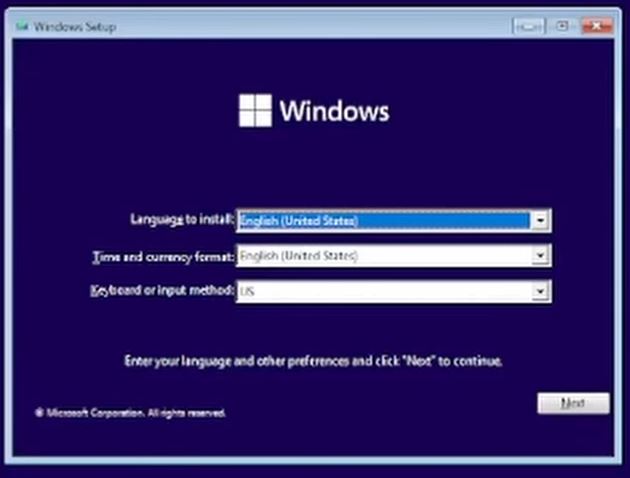
3) Turn on the VM or the computer (PC) and press any key to boot from CD/DVD file. Select appropriate Language and Region then press Install now.
4) Select the version of Windows 11 to be installed. In my example, I will be using Windows 11 Professional. When you click next, you will get the following error message.
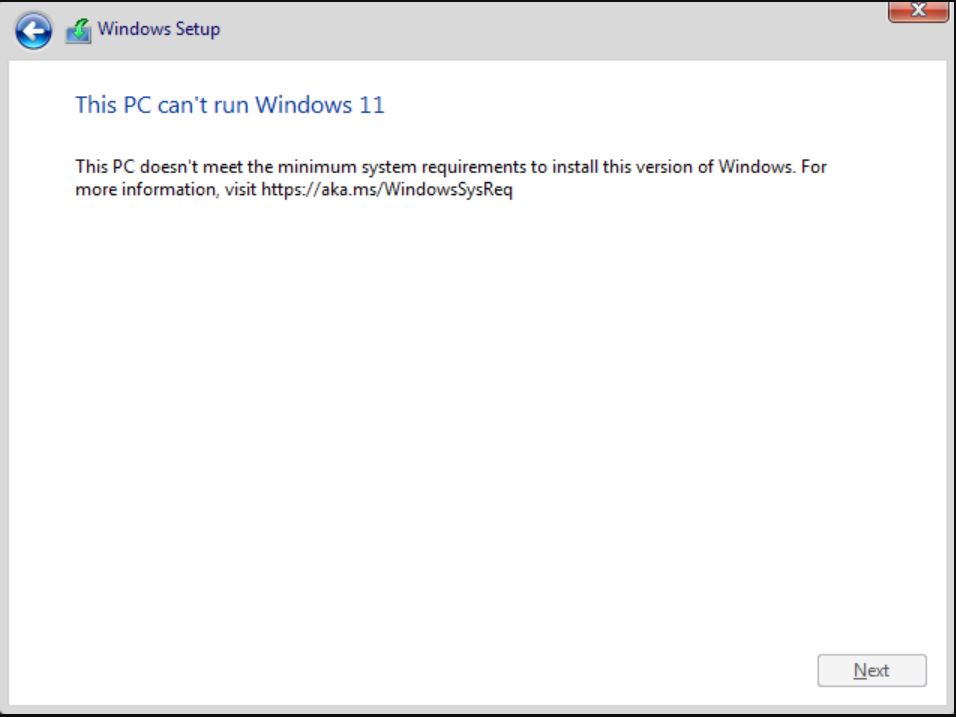
At this point you cannot go any further without performing some additional tasks.
Editing the Registry Entries
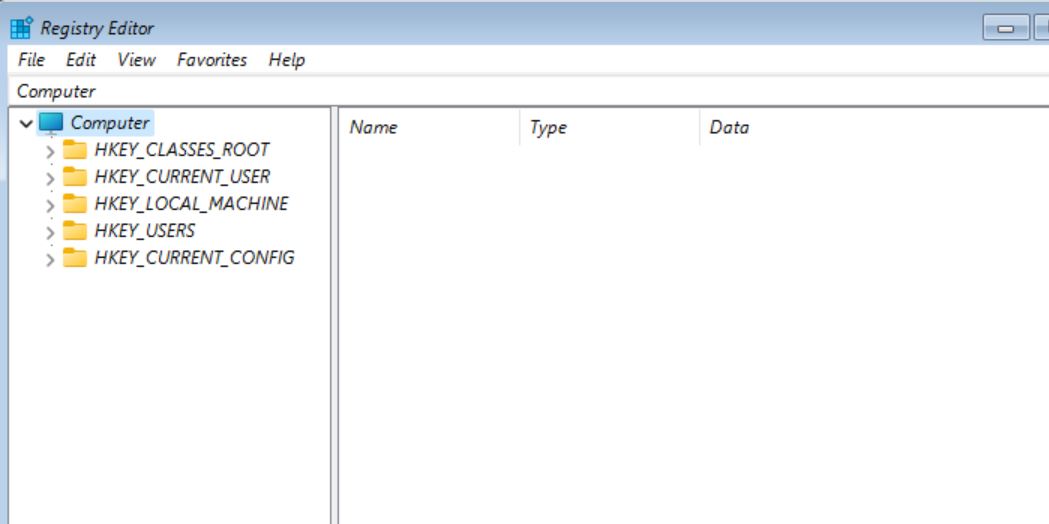
5) On the error screen, press Shift + F10 keys to open Command Prompt (CMD). Then type regedit to open Registry Editor.
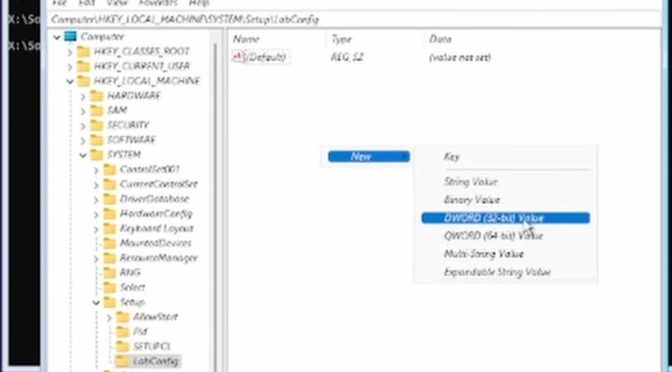
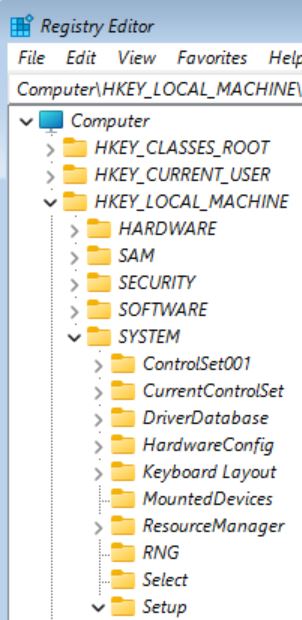
6) Navigate to the following location within the registry: HKEY_LOCAL_MACHINE/SYSTEM/Setup.
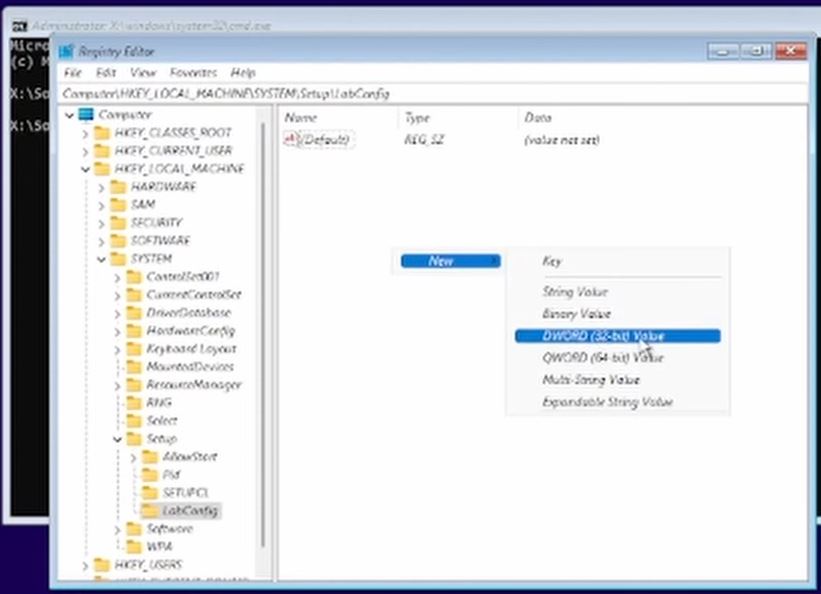
7) The following DWORD Registry Edit entries are set the values to 1:
BypassTPMCheck
BypassCPUCheck
BypassRAMCheck
BypassSecureBootCheck
To add each entry, right click on blank space, New –> Select DWORD (32-bit) Value.
To set the value t o 1, double click on the key and set the value to 1.
8) Close the Registry Editor, close the Command Prompt (CMD) and exit out of the initial error message. At this point, you should be back at the Windows Setup main screen. Follow the usual steps of installing Windows and it should be able to install Windows 11.
If you are confused about anything, please watch the YouTube video posted in this article.