I upgraded my network infrastructure by adding a new Network Attached Storage (NAS) and moved some equipment around the house. The upgrade increased the data transmission speed and storage capacity of the network.
How to find the NAS that fits your needs
Not all NAS units are manufactured equal. Even from a single manufacturer, you get a wide range of storage units. For household use, it is recommended to buy cheap, pre-configured NAS boxes (aka network hard drives) or USB connected drives. In a business environment, if you are looking for the speed and willing to compromise centralized data storage, USB 3.0 drives offer a great option for NAS.
Few of the best companies for high end NAS units are QNAP, Synology, WD, HP, IBM, and Dell (not listed in any particular order). The QNAP TS-669L 6-bay unit is very reliable. Also, this unit is available at local warehouse in Calgary. The performance of any unit depends on the hardware (processor, RAM, SATA chipset) and between the TS-669L and the TS-669L Pro, QNAP used exact same components, you may opt for the cheaper non-pro version. If you want to compare the specs, please visit the QNAP website.
Do not buy consumer grade NAS or hard drive units for professional or mission critical use. The lifespan of computer electronics varies significantly based on the quality of the product.
My home network and servers at a glance
My personal setup includes the following; a professional HP server, a download server, TS-669, D-Link home NAS with 1.5 * 2 drives, WD 3TB single drive home NAS, 2 printers, 2 desktops, 3 laptops, 5 mobile phones and tablets with wifi connection to the network, broadband modem (50 Mbps-will soon upgraded to 100 Mbps), Linksys gigabit wireless router, D-link 16-ports gigabit professional switch and D-link 5-ports consumer switch. All the wired network cables are either CAT 5e or CAT 6 with centralized distribution near the server. (more…)
Installing QNAP TS-669L
-
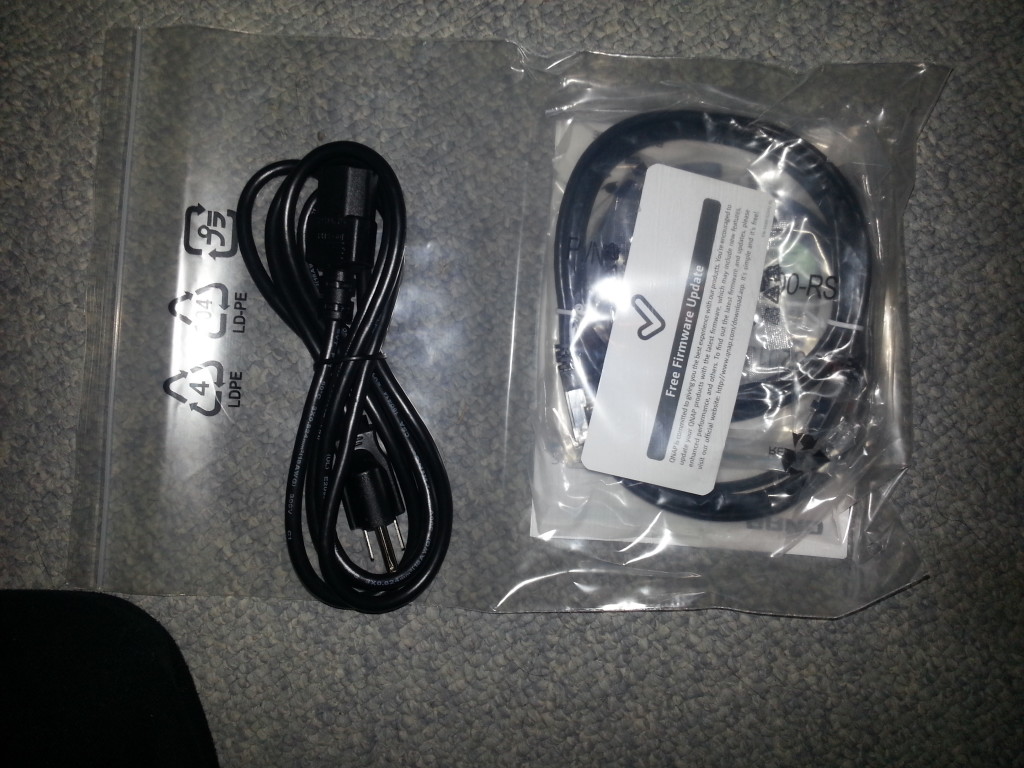
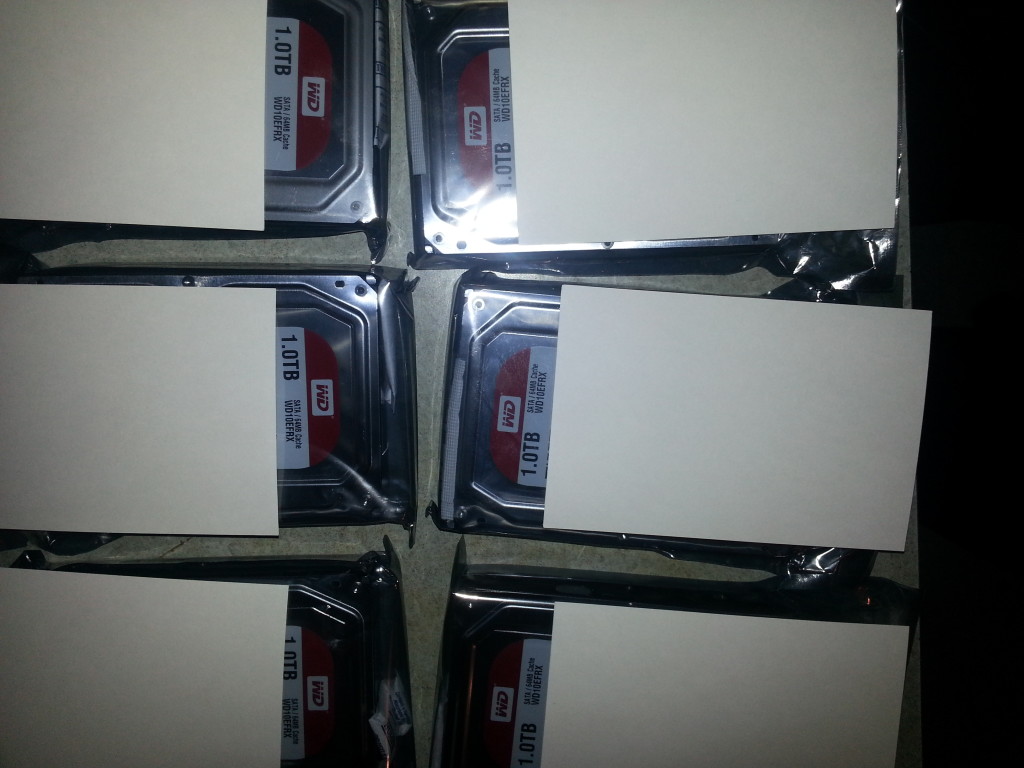
1. Unbox the items and lay them on a table/ground
2. Make sure they included all the right cables and other items (such as hard drives)
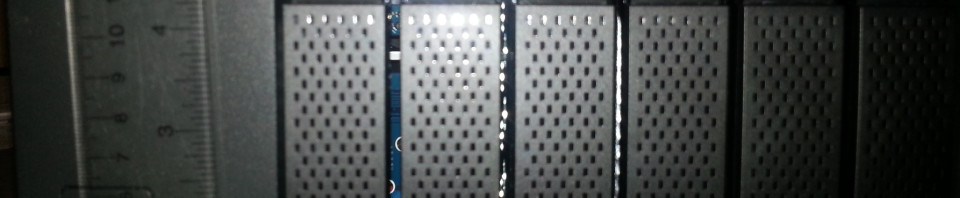
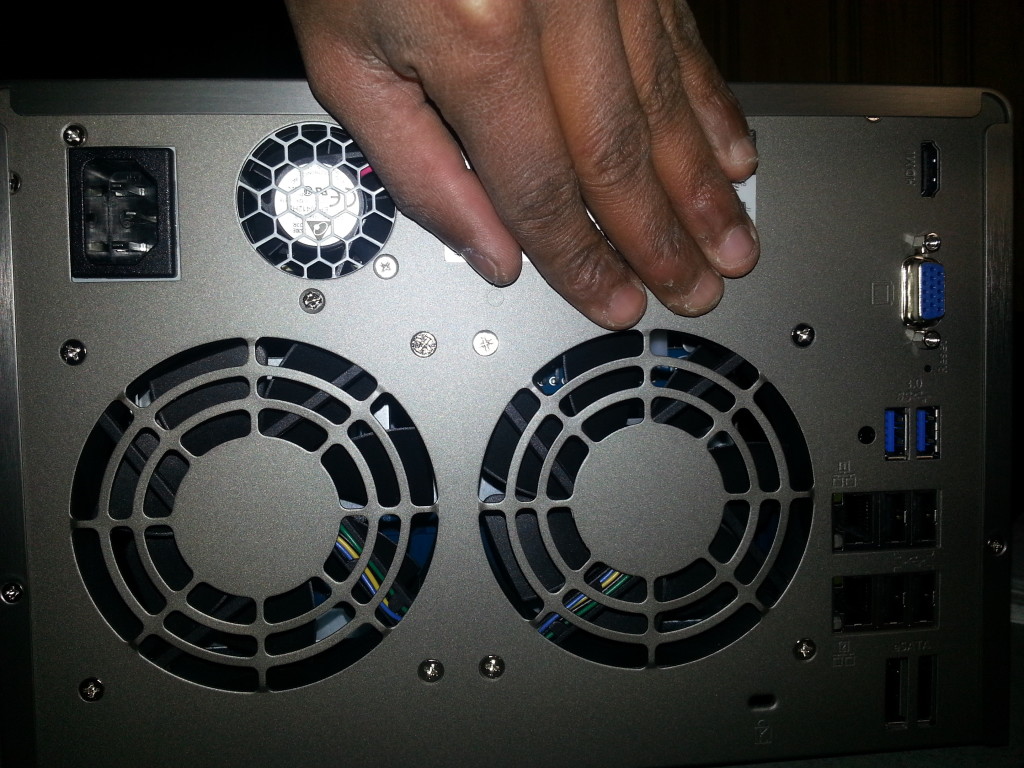
3. Look around the unit and get to know it…
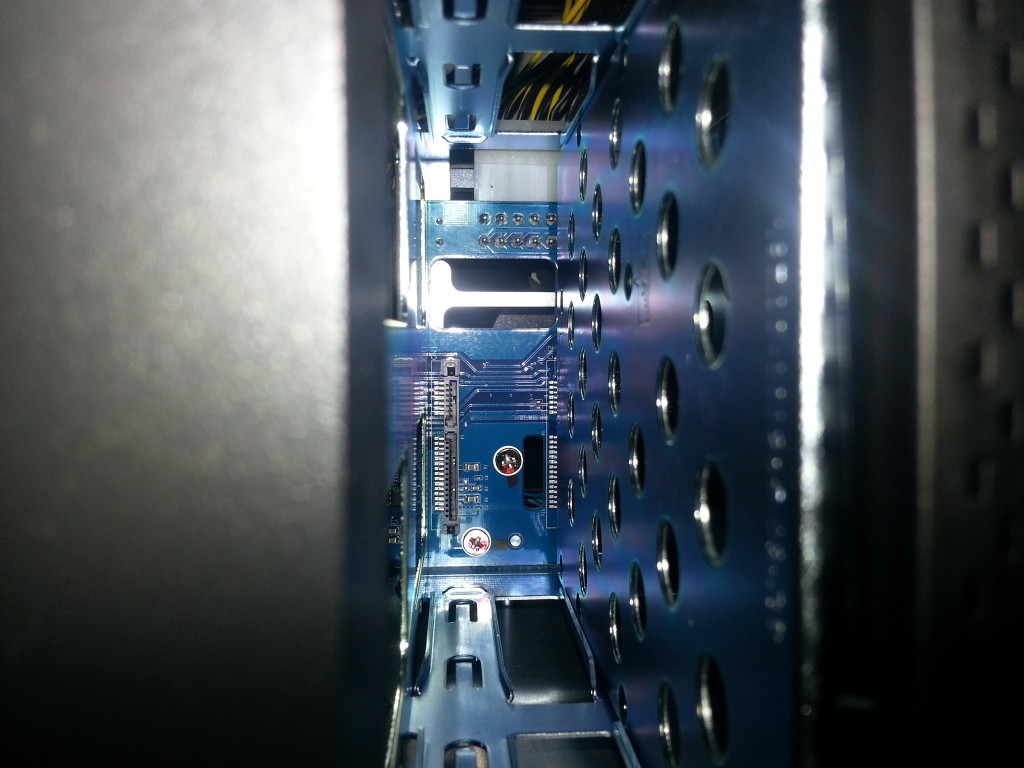
4. Lift the switch and pull out the first hard drive bay
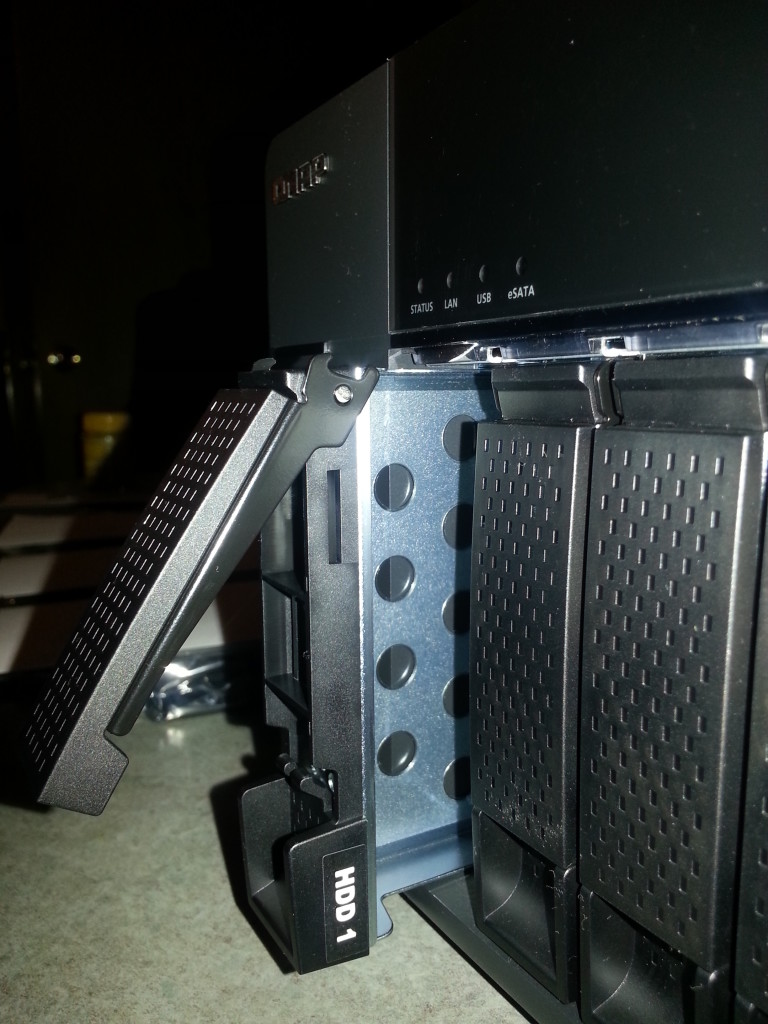
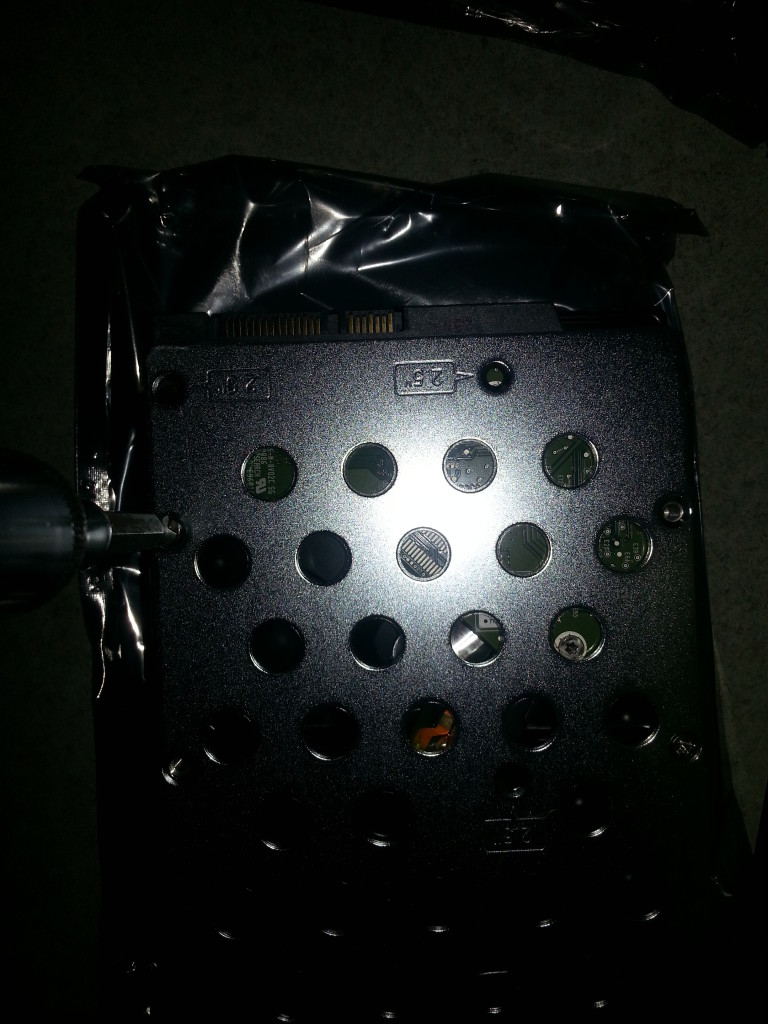
5. Install the hard drives in the caddy/rack (when installing multiple drives, use exact same type of drives with exact same storage space for optimum operations)
6. Insert the caddy back into the box by firmly pushing it inside (make sure it is in the right orientation)

7. Repeat the steps 4 to 6 as needed (depend on how many drives you will install out of the six available slots in TS-669L)
8. Do NOT turn on the power until you have removed all the packaging, installed all the drive, network cables and placed the unit on a solid surface. The unit may malfunction if it is not handling with care.
I highly recommend (in fact I demand you), using an Uninterrupted Power Supply (UPS) unit for any computer devices with RAID configuration. It will significantly reduce the possibility of RAID card failure in an event of a power outage (if a RAID card fail, the data may not be recoverable).
Configuration of a NAS unit
Setting up a NAS unit with multiple drive bays could be confusing. If your unit have more than one drive, the configuration options may increase depend on the driver support.
- 1 drive: 1 option only with no RAID support
- 2 drives: 4 options with/without RAID support; independent drives, JBOD, RAID 1 or RAID 0
- 3 drives: 4 options with/without RAID support; independent drives, JBOD, RAID 1 or RAID 0
- 4 drives & up(most cases): 6 options with/without RAID support; independent drives, JBOD, RAID 10, RAID 5, RAID 6, RAID 1 or RAID 0
For better read/write speed without compromising the convenient driver replacement in RAID, I recommend RAID 5 or 6. In my setup, I choose RAID 5 because it increases the data storage space significantly with minimum compromise to the data security. For mission critical databases, I recommend RAID 10, which significantly reduces the storage space, but provides the highest level of security.
Placing your eggs in one basket with RAID
Ever heard about RAID card failure?
How about multiple sector corruption in a short time?
What about fire, flood or lightning strike?
I am alarmed by how IT consultants place their trust in RAID as opposed to traditional enterprise storage methods (independent drives with automated data copying between drives for backup).
However, RAIDs, RAID cards and components do fail. In such event, the data may not be recoverable. If you are running a business, do not store all your data in one unit or one location. Always use remote backup for data recovery from a catastrophic equipment failure.
Conclusion
The QNAP TS-669L is a professional grade NAS even the company does not advertise it as a pro hardware. It provides with wide range of configuration options and built in features. We will discuss the basic control panel options on their latest firmware in a different article.
In general, if you are running a company or you are paranoid about data security (like I am), it is always better to use two independent physical locations for your electronic data storage. Always buy high quality hardware for ultimate backup and storage. Cheap does come at a price since not all NAS units are created equal. While high grade NAS units like the TS-669L may provide a certain degree of security, nothing is fault proof (impermanence).