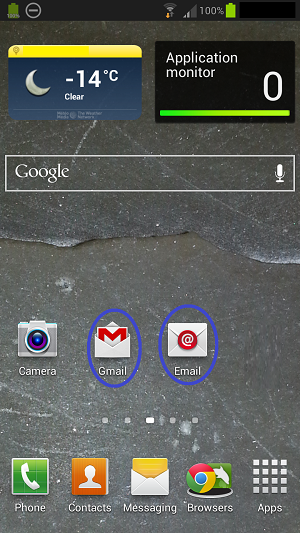
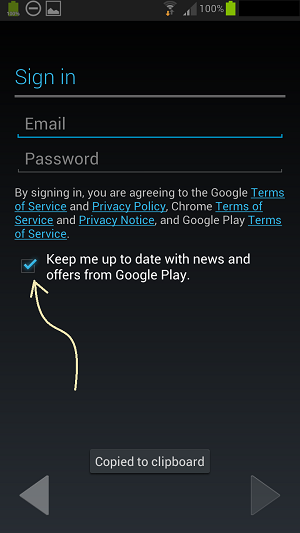
There are two independent email applications (apps) per-loaded by Google Inc. on Android devices running 4.0.x to 4.2.x (may be even before 4.0); Gmail and Email. The Gmail app is used for Google push service while the other is for non-Google email accounts. During initial setup of the phone, the user will prompt to add a primary Google account. But many Android users have several email accounts.
How to add an Email account to an Android device?
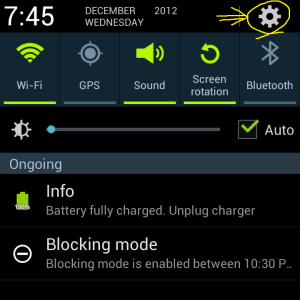
- 1. Open the settings screen (may varies depend on OS version and manufacturer).
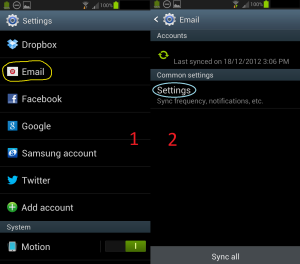
2. Open Email app and Settings
3. Click “ + “ from the top bar to add an account
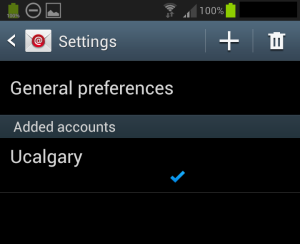
4. Fill in the necessary information
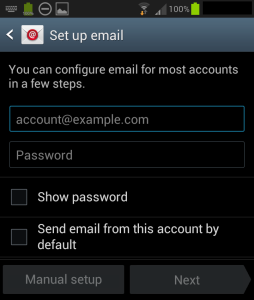
5. The next few steps will involve setting up the network settings (IMAP, POP, STMP, Exchange, etc). Configuration can be unique depend on your Email service provider
6. If you want to add another account, you can repeat the steps above
How to add a Google push service supported account?
Yes, you can add a Google account or a Google supported account (Google Apps account) to your regular Email app. But you will lose the benefits of Google push service since the general purpose Email app will not support Google services. I spent hours searching for how to add a Google supported accounts including additional Gmail accounts with no good results.
Follow this to add an additional Gmail or Google Apps account:
- 1. Open the Gmail app
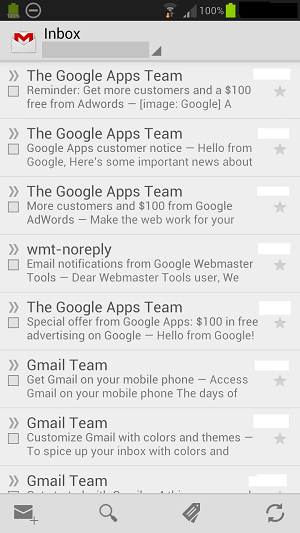
2. Open the general menu (the main menu of the phone) while you are inside the Gmail app; on GS3, it is the left soft button
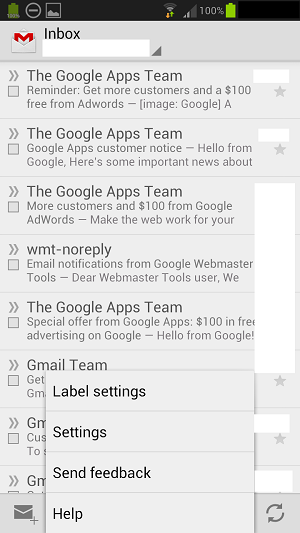
3. Choose Settings and Add Account from the top bar
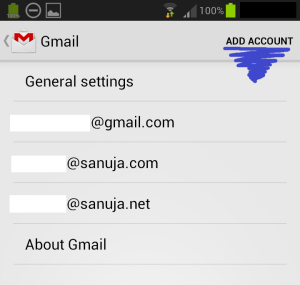
4. It will take you to Add a Google Account screen with two choices (Existing, New). Pick the one that fit your situation.
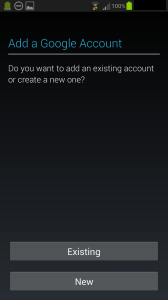
5. Fill in the necessary information. If you have a Google App account, use username@yourdomain.com for the Email.
NOTE: If you are adding a secondary account and you don’t want it link to your Google Play account with the primary, make sure it is NOT checked.
6. There are no additional configuration steps when addition a Google supported account to your phone.
The general configurations for accounts
- 1. Make sure the Sync is turned on (green) for your accounts
2. The Sync for your Calendar, Contacts, etc can be customized (turn them turn on/off after step 5/6 of the above guide)
Disclaimer
This guide is written based on Samsung GS III Canadian version running, Android 4.1.1/2. But the general steps for setting up an account are the same for most Android phone up to December 2012.
The screen shots above may slightly varies with different types of custom or stock launchers.

