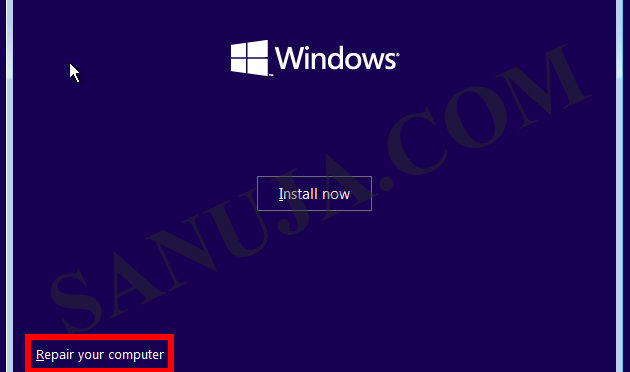
In old days I remember PC manufacturing companies provide the consumer with CD backups for the installed software with a purchase of a new computer. However, in the past few years most manufactures have avoided given you the original software CDs. This is for two reasons; one is to prevent software piracy (this is why Windows OS software is no longer provided in its original CD/DVD package) and the second reason is to cut the manufacturing costs. Unless, you purchase the CD/DVD/USB key version of the software, it is your responsibility to go through the initial setup of the computer. Here is a quick guide on how to perform that task;
- Connect the computer to the power supply. Even if it is a laptop, insert the battery and connect to a wall AC power supply. (Surge protected power bar is highly recommended)
- Connect to a wired LAN network for Internet access. While laptops and computers with WLAN adaptors be able to connect wirelessly, it is recommended to connect wired first.
- Turn on the power of the computer and after few seconds you will see a Welcome screen.
- Follow the instructions on the screen by choosing options rights for you. These includes, time zone, the currency type, the keyboard type. It is recommended to turn on the firewall.
- Create user accounts, connect to your LAN, etc, etc and boom, you are done! You should now have an operational computer.
- Type “Recovery” in the search in the start menu title “search programs and files”. You will find a program with recovery information. Depend on the manufacture it will be different. Sometimes it will be called Recovery, or Sony Recovery Creator or Samsung Recovery Backup Disk Creator, etc.
- If the recovery program doesn’t specify how many DVDs/CDs are needed, make sure you have at least six(6) blank DVD-Rs. It is recommended to use DVD-R over CD-R or DVD-RWs.
- Make sure the Recovery DVDs are properly created because this will be the only back up of your OS and software came with the computer.
